 If you’ve been around here a while, you know I loathe Halloween. Biggest Halloween Scrooge there is, right here.
That said, I might do an about-face soon because I finally tried a popcorn ball at the ripe old age of 34 and I loved it. Loved. It. Sweet, airy and studded with candy, it may well make a Halloween-lover out of me! Who knows? It could change the course of my life!
(Feeling dramatic today. Sorry, not sorry.)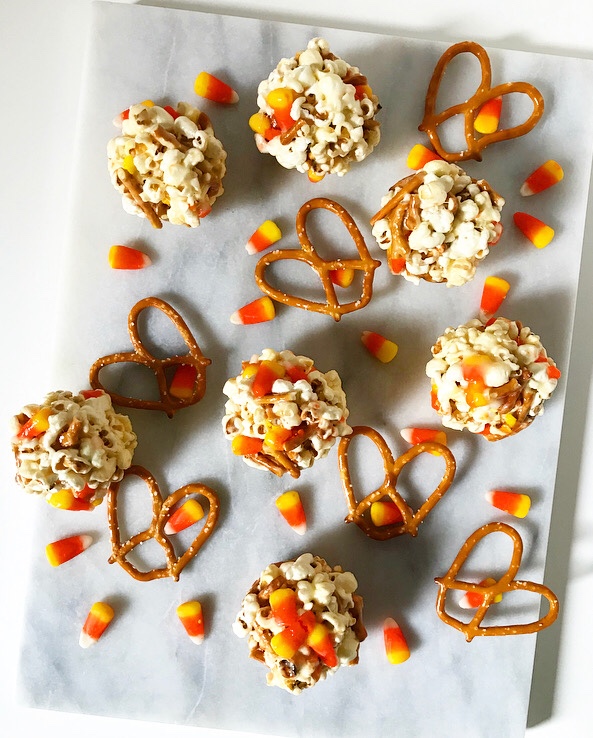 But seriously, I have no idea why I had never had a popcorn ball before a few weeks ago. Maybe it’s a northern thing? Do Texans just not make popcorn balls? Do I secretly love Halloween? Is my entire life a lie???
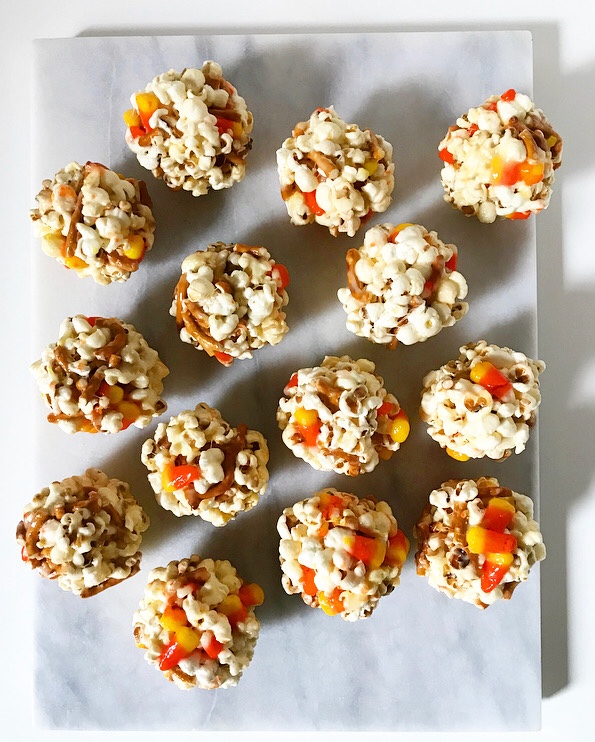 …whatever it is, I am now firmly in support of all things Halloween as they relate specifically to spherical sticky-sweet popcorn. And also candy corn. But nothing else, okay? Okay.
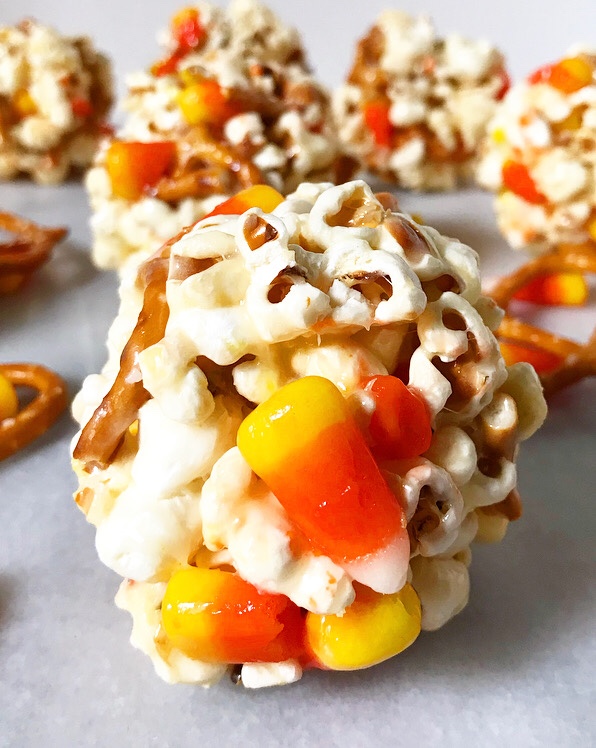
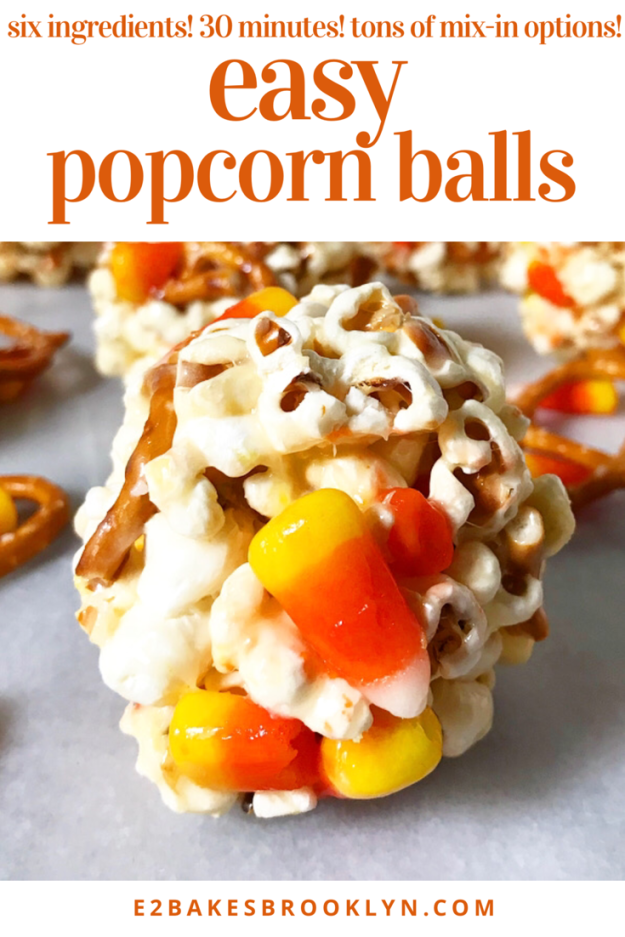
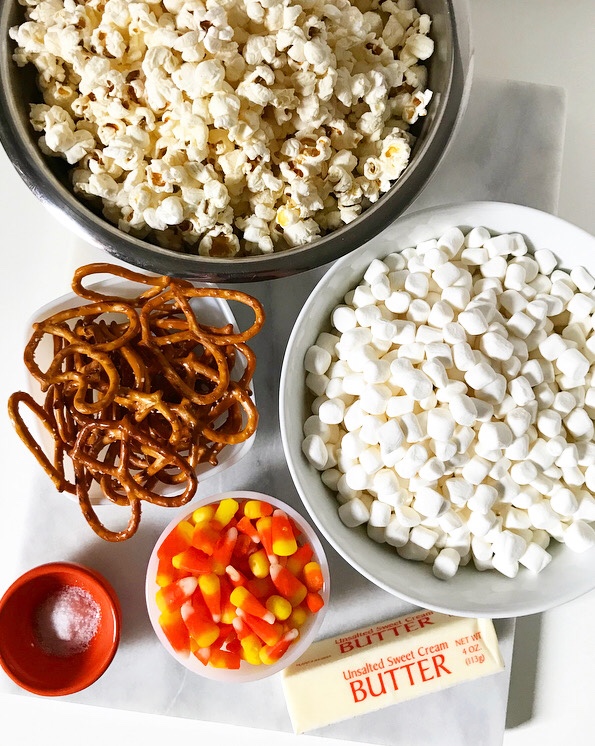 Lots of popcorn ball recipes are molten sugar or caramel-based and require a candy thermometer, but I went in a different, easier direction, using Rice Krispies Treats as a guide. Butter and marshmallows are melted together and flavored with a little salt before 10 cups of plain popcorn are folded in. I like to add mix-ins for flavor/textural diversity, but feel free to leave ‘em out if they’re not your thing. I love (!) the sweet/salty candy corn and pretzel combo I used in this batch, but if those flavors aren’t your bag, don’t fret! I’ve written a list of alternatives in the recipe. You can use pretty much whatever you want, except for un-coated chocolate (it’ll melt).
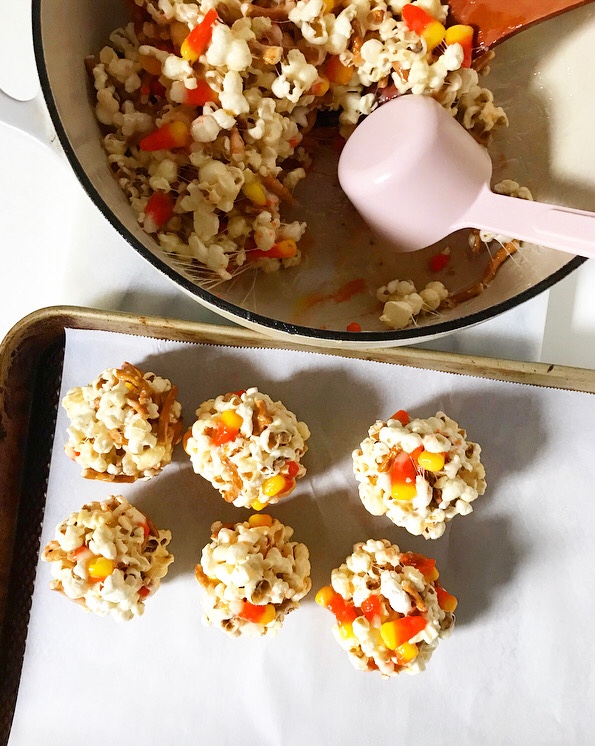

 Once the mixture is to your liking, let it cool for about 5 minutes, just until you can handle it. Then butter your hands and press heaping 1/2 cups of sticky popcorn into balls and set them on a piece of parchment. After that’s done…well, you’re done. Except for the part where you watch the World Series and eat crunchy, just barely gooey, candy corn & pretzel-studded popcorn balls and call it Halloween. Or maybe that’s just me.
Easy Popcorn Balls
makes about 14 balls
1/2 cup (1 stick) unsalted butter
1 10-ounce bag mini marshmallows (about 6 cups)
1/2 teaspoon Kosher or sea salt
10 cups plain popped popcorn (from about 1/2 cup kernels)
1 cup candy corn
1 cup broken pretzel pieces
Alternative mix-in ideas (use 2 cups total):
M&Ms
Reese’s Pieces
salted peanuts
chopped Twizzlers
broken Oreos
sweet cereal of choice
Line a rimmed sheet pan with parchment. Set aside.
Melt butter a large, heavy-bottomed pot over medium-low heat. Add marshmallows and all and stir until smooth. Carefully fold in popcorn. Remove from heat. Fold in candy corn and pretzels, or other desired mix-ins. Let mixture cool 5 minutes, or until just cool enough to handle but still pliable.
Grease your hands and a 1/2 cup measuring cup. Use the measuring cup to scoop heaping 1/2 cups of the popcorn mixture. Coax it out of the cup by inverting/using your fingers and then use your hands to firmly press the popcorn mixture into a ball. Place the popcorn ball on the prepared pan. Continue, working quickly, until all popcorn mixture is used. Let popcorn balls cool until set.
Popcorn balls are best the day they are made, but may be kept covered at room temperature for up to 3 days. If you are concerned about them sticking together, you can wrap each in plastic wrap.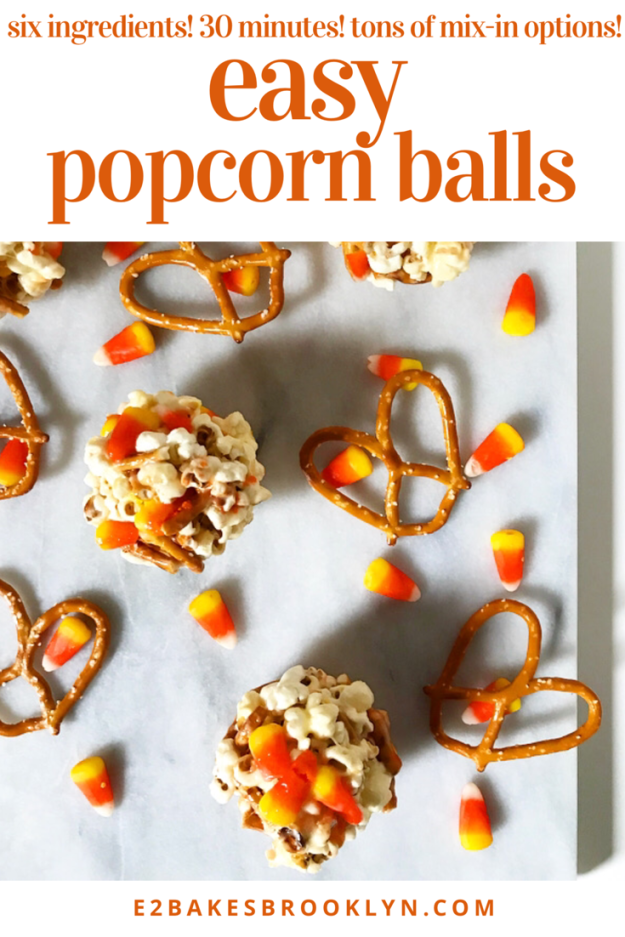
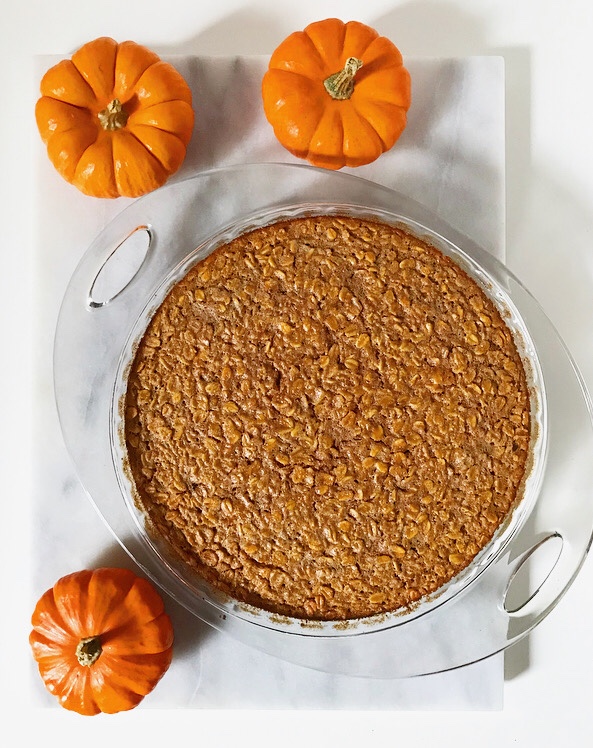 Some foods are easier to photograph than others and…well…
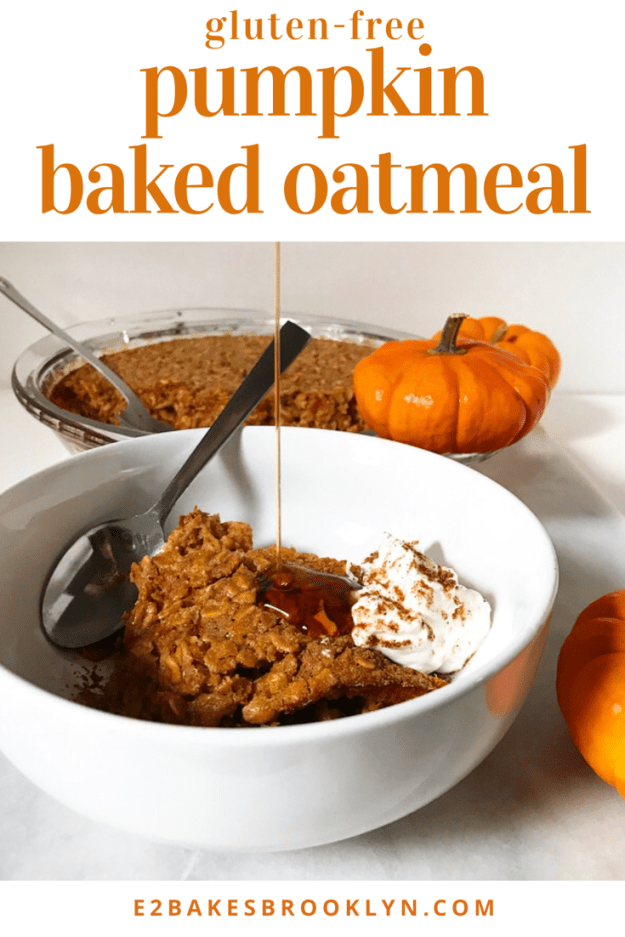
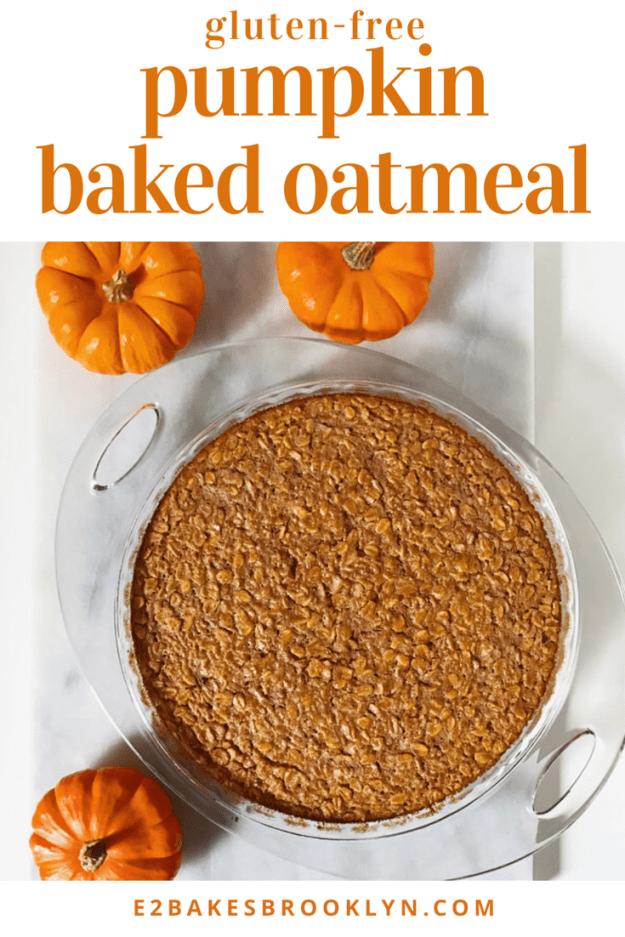
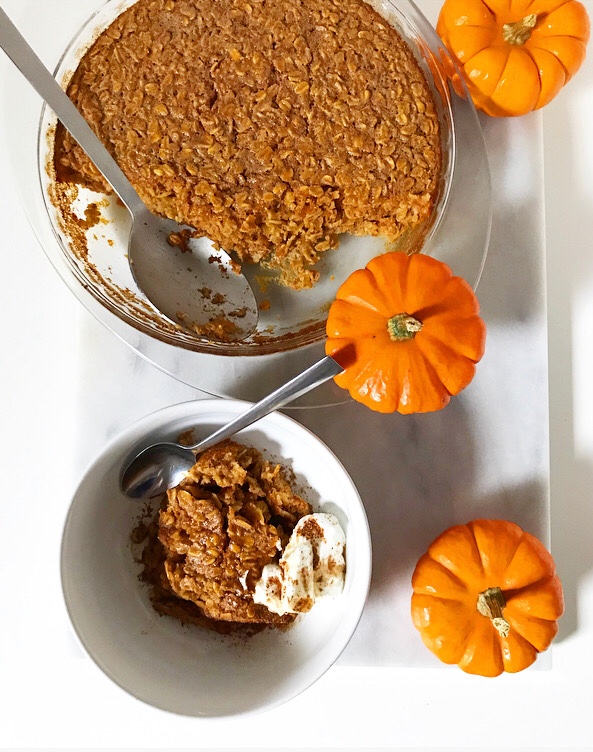 That said, what baked oatmeal lacks in aesthetic appeal (dull brown and lumpy 😬😬) it more than makes up in delicious whole grain flavor. This one is especially enticing—it’s made with a hefty scoop of pure pumpkin purée and big hit of pumpkin pie spice for maximum seasonal breakfast magic.
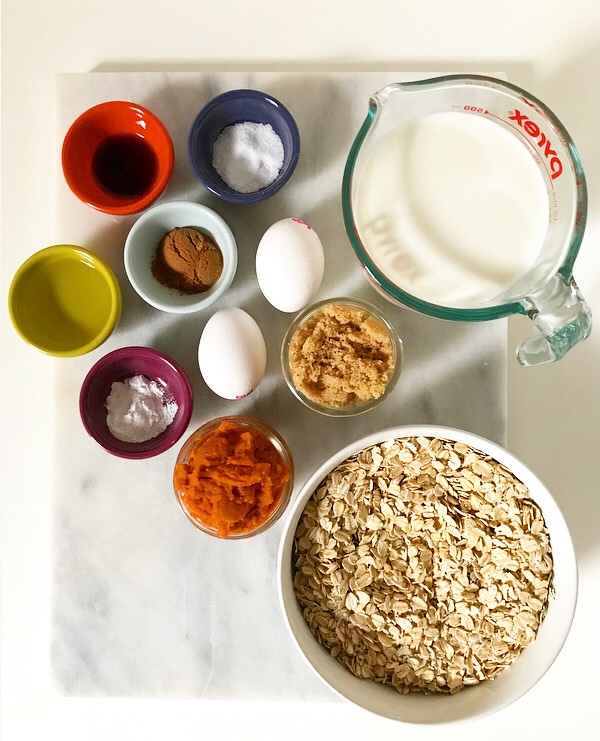
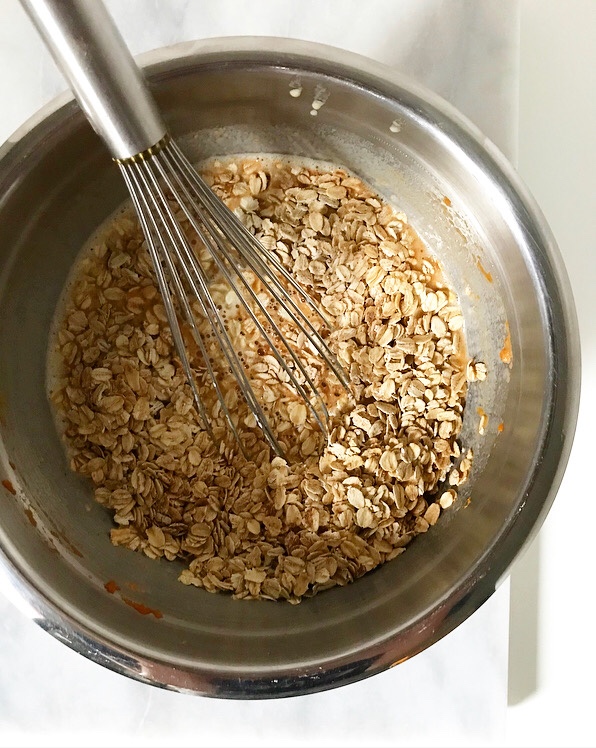
 It’s also very easy to make. The most difficult (if you can even call it that) step is toasting the oats, and that requires little to no actual brain power. Just scatter the oats onto a pan, put them in the oven, and set a timer. Boom. Done.
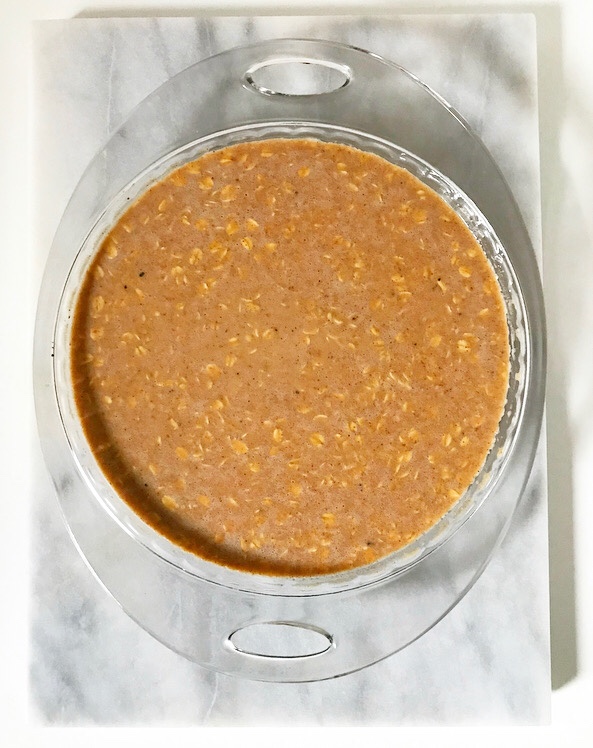
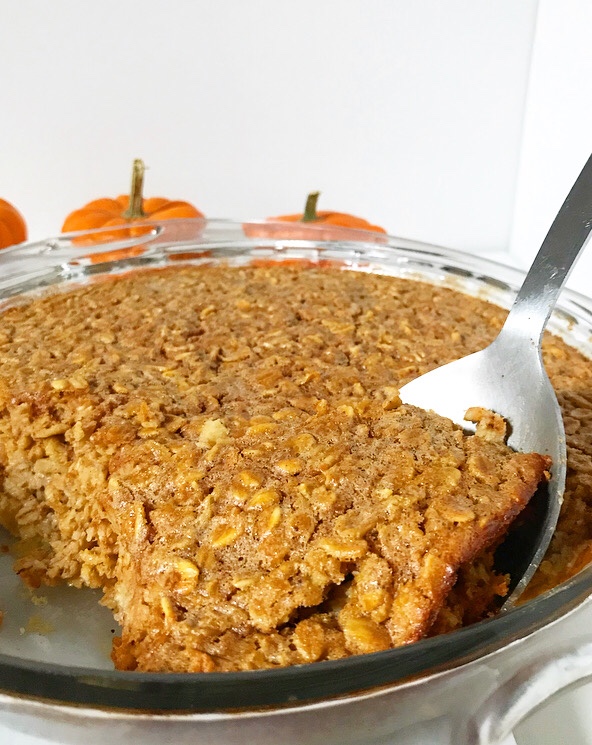 My favorite thing about Pumpkin Baked Oatmeal? It reheats like a dream! This, in addition to being filling and fairly good for you, makes it perfect for weekday breakfasts. Just heat individual portions as needed and enjoy.
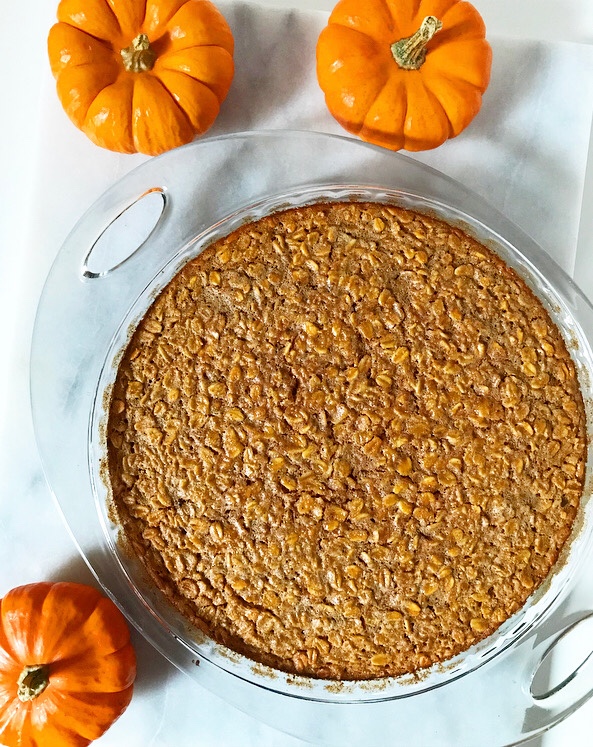
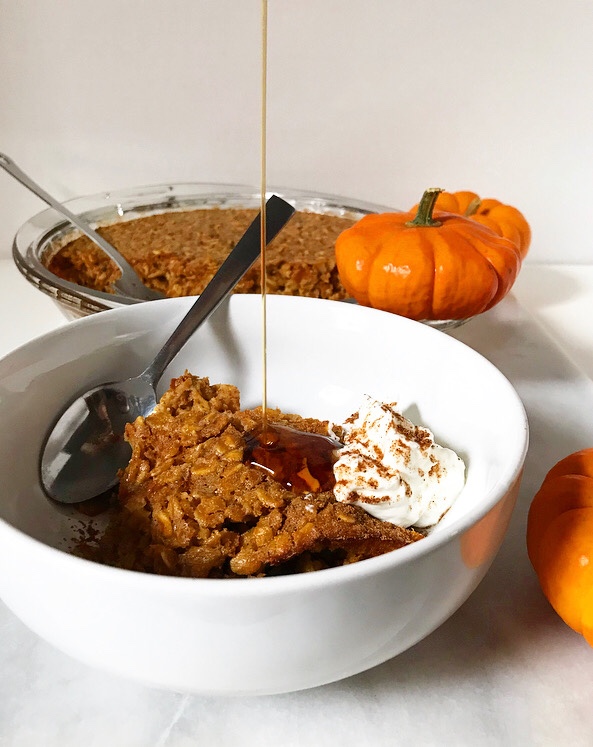 Of course, it’s also a great low-maintenance-but-still-“special” thing to make on the weekends. And I wouldn’t be disappointed to see it over the holidays.
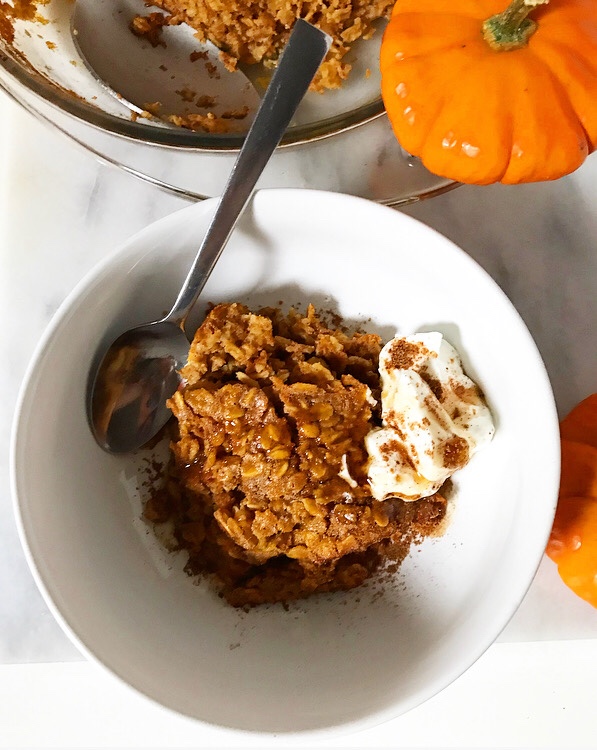
 Sometimes it takes years of thinking and testing and cursing and problem-solving—or, to be brief, “general creative agony”—to formulate a recipe. Other times, the recipe comes up and metaphorically slaps you in your dessert-obsessed face.
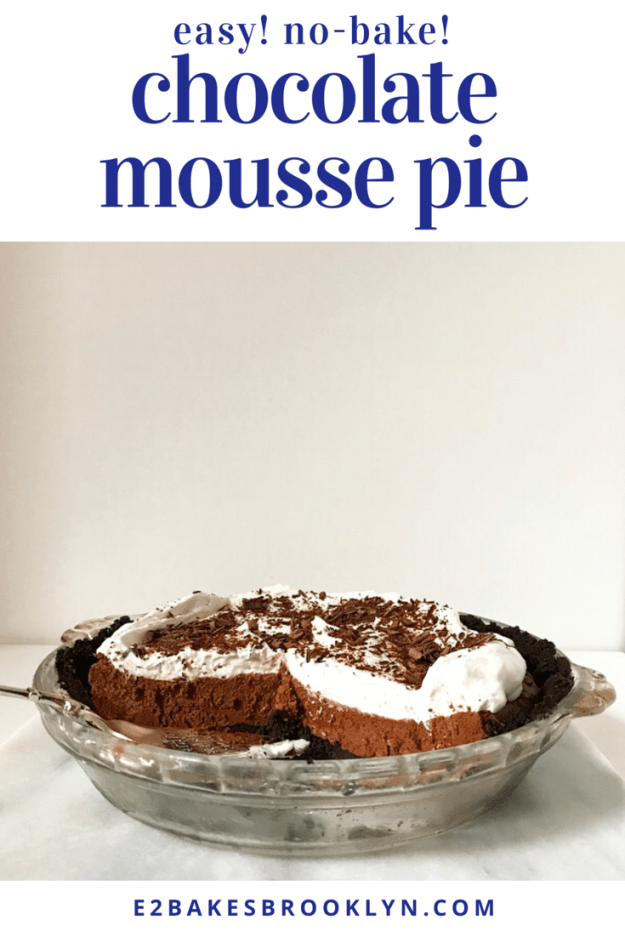
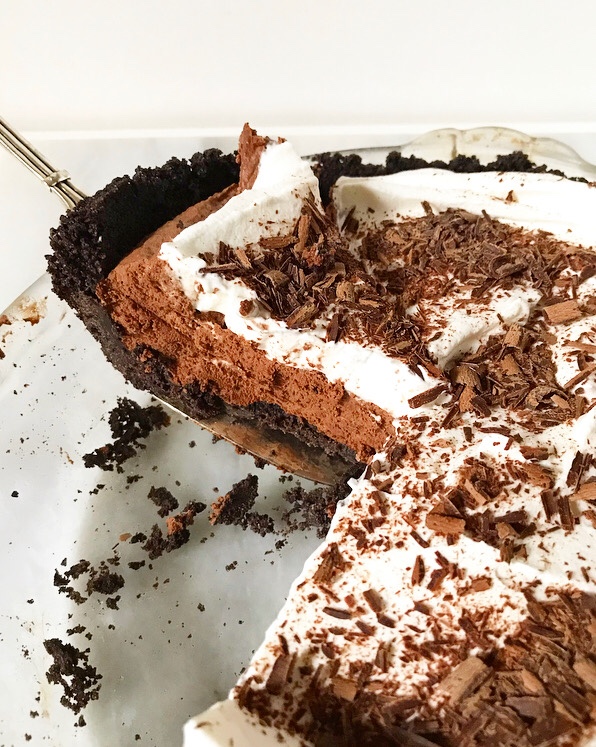 You can guess which sort of recipe this Chocolate Mousse Pie is.
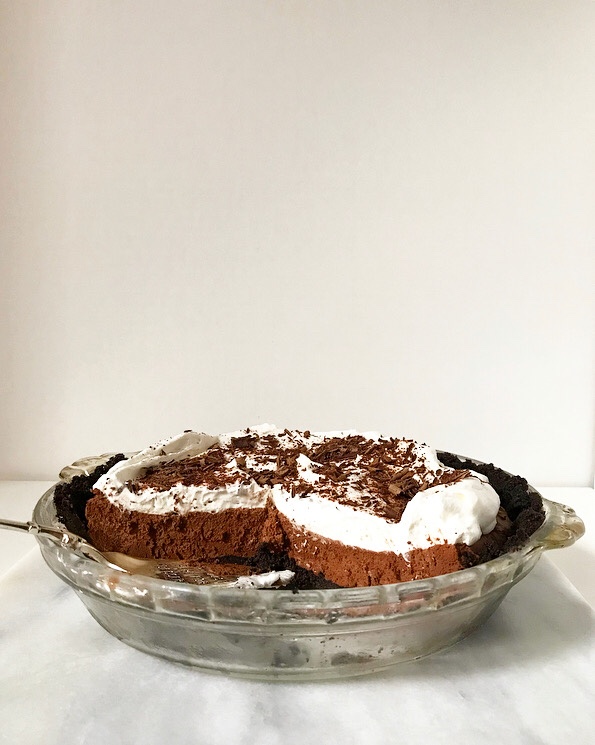 Y’all! How did I not make a Chocolate Mousse Pie sooner? How did it never cross my mind? I’ve had a magnificent
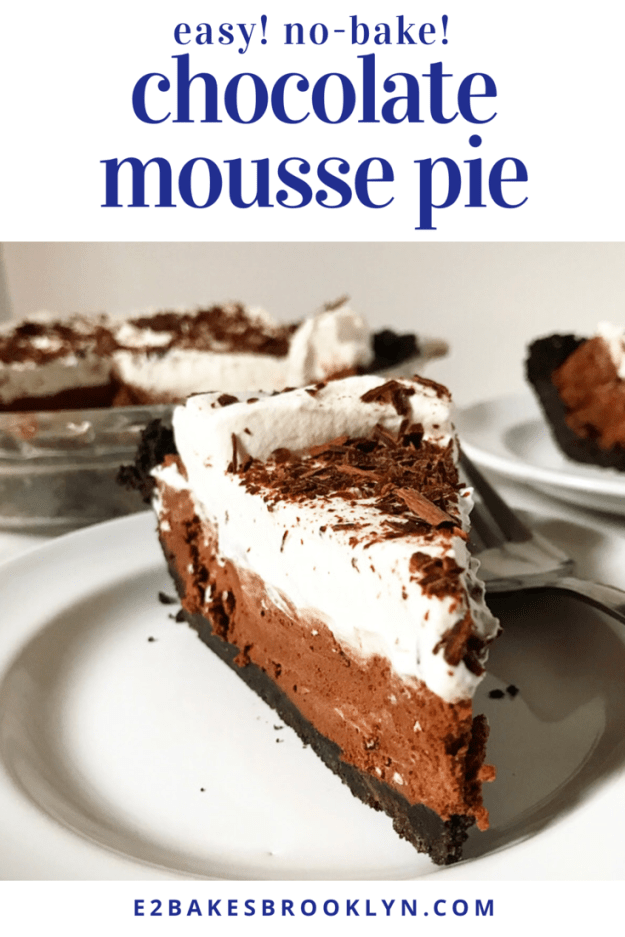
  This is exactly the sort of recipe I love to have in my back pocket. It’s super simple to make and a universal crowd-pleaser. Who can resist fluffy homemade chocolate mousse, whipped cream, and Oreo crumb crust? Not this baker.
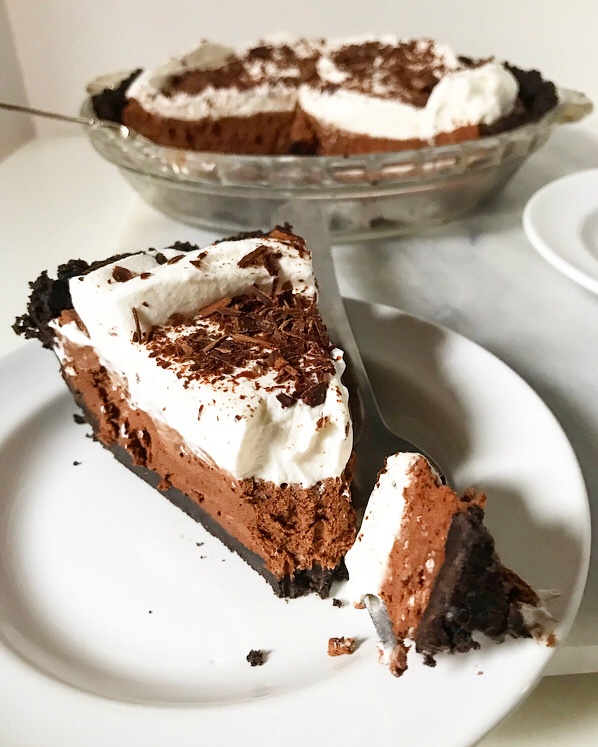
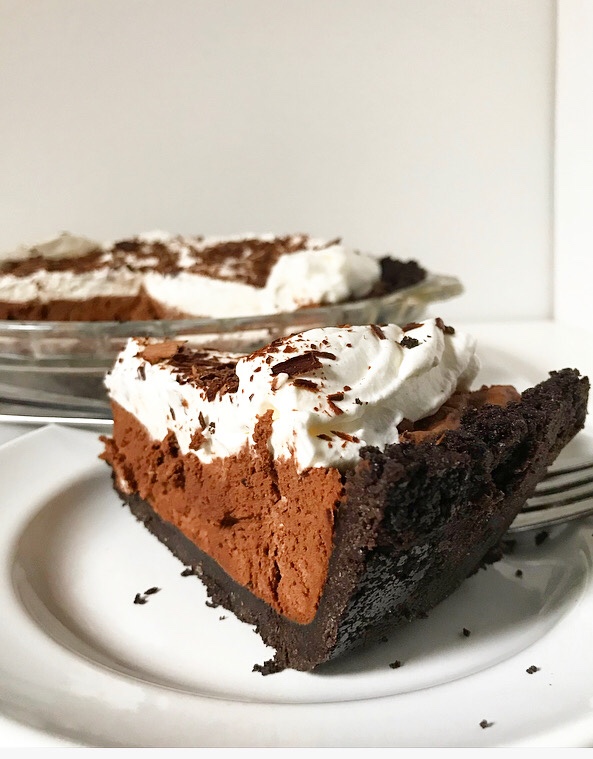 …or should I say “no”-baker? This is a no-bake pie, after all! There are a couple of chilling steps in the recipe, but no need to crank up your oven. I’ve got a few
  But! But. It’s not even
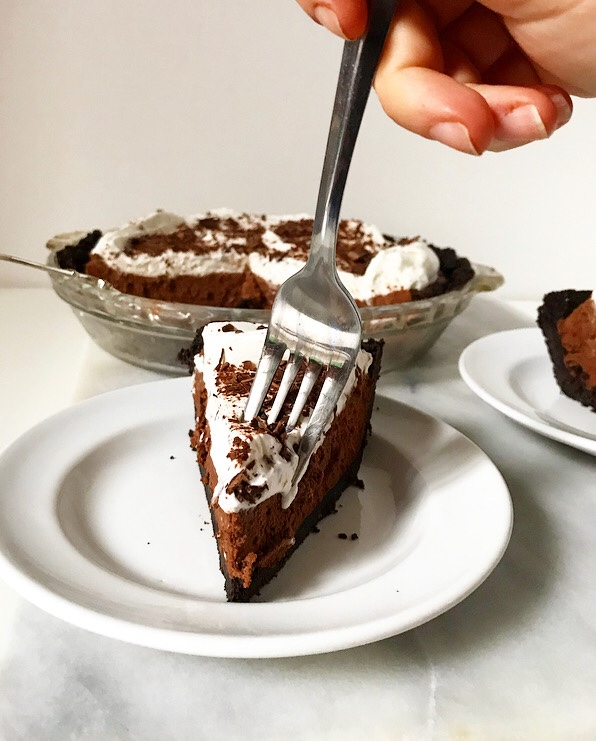

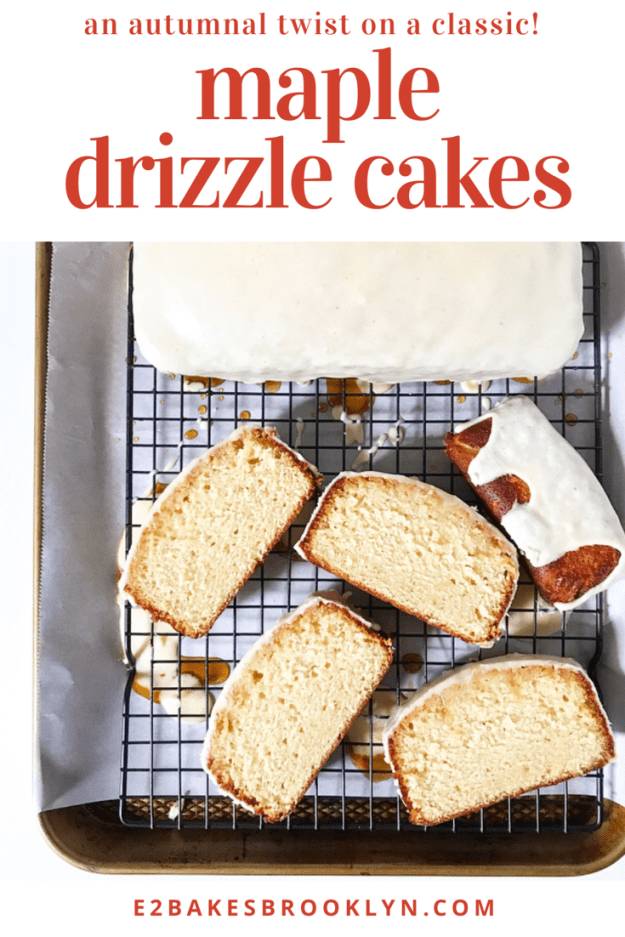
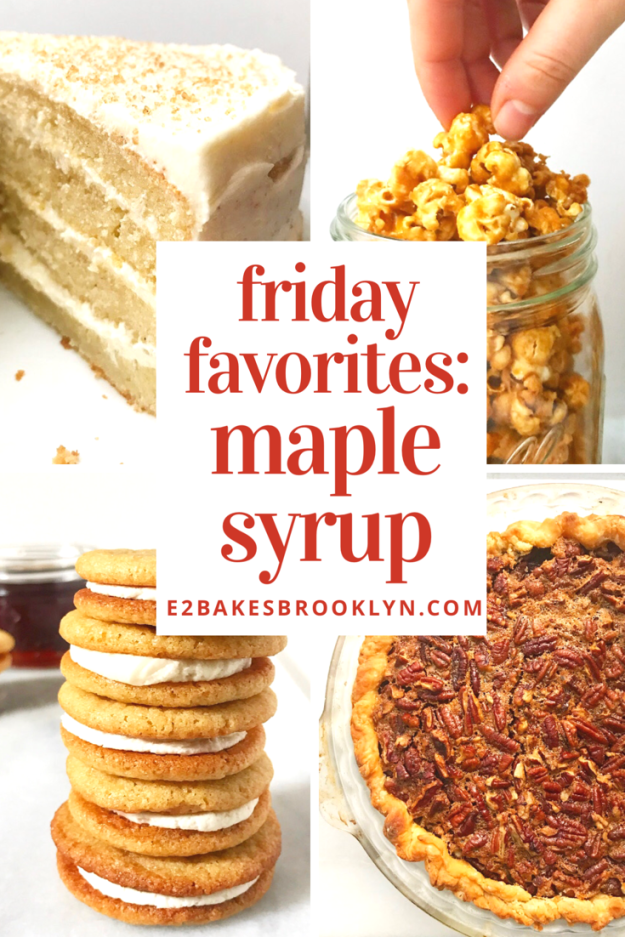
 I feel like this fall is all about maple syrup. But based on
 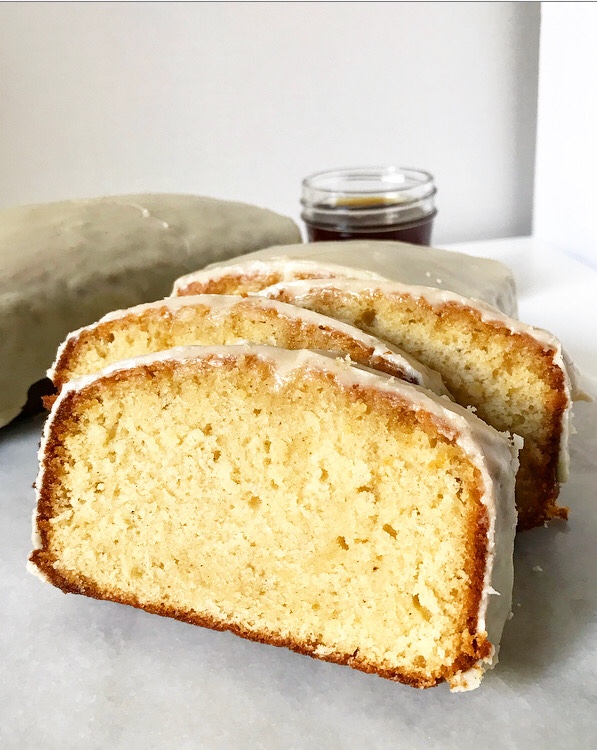 I mean, have you tried my
 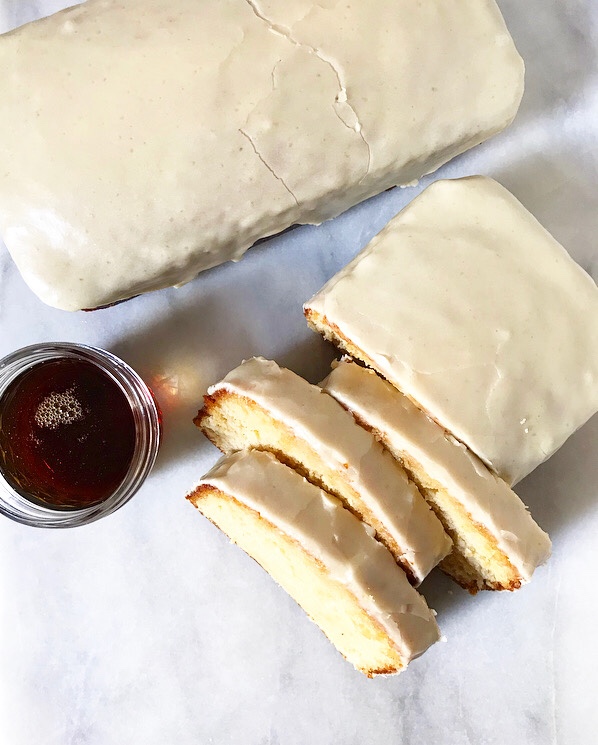 As you may have guessed, these are an autumnal take on classic
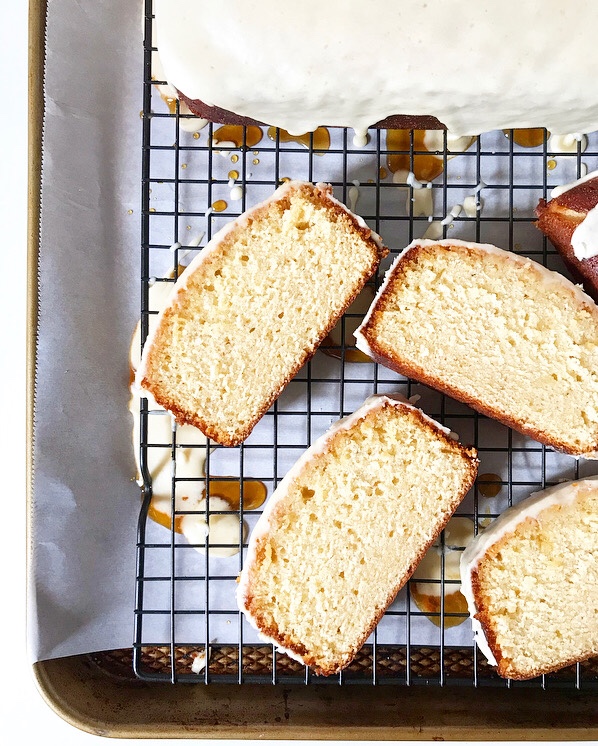
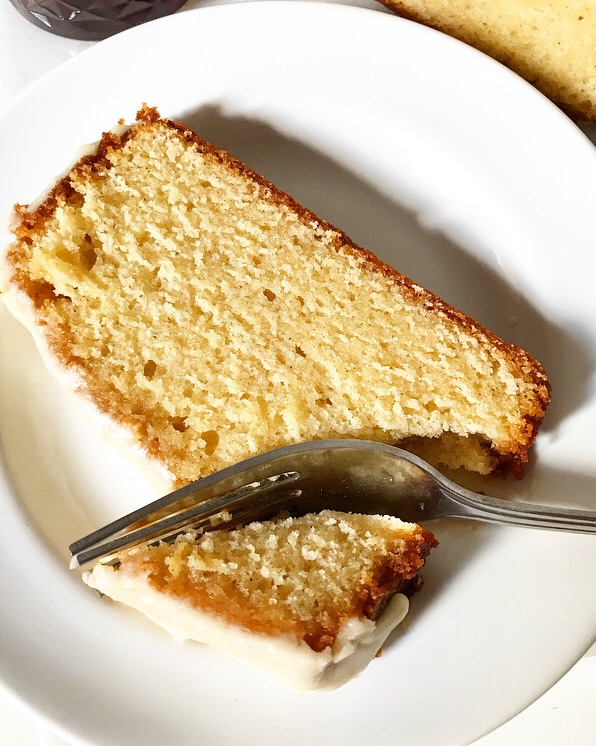
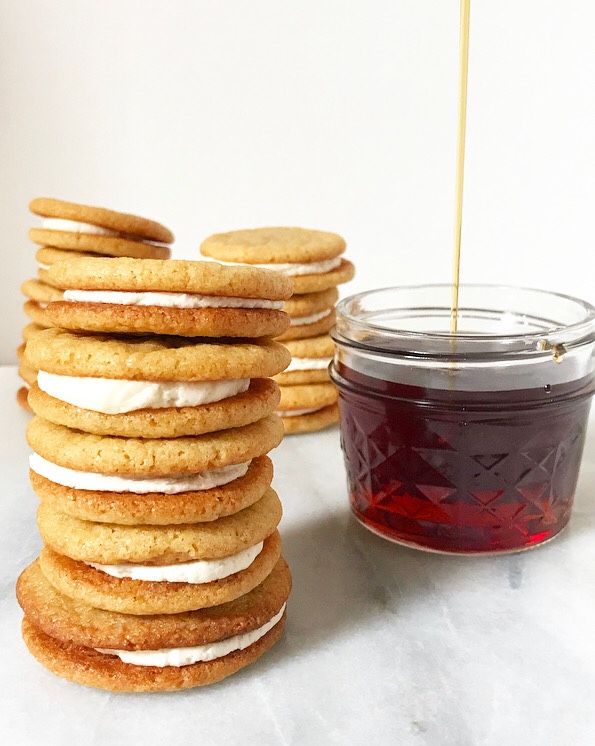
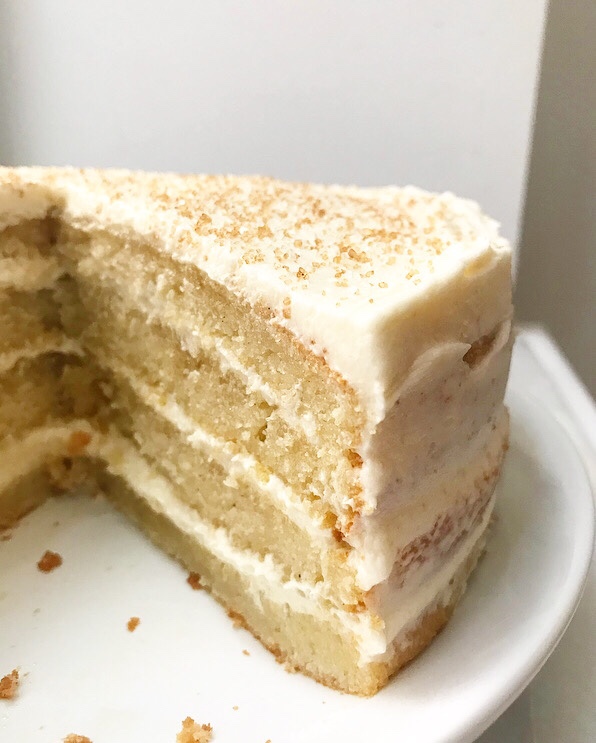
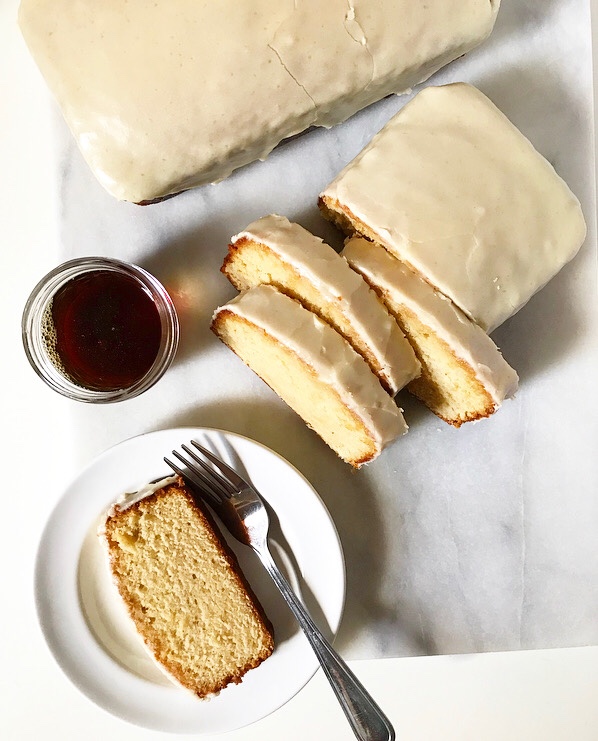
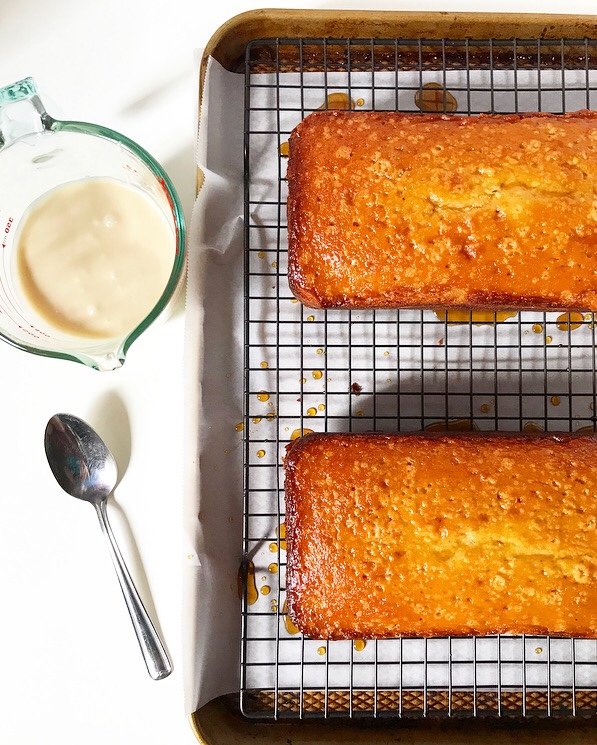 After baking, tiny holes are poked in the warm cakes and maple syrup is brushed over the tops and allowed to soak in. Alternatively, you can cool the cakes and then brush on warmed maple syrup. No matter which method you choose, this will add extra moisture and flavor, and make your cakes extra delicious.
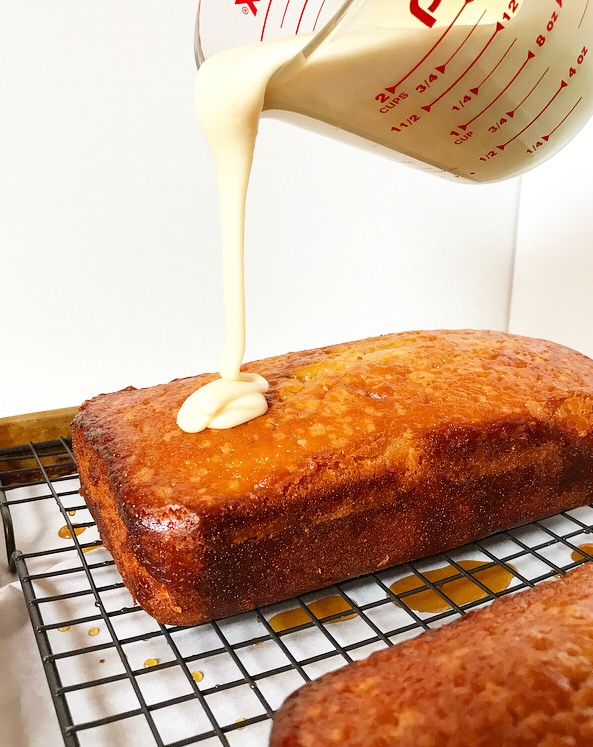
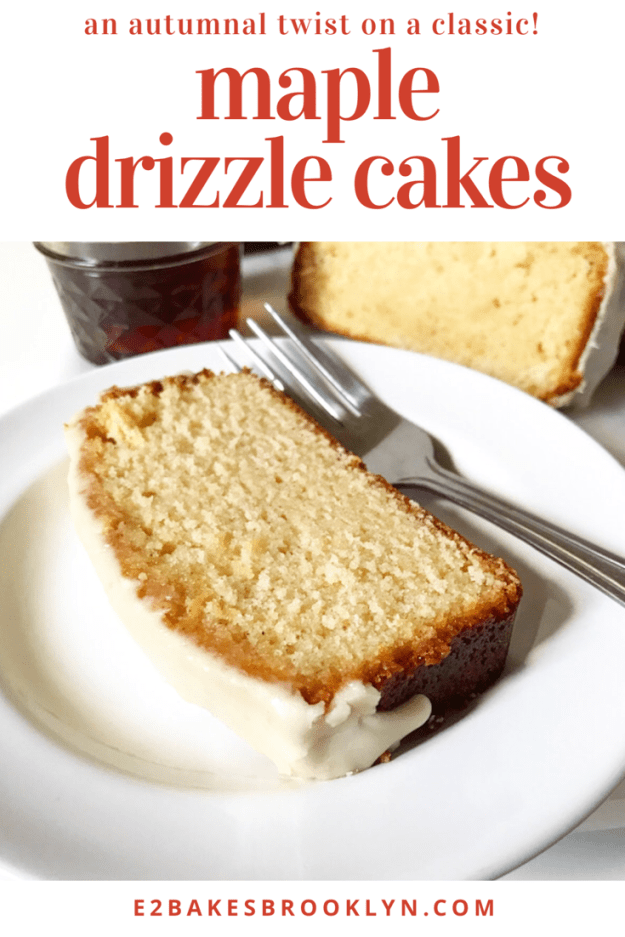
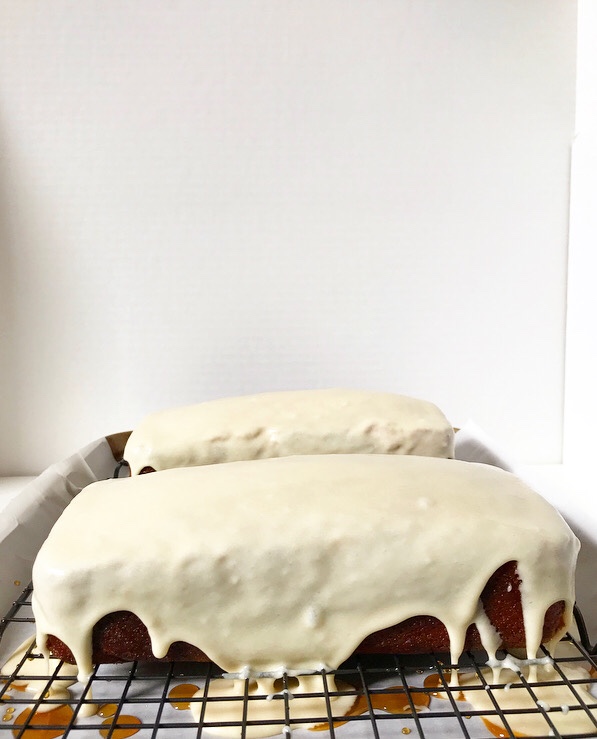 The icing is made primarily of maple syrup, confectioner’s sugar, melted butter and water. It goes on as a liquid, cascading down the sides of the cake before drying to a set finish. I like the icing recipe as written, but you could add another layer of flavor by browning the butter. You know, if you’re into things like that.
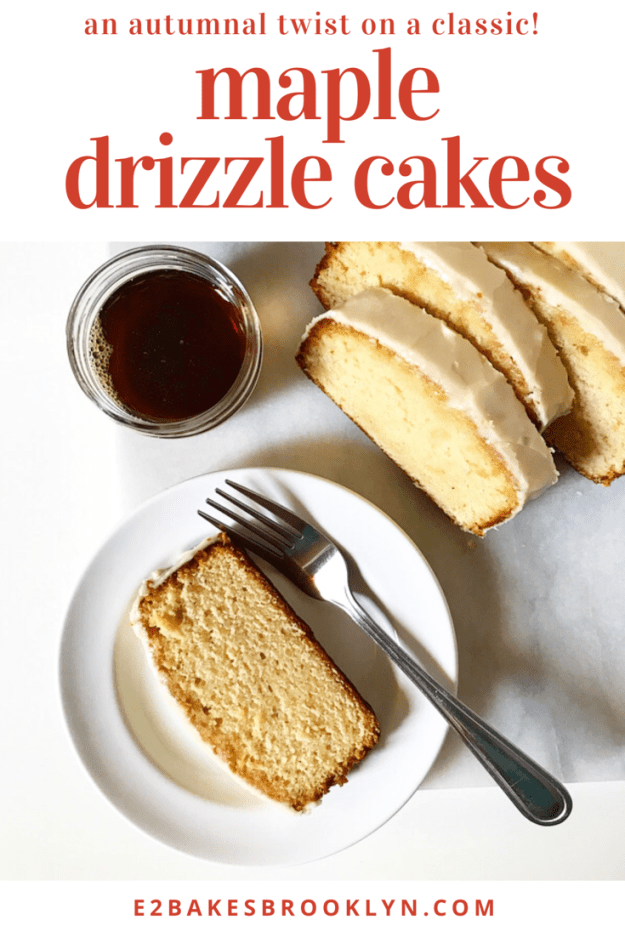
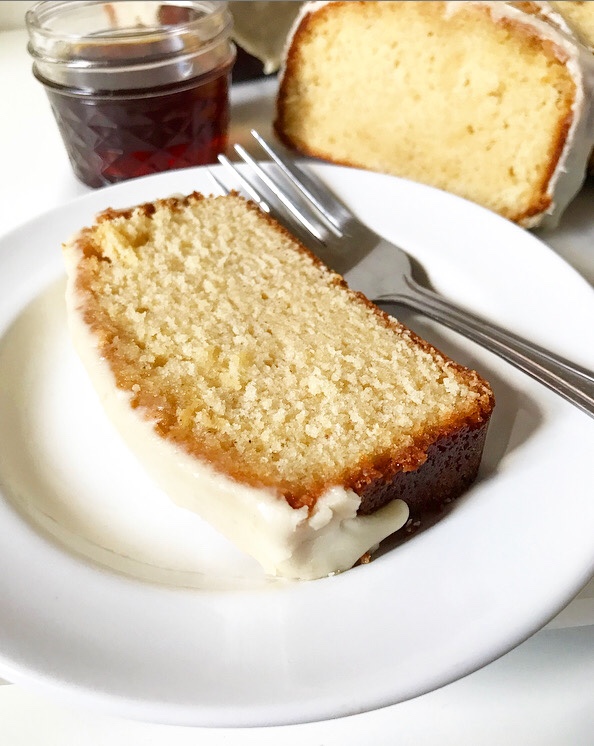 Maple Drizzle Cakes are great for any occasion. You could use them as hostess gifts, pack them carefully and mail them overnight to someone you love, leave one in the office break room, or even serve one as a non-pie Thanksgiving dessert (we all know a pie hater).