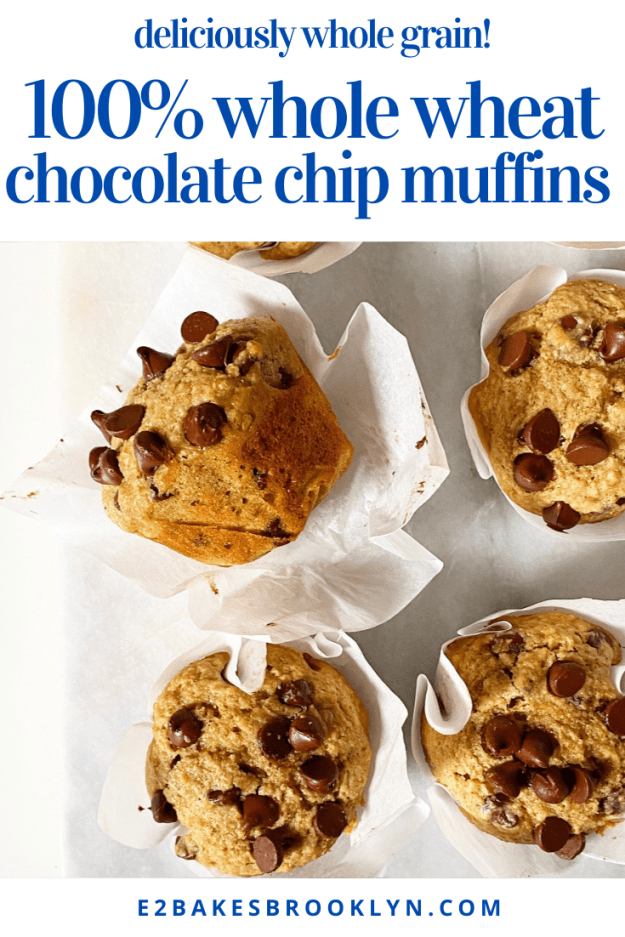
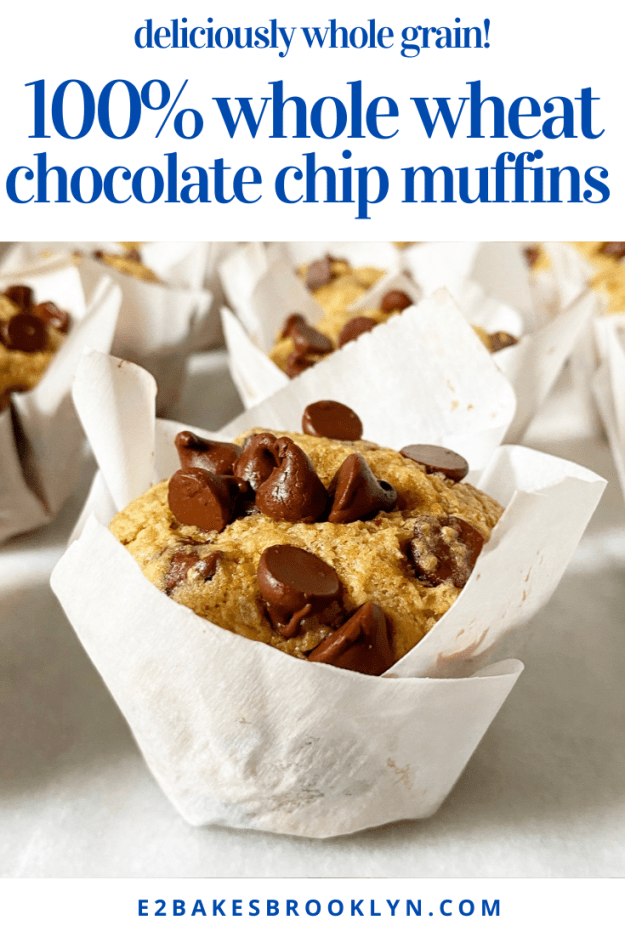
 In five years, I’ve deleted exactly three recipes from this blog. I’ve kept terrible photos, absurdly lengthy writing and even some personal stuff on here, so you may be wondering why I’d remove whole recipes. The answer is simple: because they were bad. Not “not perfect,” not “unoriginal.” Just bad. They didn’t taste good and/or work properly, and those are basically the only two requirements for me to put a recipe on here, so I deleted them. Among the group were a batch of Whole Wheat Chocolate Chip Muffins that were truly atrocious, and which I have finally found the time to rework into something delicious.
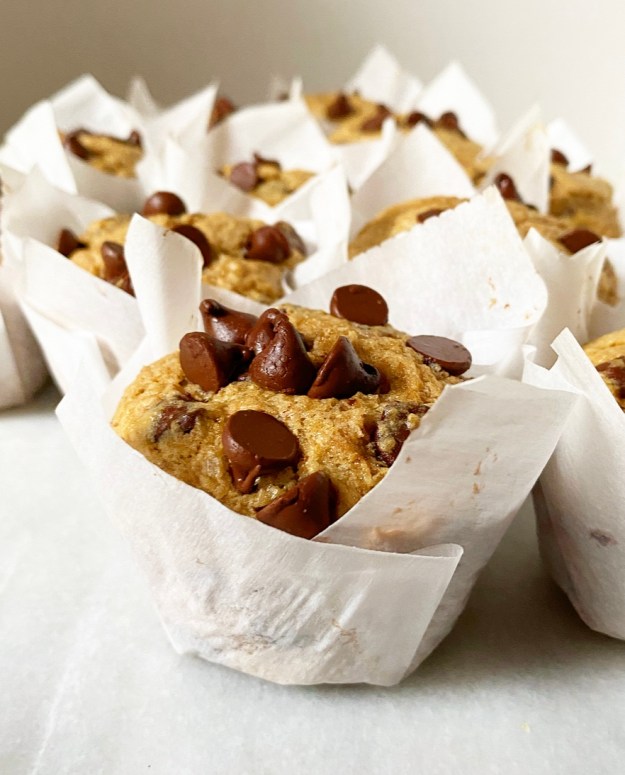 Now, I didn’t intentionally write a terrible muffin recipe. There were circumstances. I wrote the old recipe for Whole Wheat Chocolate Chip Muffins when I was five days off the break-up a four year relationship. That was my first mistake—don’t try to do good work when you’re heartbroken.
My next mistakes were not adding enough fat, eggs or dairy. My best friend made the old version a few years back and the only word she used to describe them was “lumpy.” Yikes. I took down the recipe shortly thereafter and put the words “Whole Wheat Chocolate Chip Muffins” on my to-bake list once again.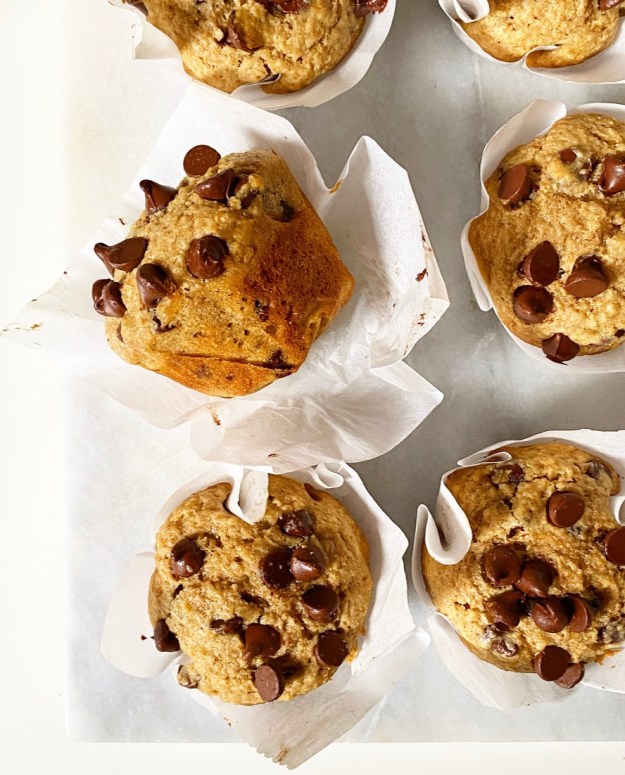 Two weeks ago, I found myself five years more experienced, very over that boyfriend, and with a large bag of mostly-unallocated whole wheat flour. Armed with that and a newfound favorite muffin recipe, I set out to fix my past mistakes. Dare I say I nailed it?
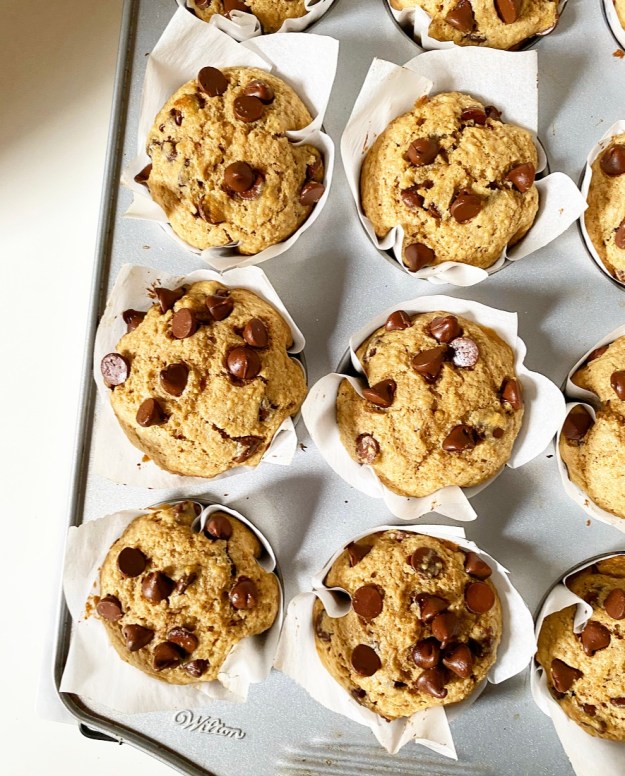
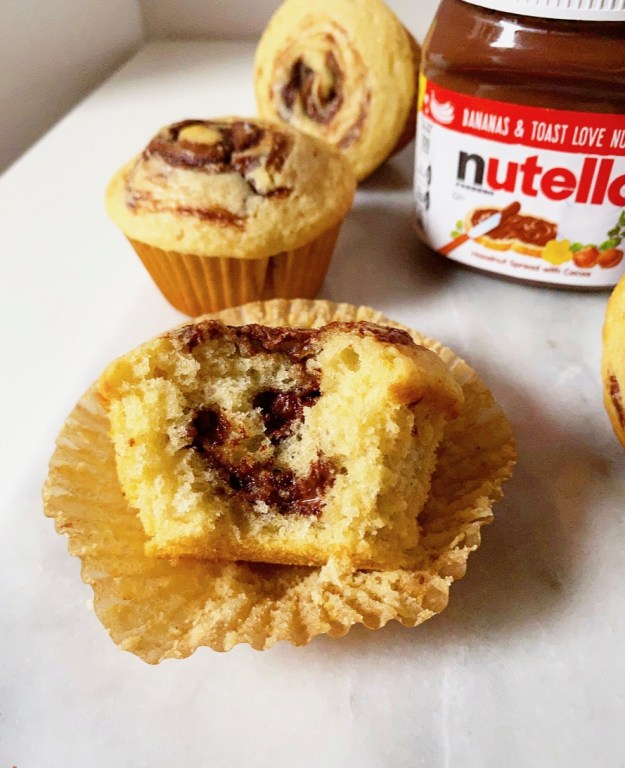
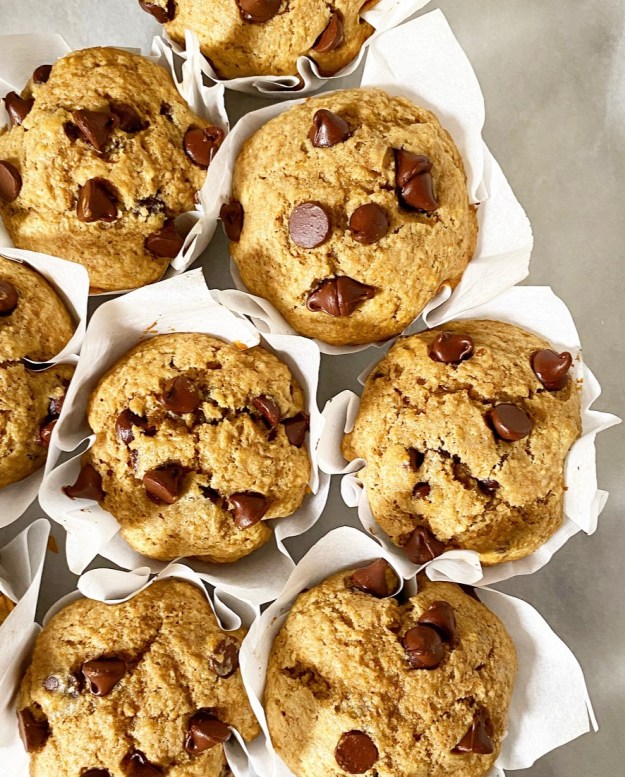 These Whole Wheat Chocolate Chip Muffins are soft and just sweet enough, with plenty of chocolate chips and whole grain flavor. Butter, sour cream and eggs keep them moist and balance the potential for heaviness that comes with using all whole wheat flour. They also get a little lift from starting in a 400F, then continuing at 350F until they’re fluffy, puffy and perfect.
Thank goodness for second chances.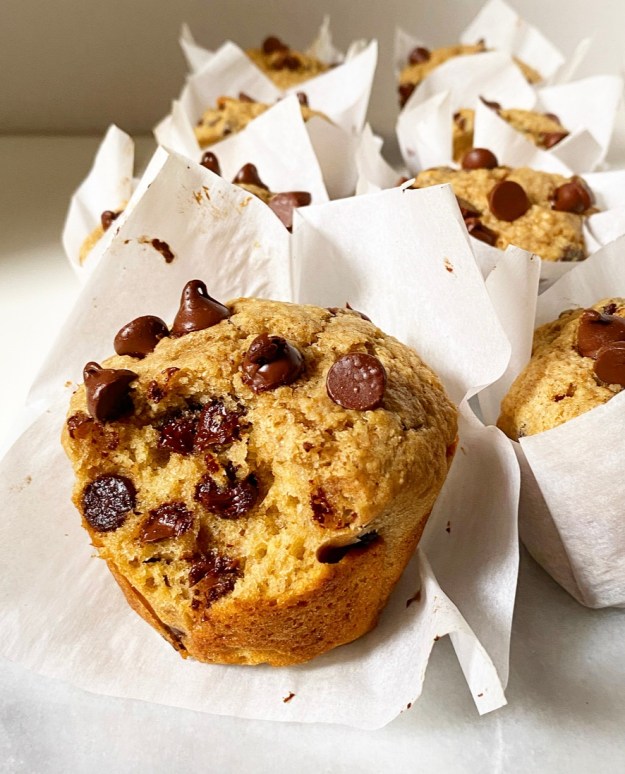
Whole Wheat Chocolate Chip Muffins
makes 12 standard muffins
2 cups whole wheat flour (or white whole wheat flour)
1/4 teaspoon cinnamon
3/4 cup light or dark brown sugar, packed
1 1/2 teaspoons baking powder
1/4 teaspoon baking soda
1 teaspoon Kosher or sea salt
2 large eggs, room temperature
1/2 cup (1 stick) unsalted butter, melted
1 1/2 teaspoons pure vanilla extract
2/3 cup milk, room temperature (not skim or nonfat)
1/3 cup sour cream, room temperature
1 1/2 cups semisweet chocolate chips, plus more for topping
Preheat oven to 400F. Grease a 12-cup standard muffin tin, or line with cupcake liners. Set aside.
In a small mixing bowl, whisk together whole wheat flour, cinnamon, brown sugar, baking powder, baking soda, and salt. Set aside.
In a medium mixing bowl, use a whisk to beat eggs. Whisk in butter and vanilla, followed by whole milk and sour cream. Add wet ingredients to dry, using a silicone spatula or wooden spoon to combine. Do not overmix. Fold in chocolate chips. Divide batter among prepared muffin cups. Dot the tops with additional chocolate chips, if desired.
Tap full pan on the counter five times. Bake for five minutes at 400F. Do not open the oven door. Reduce baking temperature to 350F, and bake an additional 15-16 minutes, until a toothpick inserted in the middle comes out clean.
Let muffins cool in the pan for 10 minutes before removing to a rack to cool completely. Serve.
Muffins are best the day they are made, but may be kept covered at room temperature for a couple of days. They will keep well in the refrigerator for up to 5 days.

 Today I’m taking this blog into new territory: bread! You won’t find me feeding any sourdough starters or anything, but I have taken a chance on a few bread recipes over the last year because…well, I had some time on my hands. English Muffin Bread is my favorite by a long shot. It’s got all the craggy structure of English muffins, toasts like a dream, and is so delicious it’s kind of ridiculous.
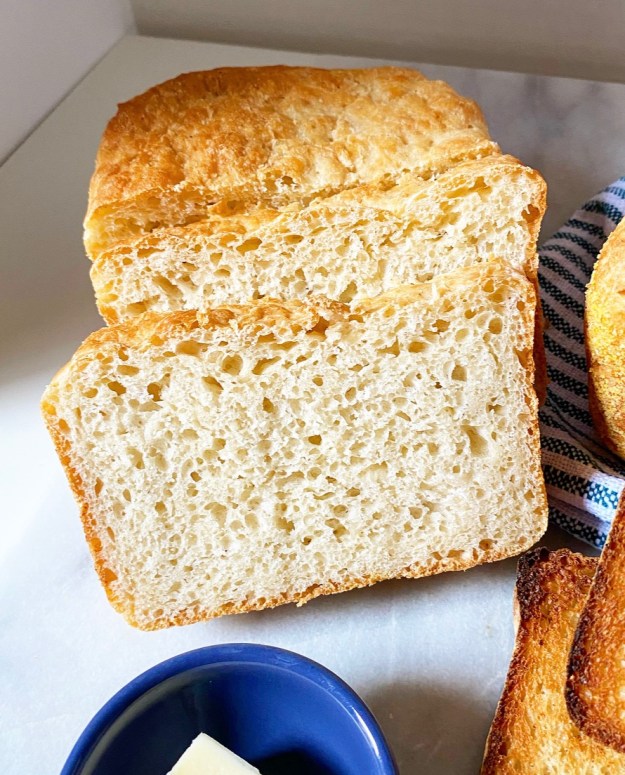 I first heard about English Muffin Bread when
 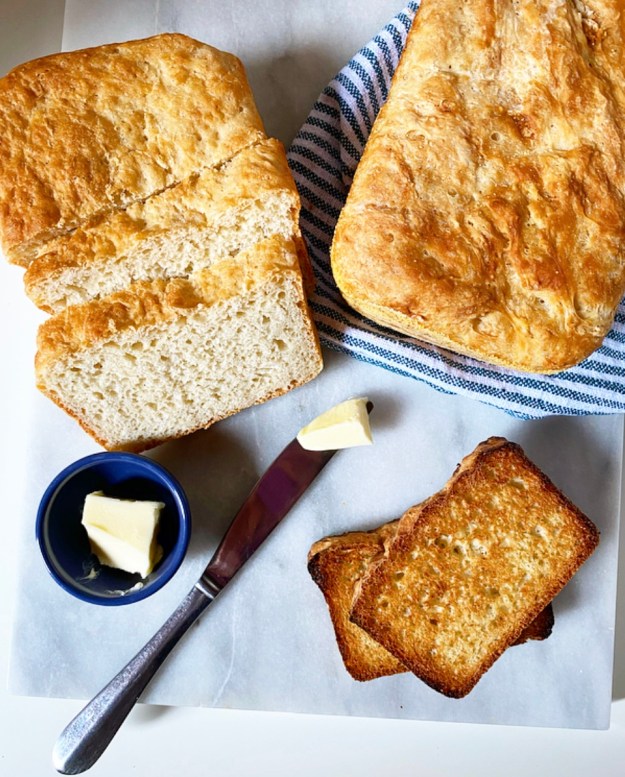 My English Muffin Bread is a one bowl, no-knead, single rise situation. By giving this dough just a few minutes of your time and then a bit of patience, you’ll be rewarded with all the craggy texture you love in English muffins, but in a sliceable, toastable loaf. Two of them, actually.
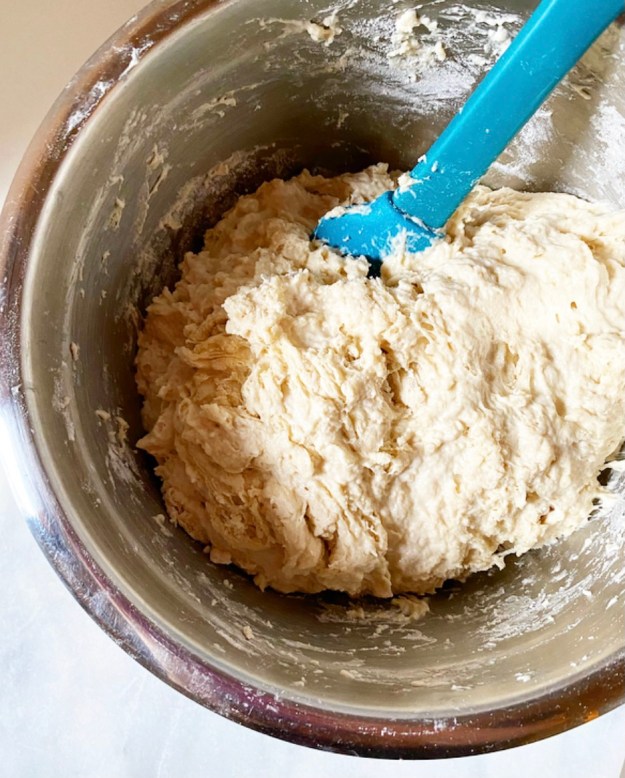 English Muffin Bread couldn’t be easier to make. Simply whisk together flour, a touch of sugar, kosher salt, instant yeast and a little baking soda, then stir in water and melted butter until a shaggy dough forms. Divide your dough in two, then put it in two cornmeal-dusted loaf pans. No, you didn’t miss a kneading step—thanks to the high volume of liquid and the desired texture, there’s no need to knead! <—see what I did there?!
 Let your dough rise for about an hour, just until it peaks over the tops of your pans. The combination of yeast and baking soda along with the single rise mean that the oven-ready dough will be very airy and a little delicate. It should be a bit wet looking and a little jiggly—be gentle with the pans so you don’t knock out any of the holey, craggy structure.
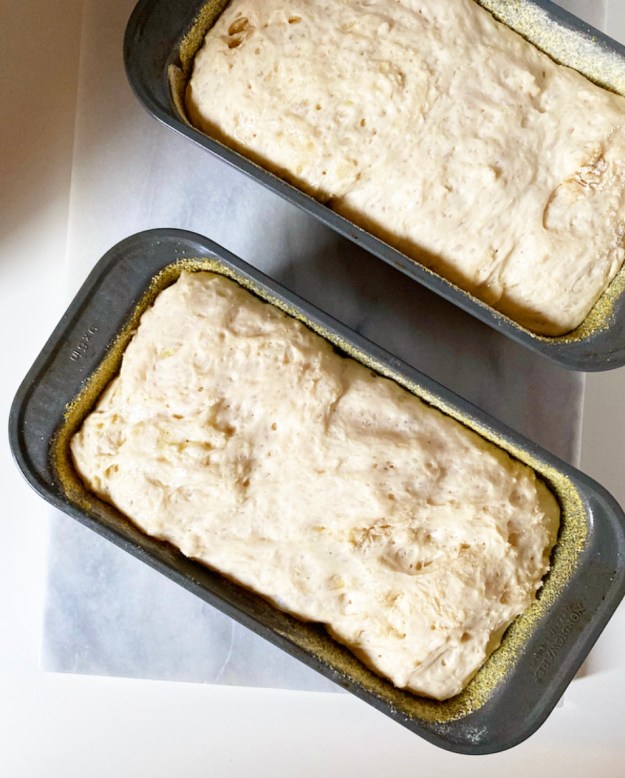 Bake your loaves for 25-30 minutes as 400F, until golden all over and hollow-sounding when tapped. If you’re worried about under-baking, a food thermometer should register 190F when the bread is done.
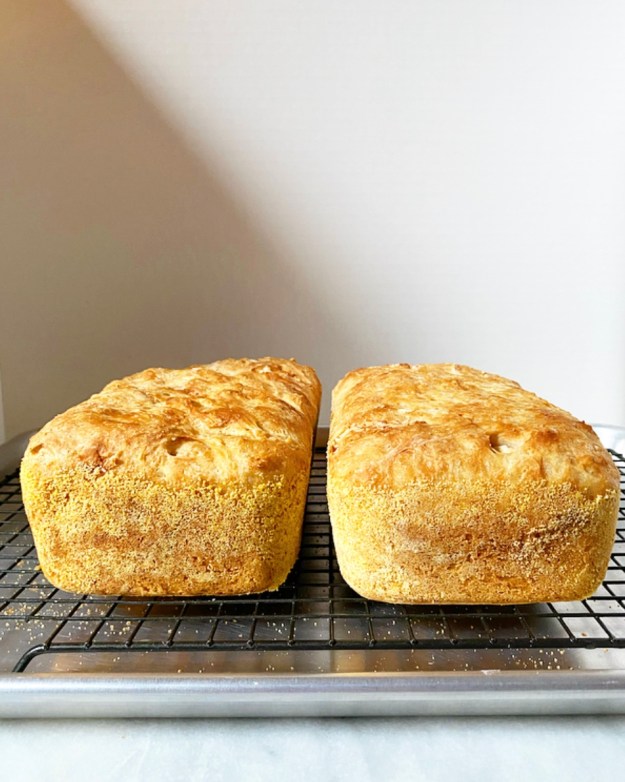
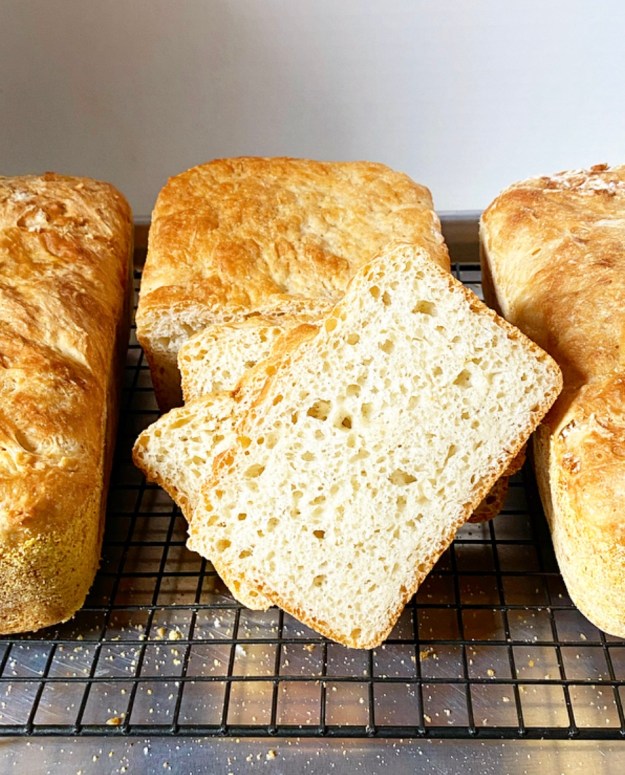 Turn your loaves out onto a rack as soon as they come out of the oven, then let them cool completely. This is supremely important. Do not let the intoxicating smell of fresh-baked bread tempt you to rip into this while it’s cooling or you will find a gross, gummy mess. The hole structure needs to cool completely for maximum English muffin goodness. I find that cooling takes 2-3 hours, but that’s a small price to pay for the quality of toast you are about to consume.
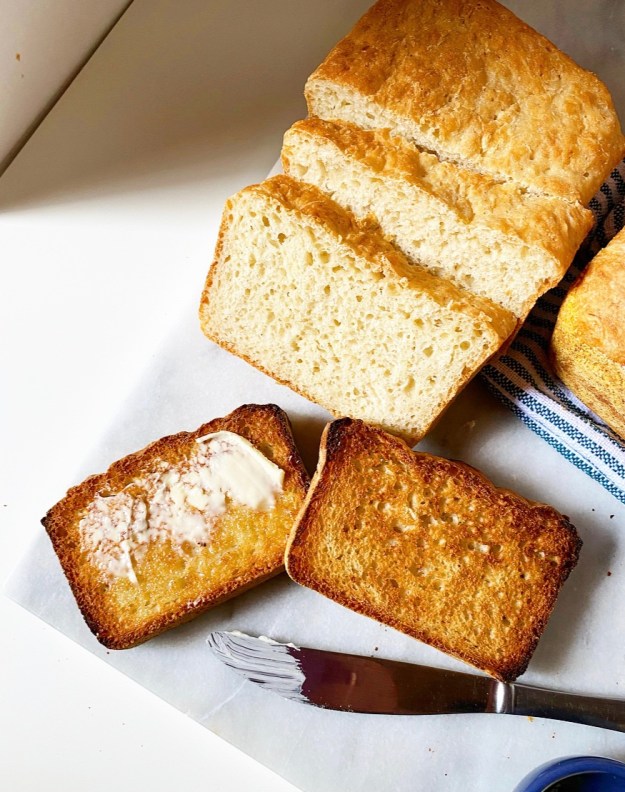 While you can absolutely enjoy a slice of English Muffin Bread without doing anything to it, an extra crispy, golden brown, toasty finish really makes each slice sing. The holes and crags are emphasized, the cornmeal on the edge gets extra crunchy, the minuscule amount of butter in the dough gives it just enough richness. Like a perfectly toasted English muffin, it’s perfect with a smear of soft butter. Or honey. Or jam. Or Nutella. Or peanut butter. Or avocado. Or fried into French toast. Or made into a grilled cheese.
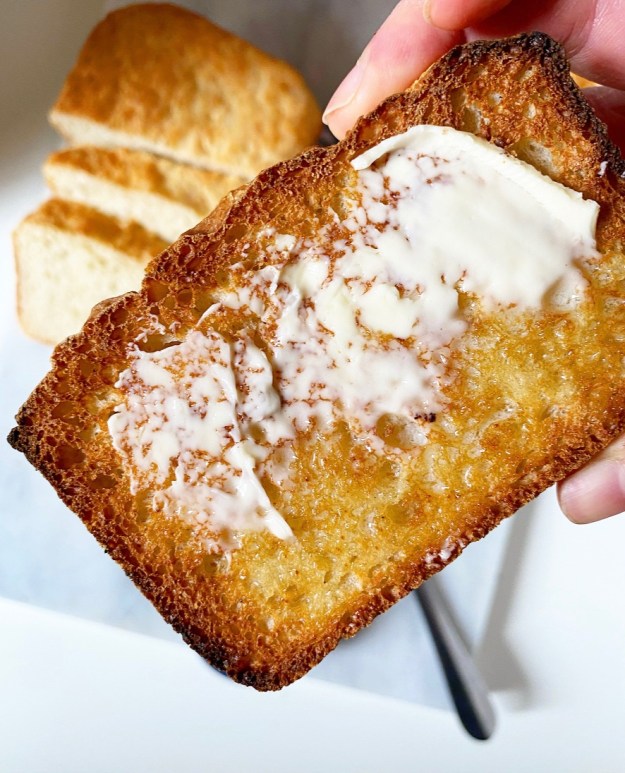
 When I was a kid, I had a friend whose mom hated to cook except for Saturday breakfast. A lot of the meals I ate with this family were takeout, but come the weekend, there were eggs and bacon, orange juice, blueberry muffins, and cinnamon rolls from one of those cans you have to thwack against the edge of your countertop. Little me thought it was the best ever (Puff Pancakes obviously excepted).
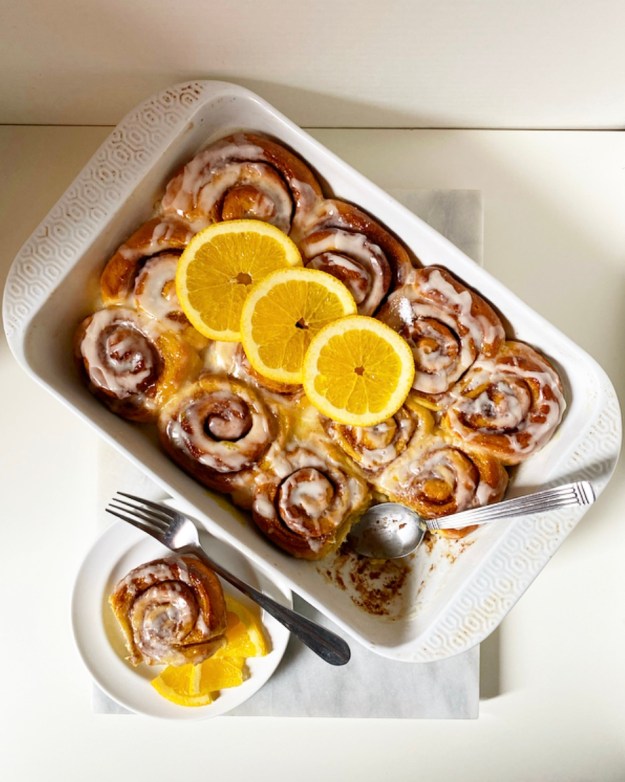 I had one complaint though, because of course I did. Every once in a while the cinnamon rolls would be the orange kind, and while everyone in that family loved them, I deeply did not. I kept my mouth shut—#manners—but I hated them. In fact, I still do, but only because I hate fake orange flavoring.
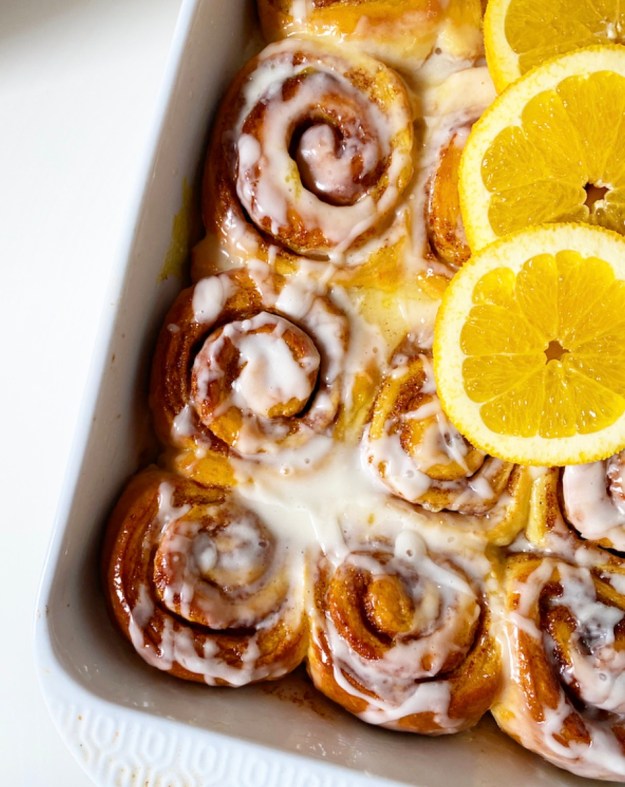
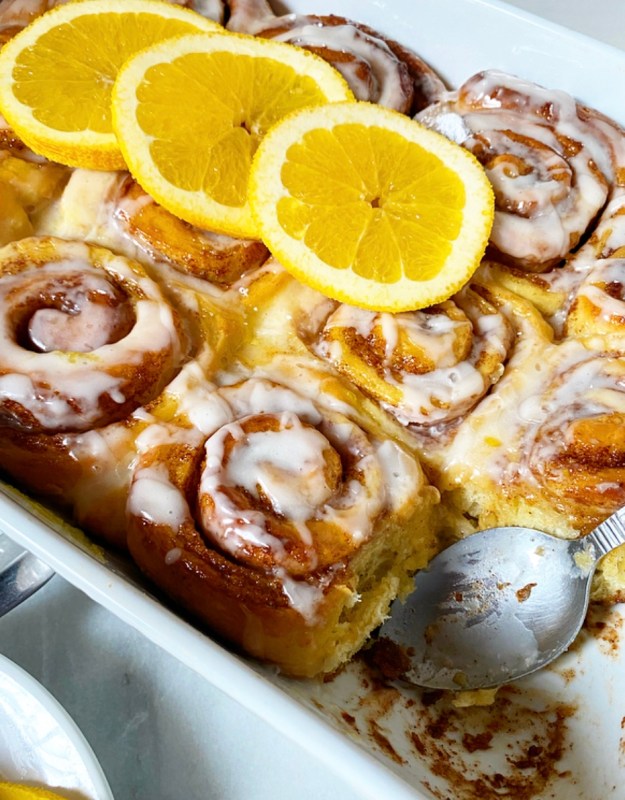 Turns out, I love Orange Cinnamon Rolls made with real fresh oranges. Like really, really love them. I mean, what’s not to love about fluffy, buttery, orangey cinnamon rolls?!
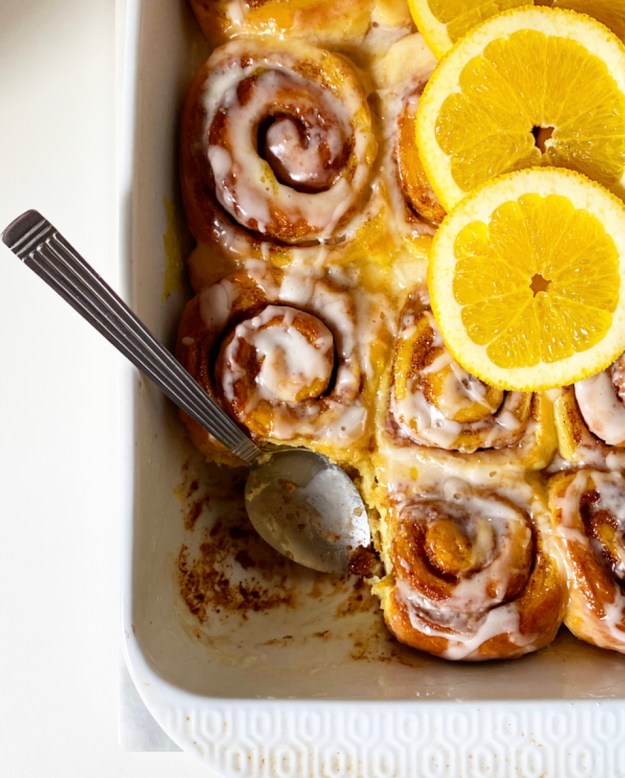
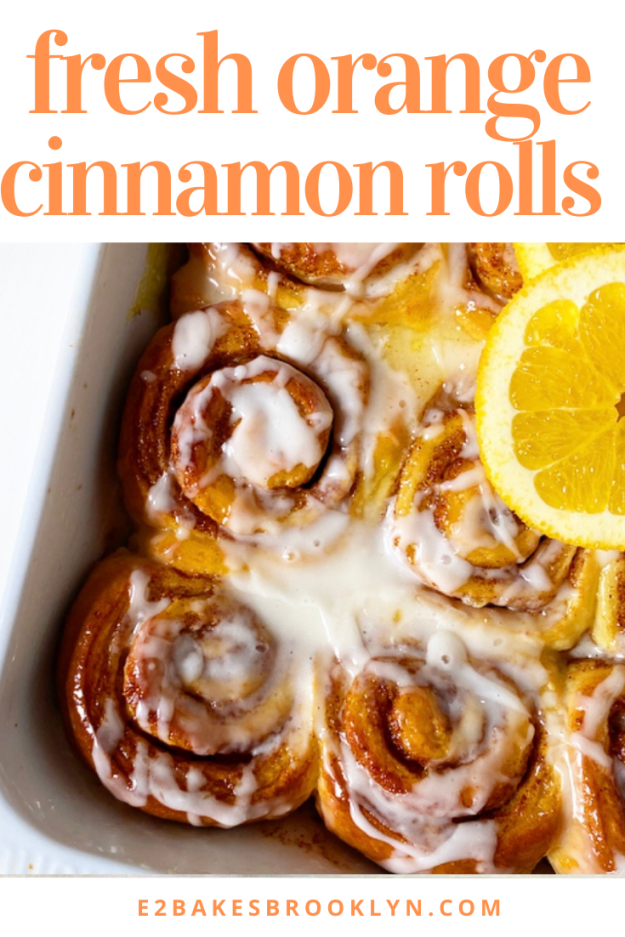
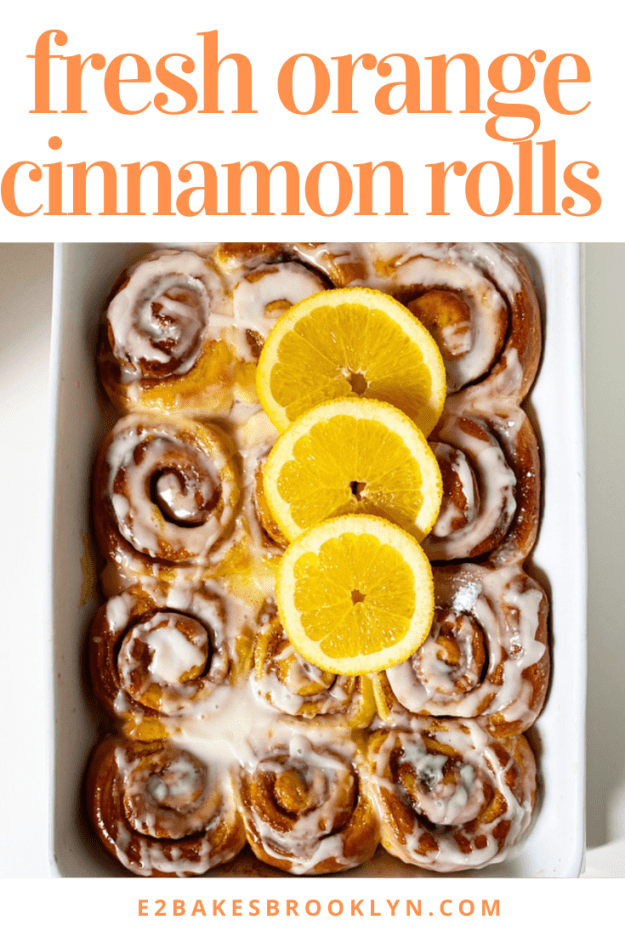
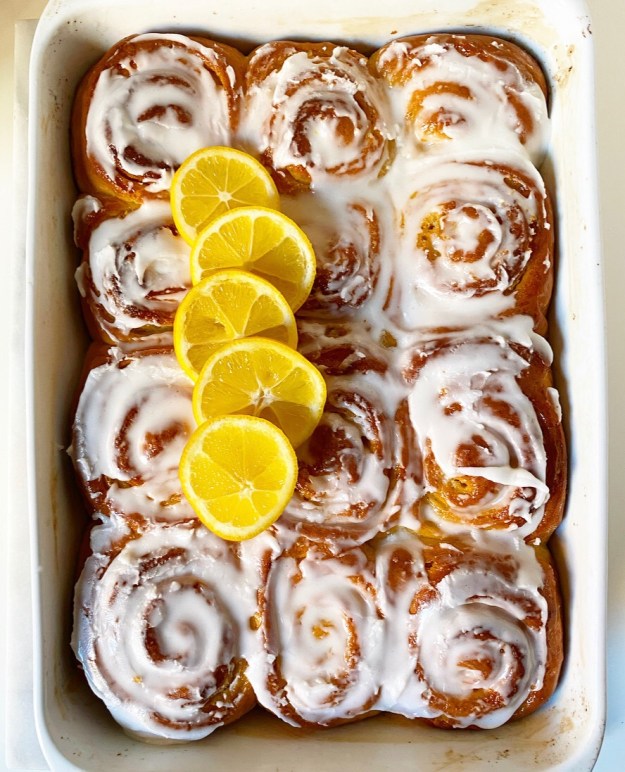
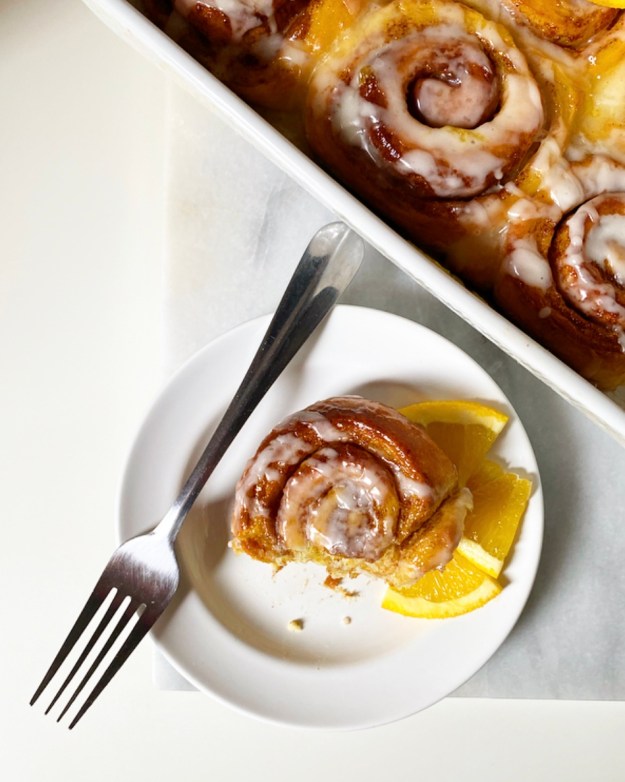 I’m over the moon for these, y’all. There’s orange zest in the dough and cinnamon filling, and orange juice in the glaze and the icing! Yes, you read that correctly, these babies have a glaze *and* an icing! I did this on last year’s
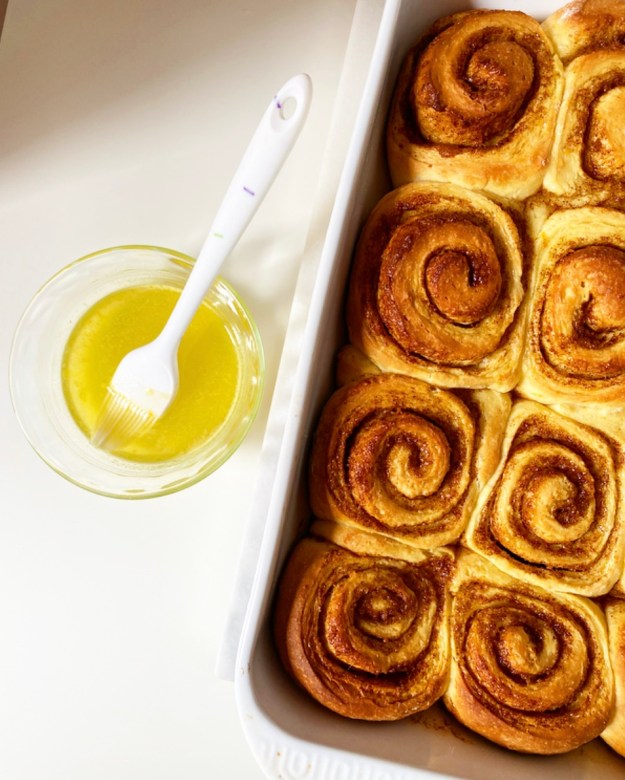
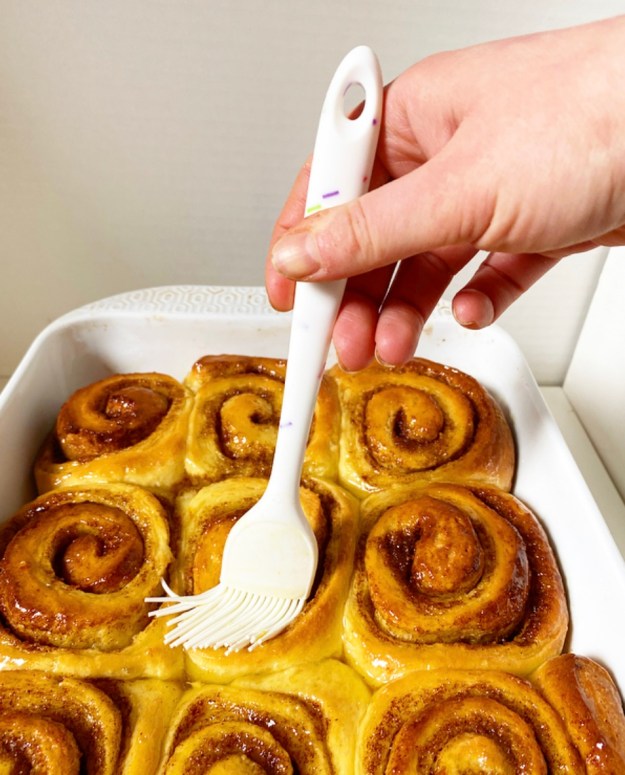
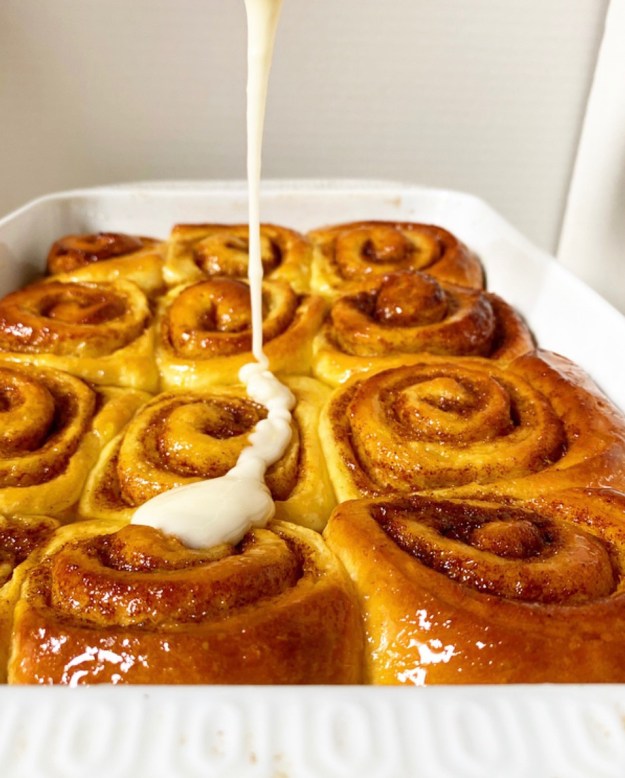
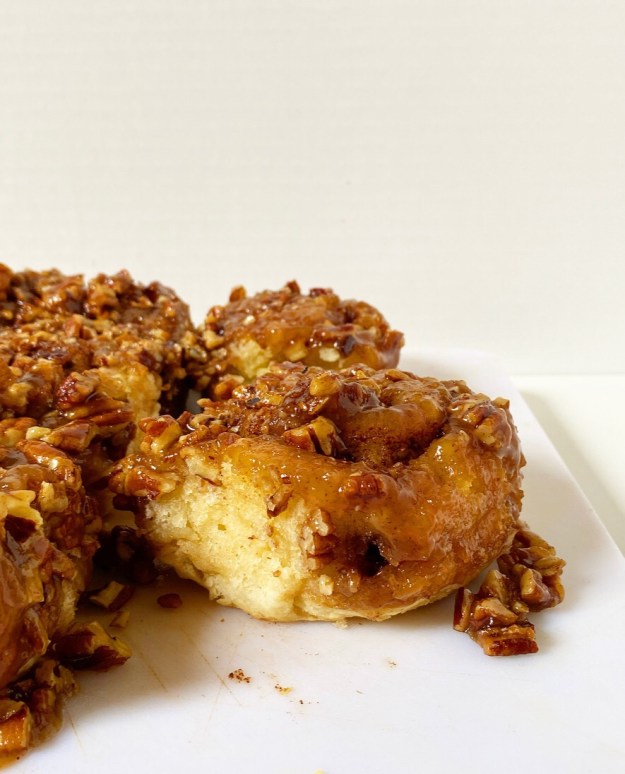
 Just after you pull your rolls from the oven, paint them with the orange glaze so they get glossy and soak up all that sticky orange flavor. Let that absorb for a few minutes and then hit them with a simple orange icing. This goes without saying, but yes, you can double it.
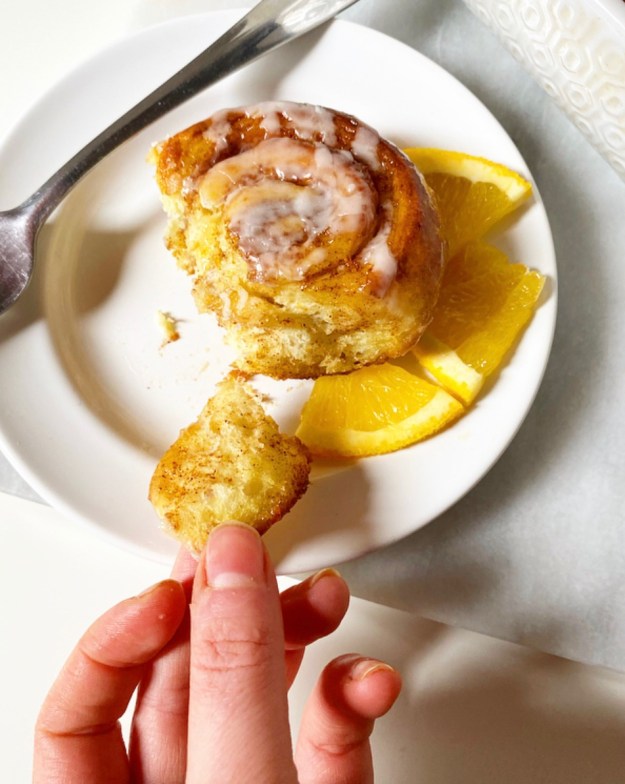 And then, well, you know what to do.
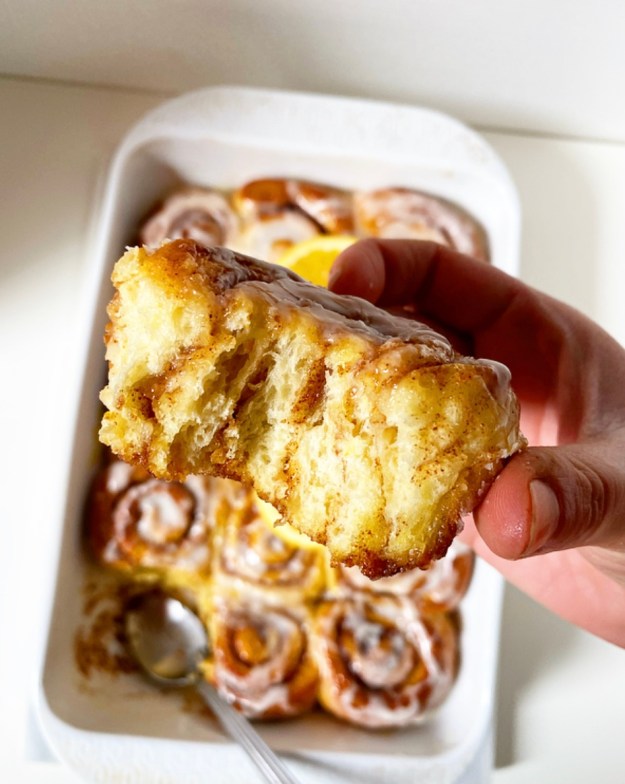

 Happy New Year! This post is coming at you from the recent past—December 29th—so I hope no new terrible things have happened between then and this posting. 2020 was such a weird year. It started off okay, but quickly devolved to…well, whatever this is. I, for one, am hoping for hope in 2021.


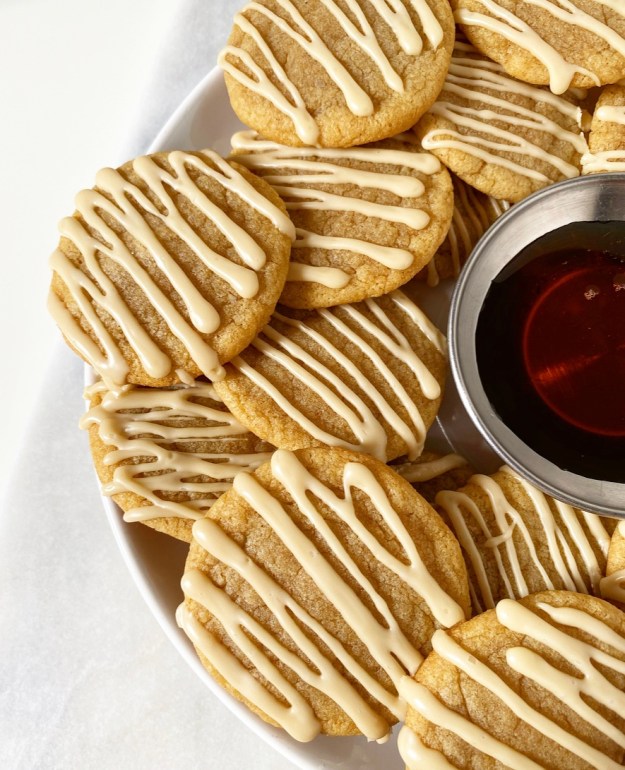


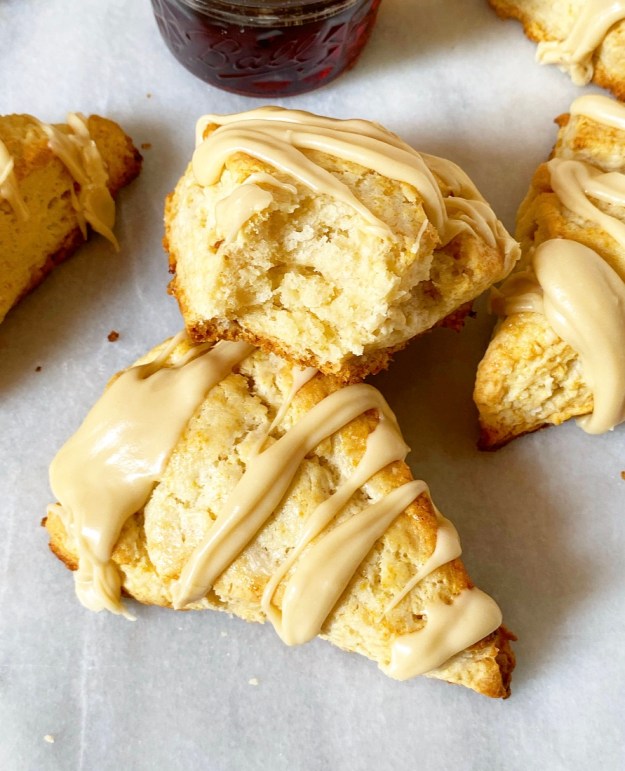
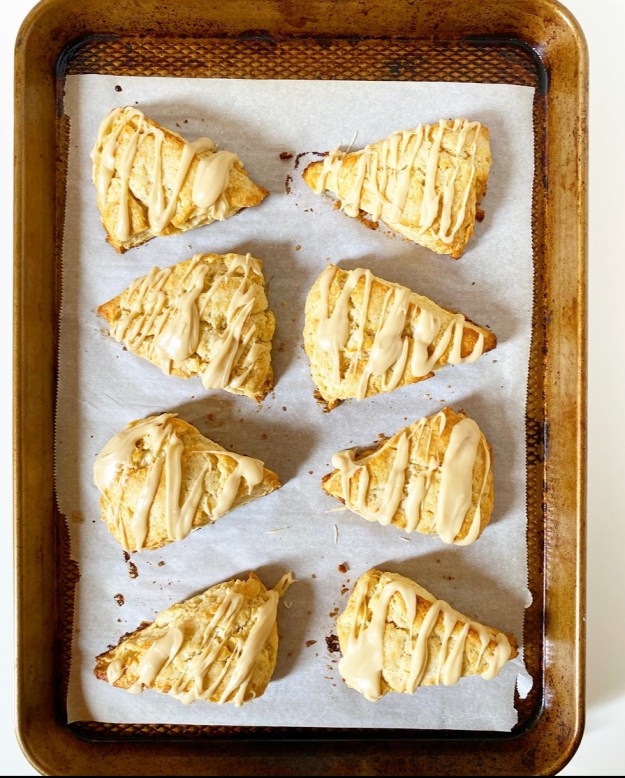
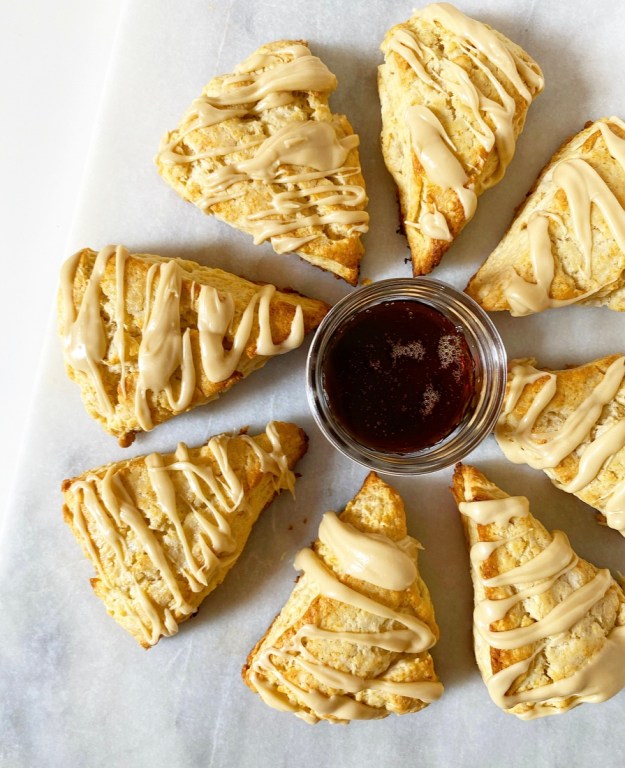 Maple Scones are one of my favorite things. They’re so simple and good, and every time I have one, I get nostalgic for the days when I was learning beginner
 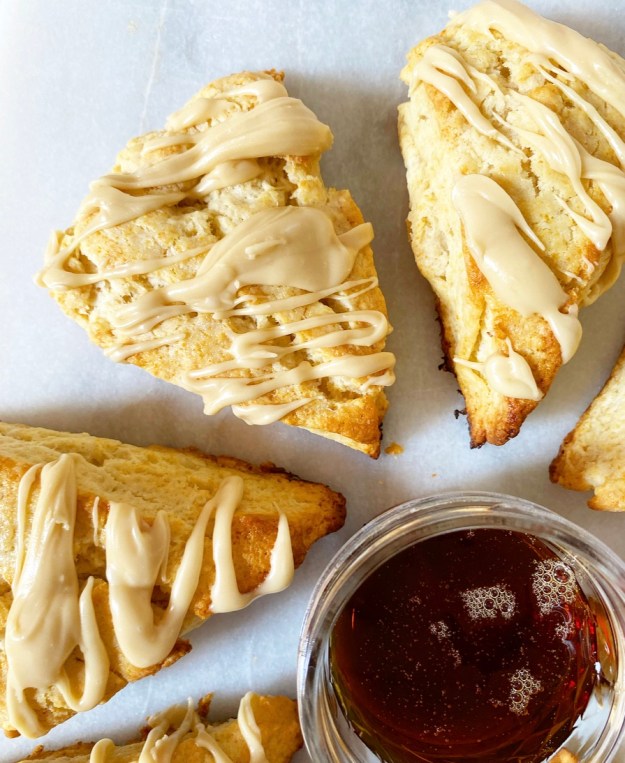 A lot has changed in seven years, and also very little. I moved into a larger apartment. I got over the boyfriend (finally, and to my great relief). I have a much larger kitchen now. In fact, it’s so big that my work station is in the living room/dining area, and my (second) pantry and a dedicated dairy fridge are in my bedroom. I have a great
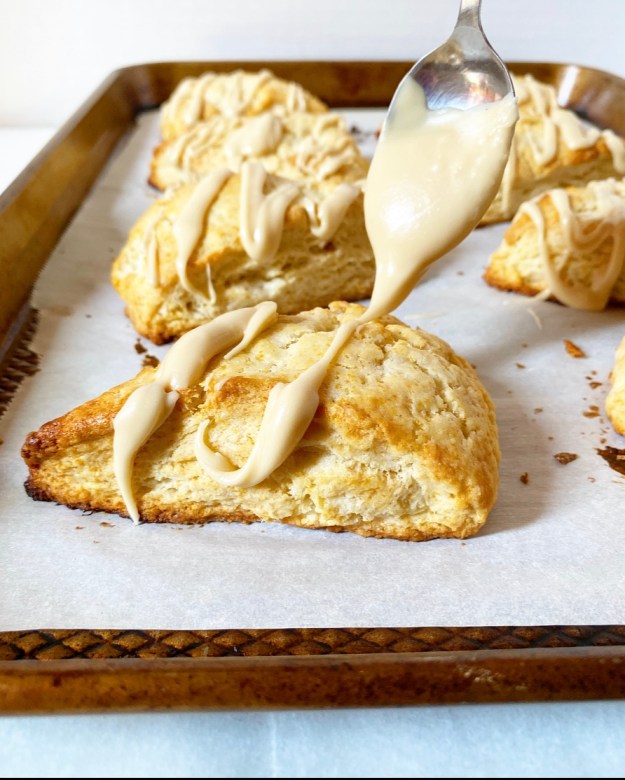
 The first scones I ever made were the very good Maple Scones from
 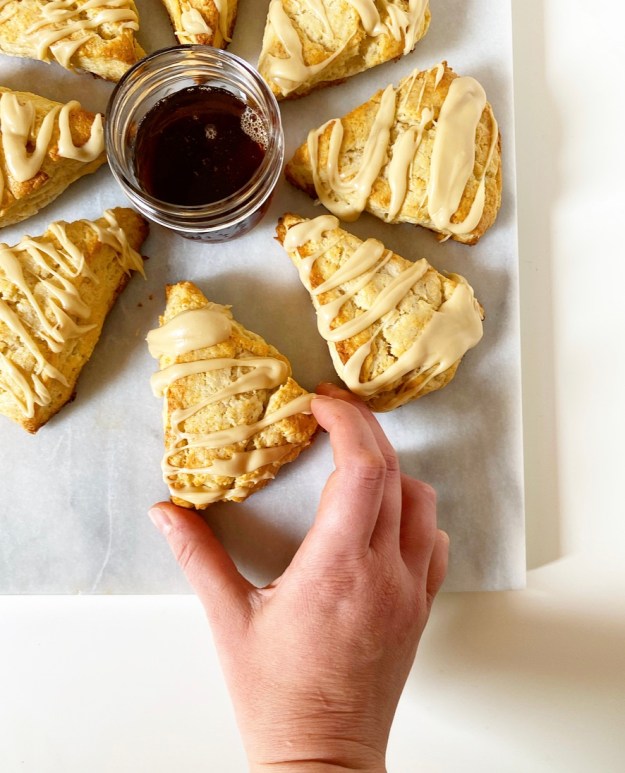 What I’m saying is that I make a hell of a maple scone. And now, seven years into baking and