 When you make as many layer cakes as I do, it’s inevitable that someone will ask you to make a gluten-free or vegan one, or one that is both of those things. I used to fear these requests and turn them down across the board, but as time has gone on, I’ve gained confidence, learned new skills, and befriended my NYC ride-or-die, VJ, who just so happens to be a gluten-free vegan. I’m not saying I’m fearless now, but I am saying that I make a hell of a Gluten-Free Vegan Chocolate Cake.
 It all started with The Minimalist Baker’s genius 1-Bowl Vegan Gluten-Free Vanilla Cake, which I made for VJ’s birthday last winter. That recipe’s major appeal is that it’s ridiculously easy—it doesn’t require making flax eggs or using a complicated gluten-free flour blend, instead relying on blanched almond flour, a mix of potato starch and cornstarch, unsweetened applesauce and leaveners. The results are soft, moist, and delicious. I would have been content to only make that cake for my gluten-free vegan friends forever…but then another friend requested a chocolate version for their birthday last May. And so, here we are.
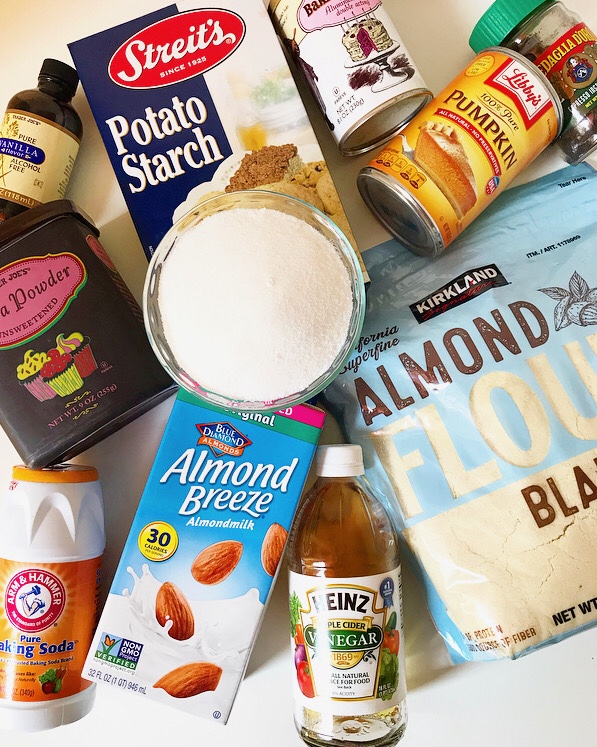
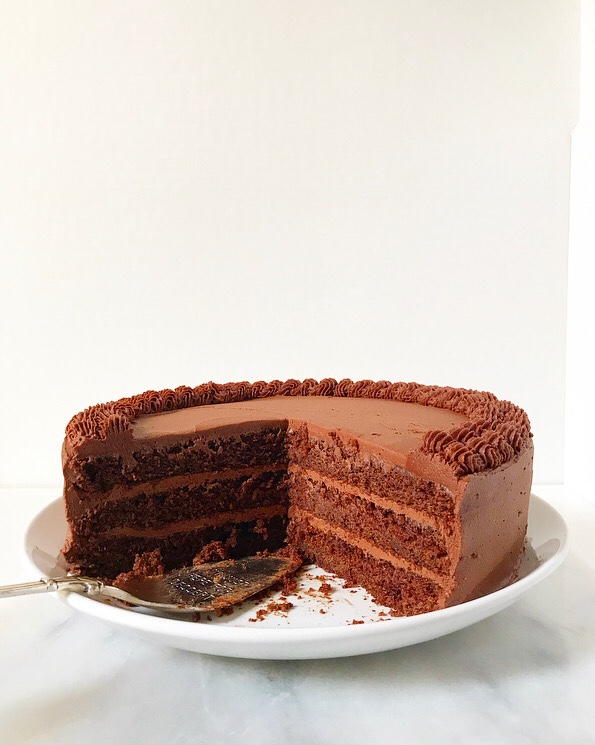
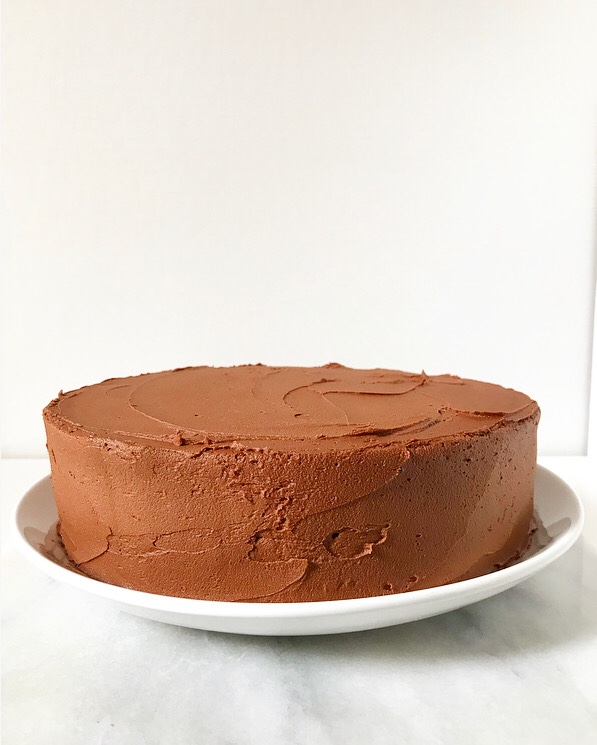
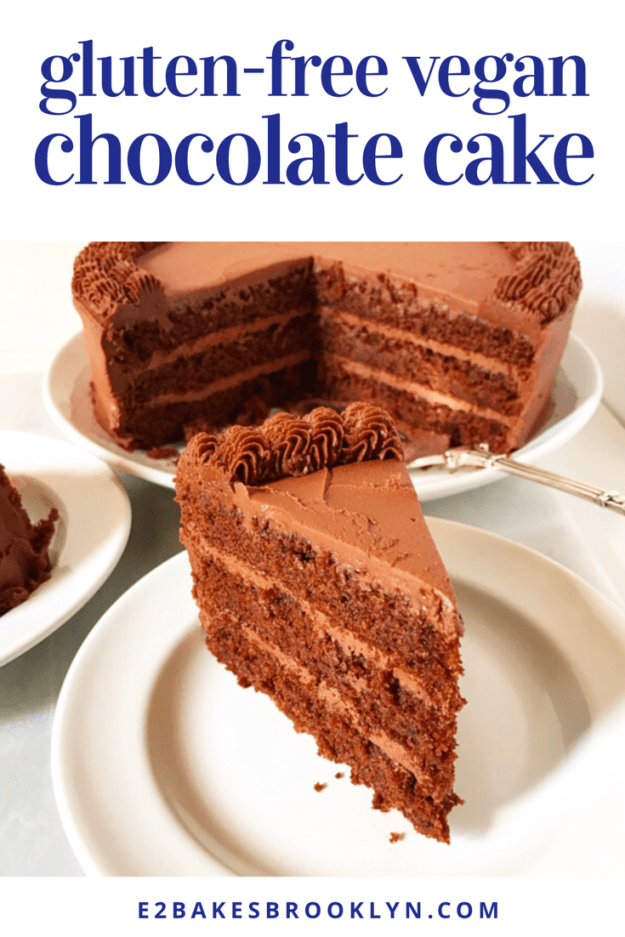
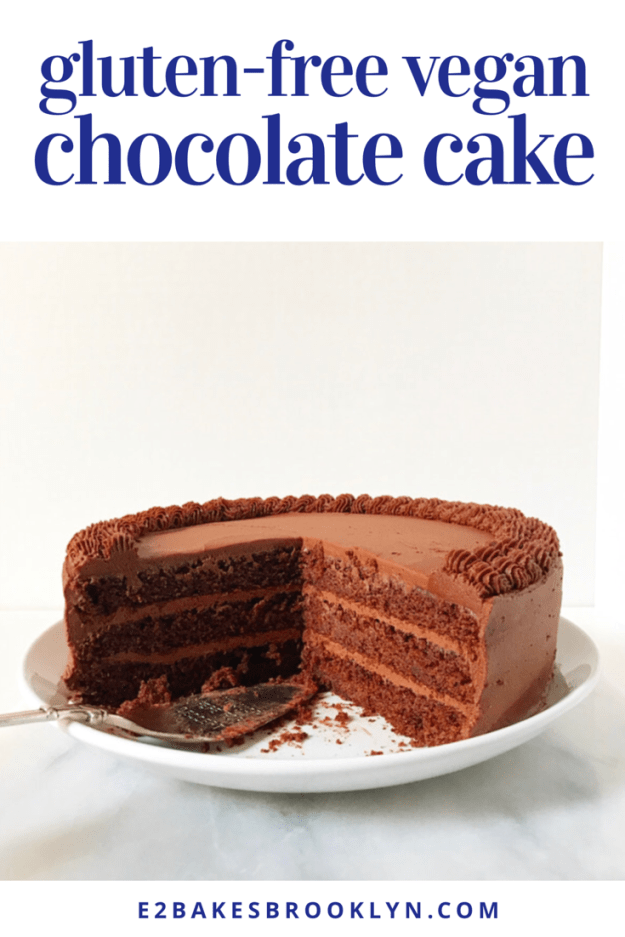
 This triple-layered chocolate masterpiece is gluten-free and vegan, yes, but also moist and tender and chocolaty AF—exactly what you want in a layer cake, gluten-free and vegan or not. I used Dana’s (The Minimalist Baker) Vanilla Cake formula as a starting place for the batter, relying on almond flour and potato starch for structure, and swapping in natural unsweetened cocoa powder instead of cornstarch. I’ve traded the applesauce for pure pumpkin purée, mostly because I almost always have a can of pumpkin and almost never have applesauce. The remaining ingredients are the usual baking powder and soda, granulated sugar, salt, and a mixture of almond milk and vinegar, which acts as a vegan buttermilk swap. I also add a little granulated espresso to accentuate the chocolate flavor.
You’ll notice that there is no added fat in the cake batter—this is because there is plenty in the blanched almond flour. In combination with the moisture from the pumpkin and soured almond milk, this cake always turns out soft and springy. If you’re looking at this list of ingredients and wondering where to find them, the answer is almost any well-stocked grocery store. Blanched almond flour is available at Trader Joe’s and Costco, as well as my local supermarket. Potato starch is usually in the specialty flours section or the Kosher foods aisle.
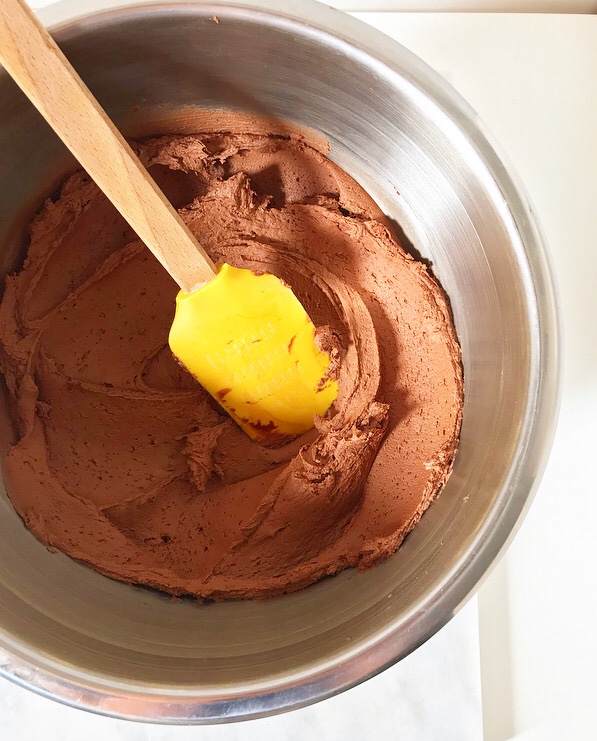 As for the swoopy, pipeable Vegan Chocolate Buttercream…well, first of all, good luck not just eating it straight from the bowl. It’s as flavorful and creamy as traditional chocolate buttercream, thanks to a base of equal parts vegan butter and coconut oil-based shortening, along cocoa powder and confectioner’s sugar.
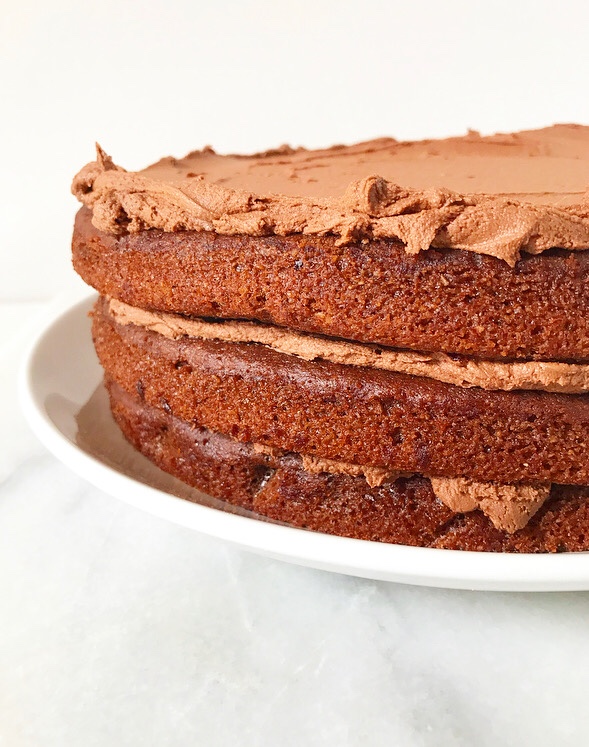
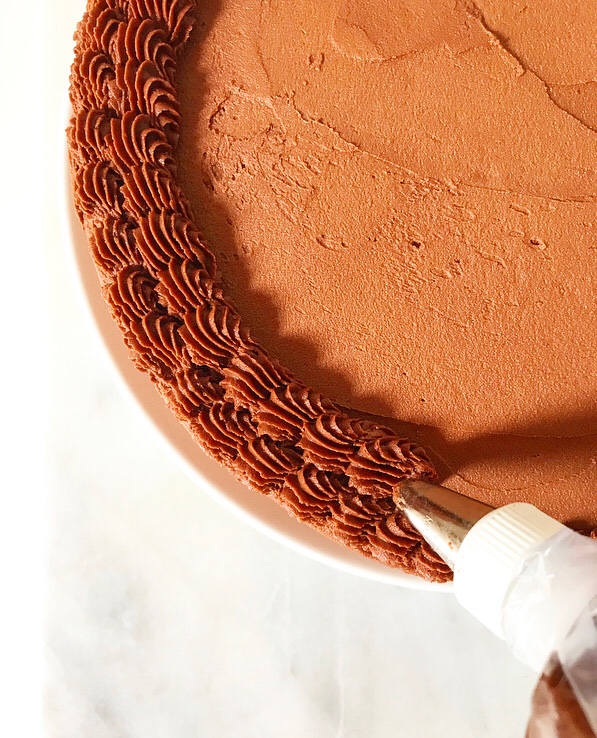 I recommend using shortening in vegan buttercream for the textural magic it works in the absence of dairy butter. Shortening is a polarizing ingredient, to be sure, but it’s what makes this butterless buttercream so incredibly luxurious and pipeable. I am a fan of Nutiva’s coconut oil formula, but I’ve used regular Crisco in a pinch with good results. If you are anti-shortening, feel free to swap in an equal amount of vegan butter—I’ve been using Miyoko’s lately and totally love it. With an all-vegan-butter frosting, your results may be a little less fluffy than mine, but I promise they will still be delicious. We’re talking about chocolate frosting here—how could it be anything but wonderful?!
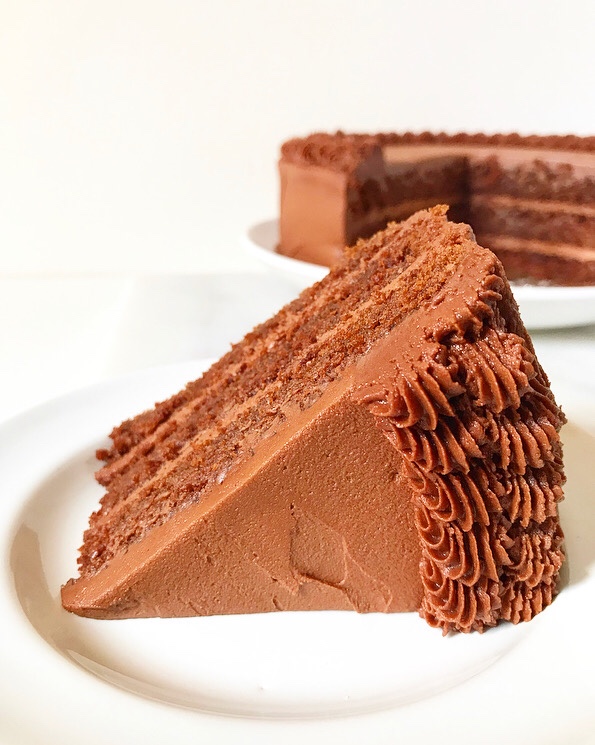 This buttercream recipe makes a lot—enough to fill and frost a cake and then pipe it to the gills! I have had no problem finding things to do with any leftovers (vegan buttercream candies, anyone?), but if you’d like to do a naked cake or have less frosting around, feel free to halve the ingredients.
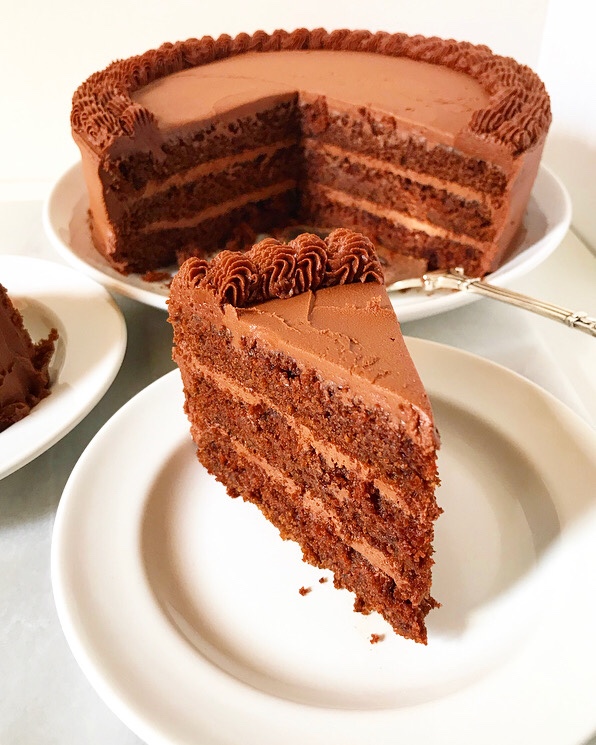
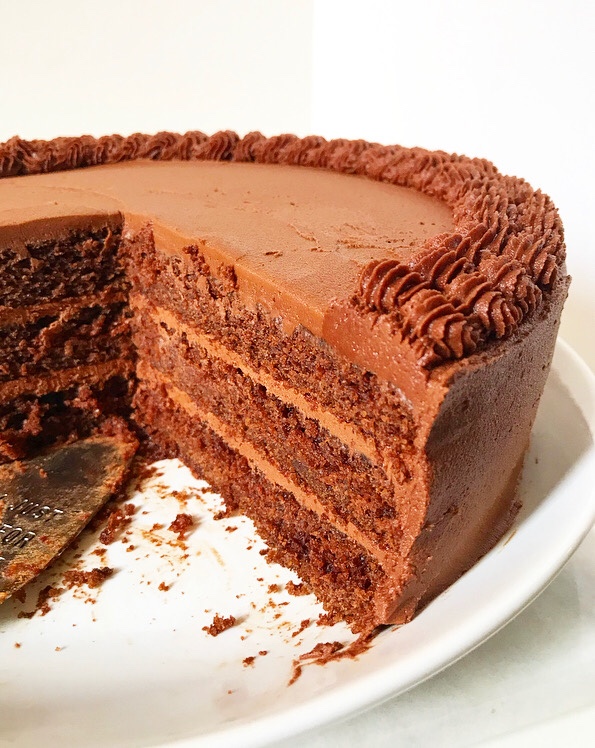 But really, is there such a thing as too much chocolate frosting on a chocolate cake? I don’t think so, especially on one like this that can feed nearly all my friends! This vegan, gluten-free dessert is as delicious and beautiful as it is inclusive. Heck, that in itself is almost enough reason to make one.
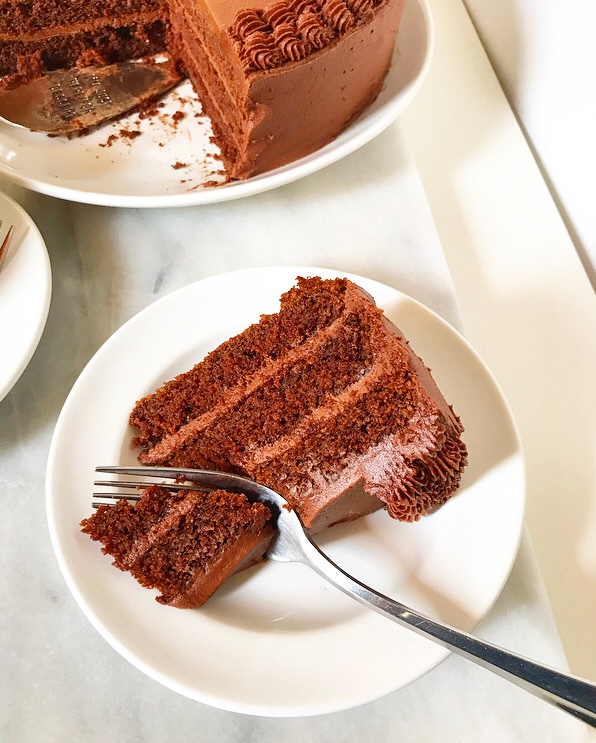
Gluten-Free Vegan Chocolate Cake
adapted from The Minimalist Baker
makes one 3-layer 9-inch round cake
2 teaspoons apple cider vinegar
~2 cups unsweetened almond milk
1/2 cup pure pumpkin purée
1 teaspoon pure vanilla extract
3 1/4 cups blanched almond flour
3/4 cup + 3 tablespoons potato starch
1/2 cup natural unsweetened cocoa powder
1 1/3 cup granulated sugar
1 tablespoon granulated espresso
1 1/2 teaspoons baking soda
1 1/2 teaspoons baking powder
1/2 teaspoon Kosher or sea salt
Preheat oven to 350F. Grease 3 9-inch round cake pans. Line with parchment and grease again. Set aside.
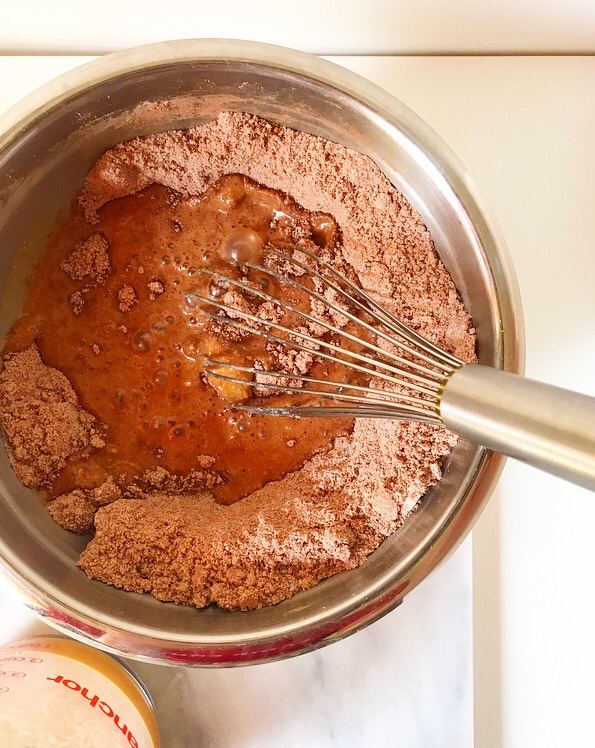
Pour apple cider vinegar into a liquid measuring cup. Add almond milk until liquid reaches the 2 cup mark. Stir and let sit for 5-10 minutes, until curdled. Stir in pumpkin purée and vanilla. Set aside.
In a large mixing bowl, whisk together blanched almond flour, potato starch, cocoa powder, granulated sugar, granulated espresso, baking soda, baking powder, and salt. Add liquid ingredients in two installments, whisking until combined.
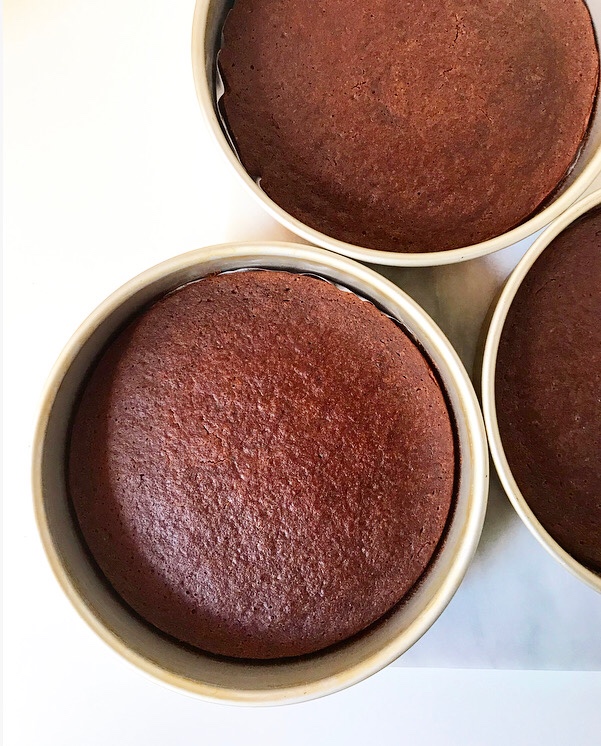
Divide batter among prepared pans and smooth with a silicone spatula or wooden spoon. Tap each pan on the counter 5 times to release any large air bubbles. Transfer to the oven and bake 32-35 minutes, or until a toothpick inserted in the center of each layer comes out with only a few crumbs.
Let layers cool completely in their pans on cooling racks. Run a thin, flexible knife around their edges before inverting to release. Fill and frost as desired with Vegan Chocolate Buttercream (recipe below).
Frosted cake will keep at room temperature for up to 3 days and refrigerated for up to 4. Unfrosted layers may be triple-wrapped in plastic wrap and frozen for up to 1 month. Thaw overnight in the refrigerator before frosting.
Vegan Chocolate Buttercream
makes enough for a 3-layer 9-inch round cake with piping
4 cups confectioners sugar
1 1/4 cups natural unsweetened cocoa powder
pinch of Kosher or sea salt
8 ounces (1 cup) vegan butter, room temperature (I like Miyoko’s)
8 ounces (1 cup) shortening, room temperature (I like Nutiva)
2 teaspoons pure vanilla extract
Combine confectioners sugar, cocoa powder and salt in a medium mixing bowl and whisk to combine.
In a large mixing bowl, use an electric mixer to beat vegan butter and shortening until light and fluffy. Mix in dry ingredients in three installments, mixing until combined and fluffy. Mix in vanilla.
Use to frost layer cakes, as a sandwich cookie filling, or to make vegan buttercream candies.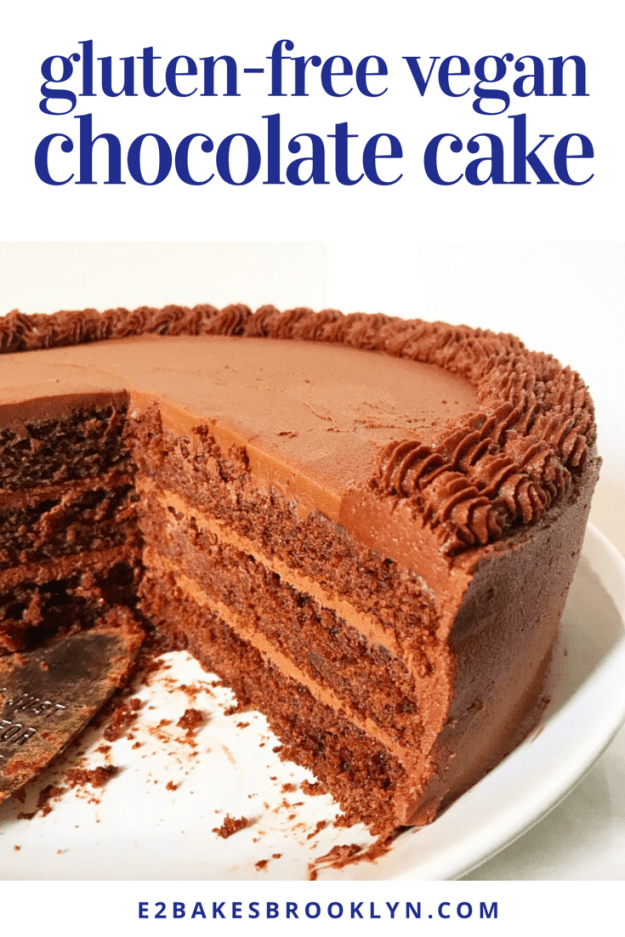
 For a short week, this one has seemed endless. There has been change and growth and letting go and construction and a migraine that began on Tuesday night and continued well into Wednesday afternoon.
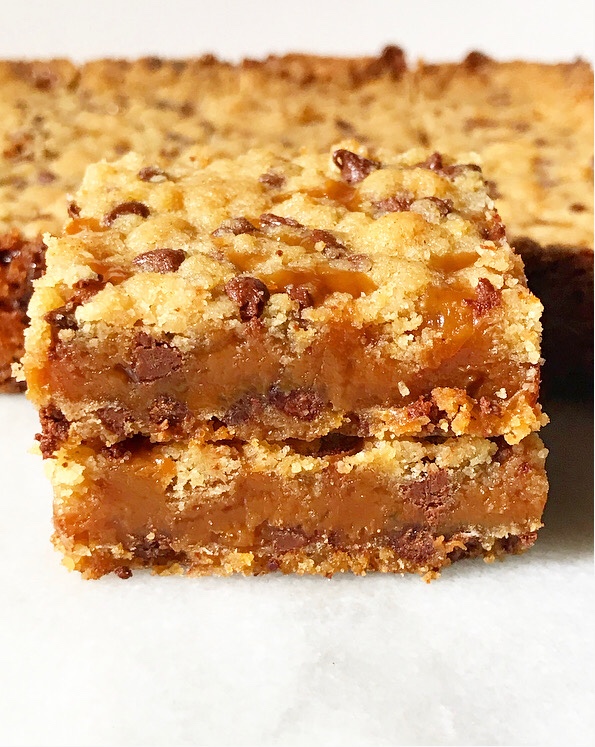 What I’m saying is that I could use a treat. Luckily, I have a refrigerator full of these Salted Caramel Chocolate Chip Bars, which are the perfect chewy, gooey, crispy-edged, chocolate-studded sweet to counteract all the negative energy in my immediate vicinity.
 In addition to being a perfect flavor and textural combination, these bars are super easy to make. The cookie layers are simply a chocolate chip cookie play on the crumb I used in my
 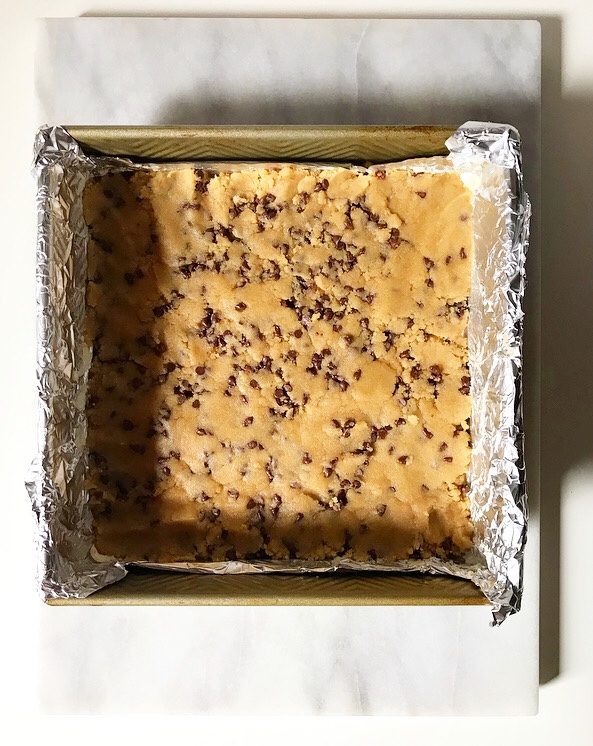 A little more than half of the cookie mix gets pressed into the bottom of a 9-inch square pan. Then comes the salted caramel, which is simply a bag of soft caramel candies that are melted with salt and heavy cream.
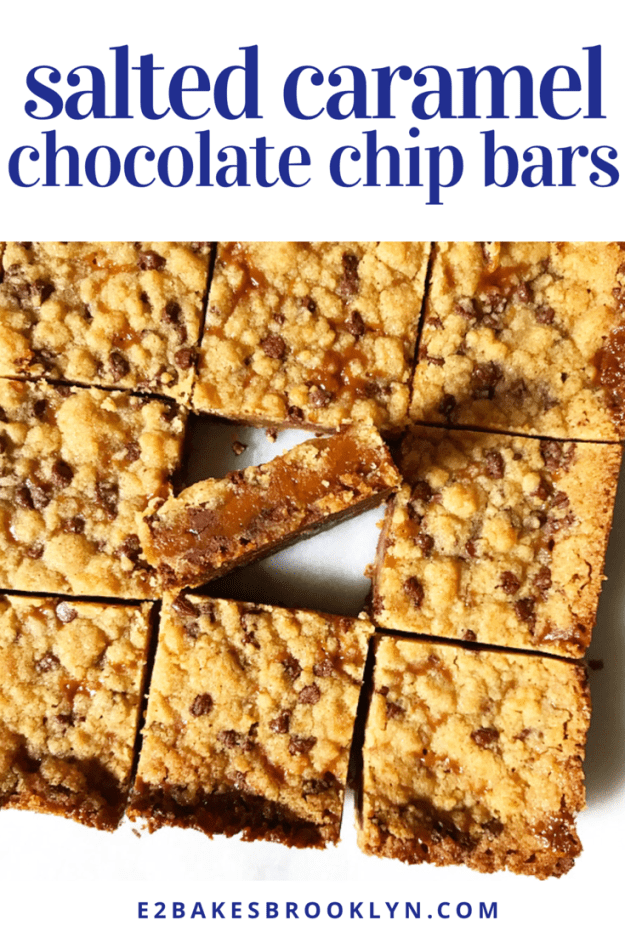
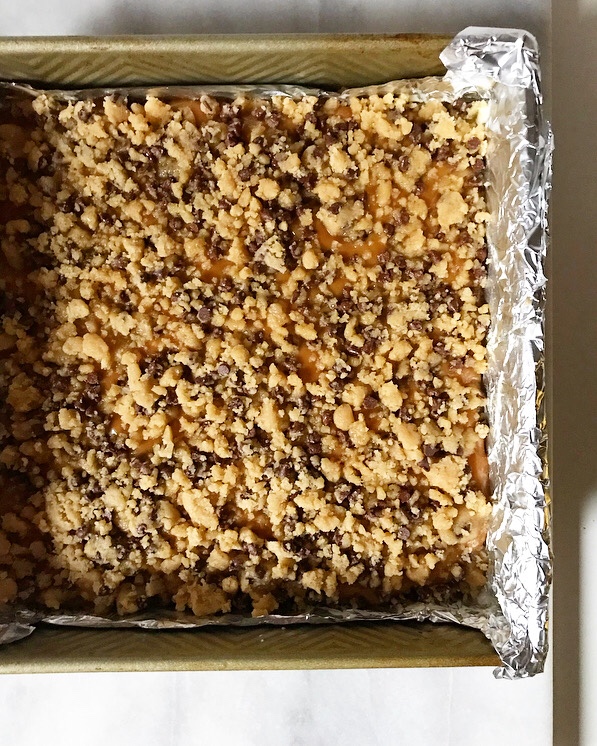 The remaining cookie mix is scattered over the top of the caramel and then everything is baked until the edges are crisp and the caramel is starting to bubble up through the cookie crumble.
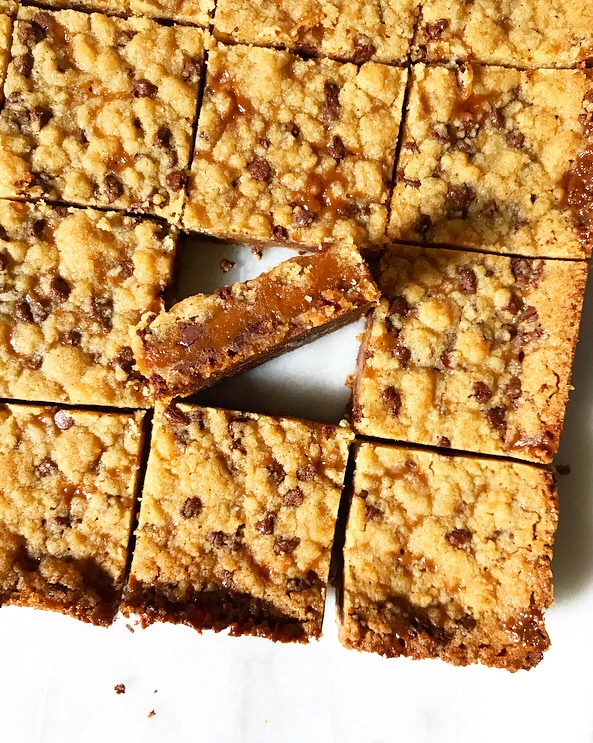
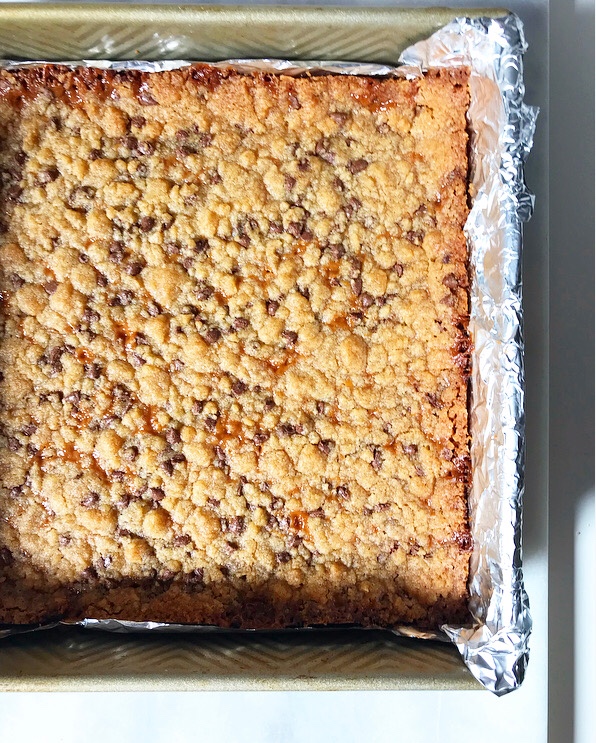 Let your bars cool completely before slicing. If you try to cut them before they’re cool, you won’t get the satisfaction that comes with clean edges and beautiful layers (if not perfect evenness).
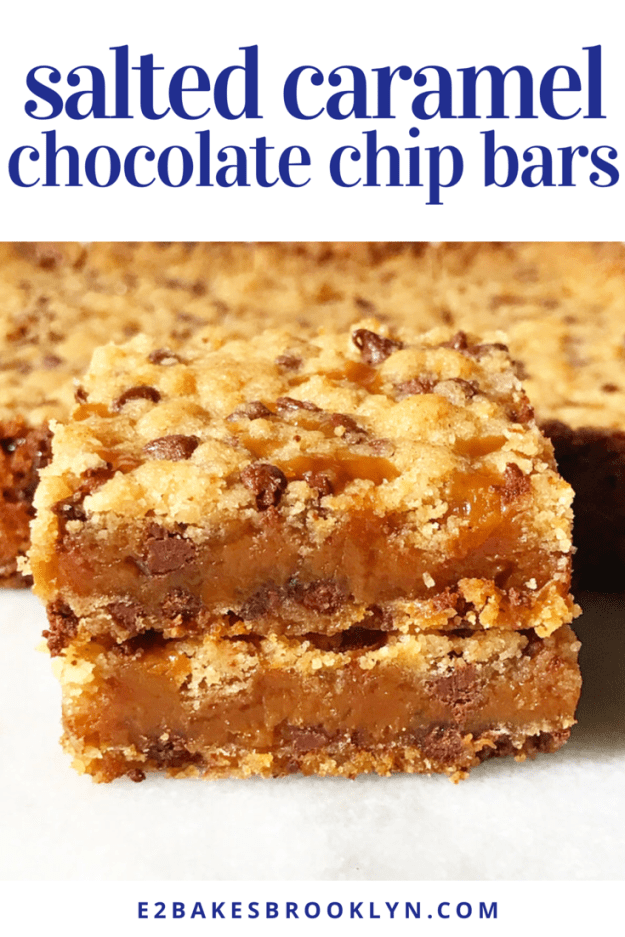
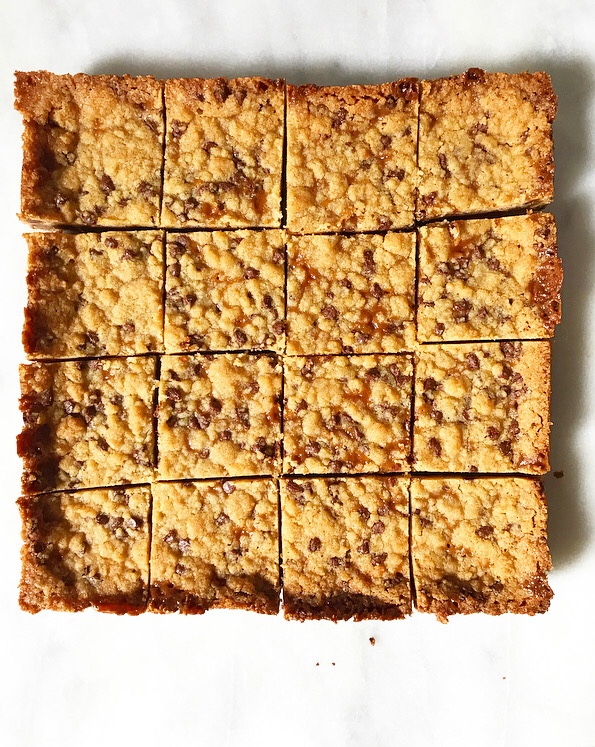 And that’s to say nothing of the buttery chocolate chip cookie layers and the gooey, salty caramel filling, which are a match made in dessert heaven. So, so delicious.
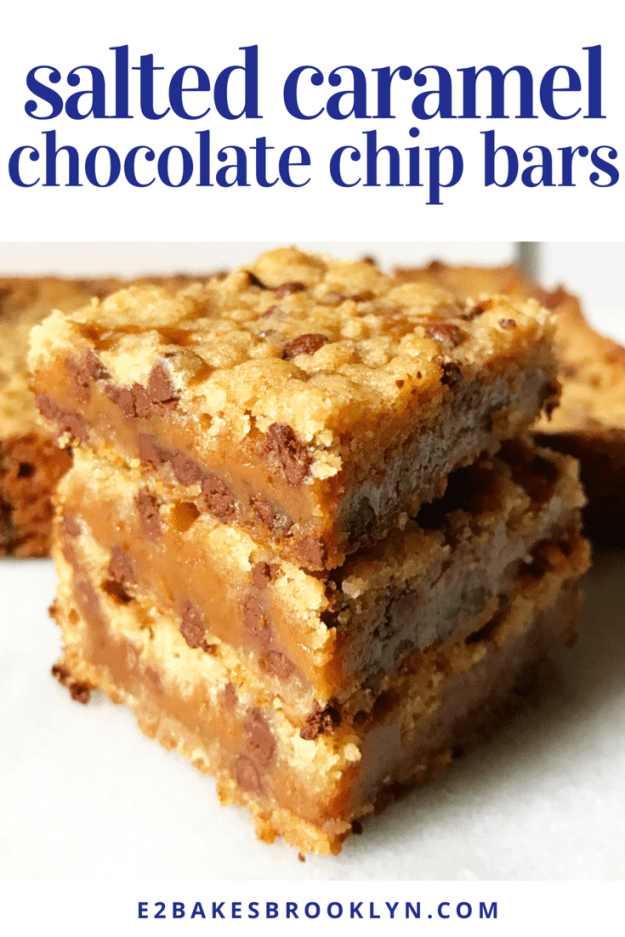
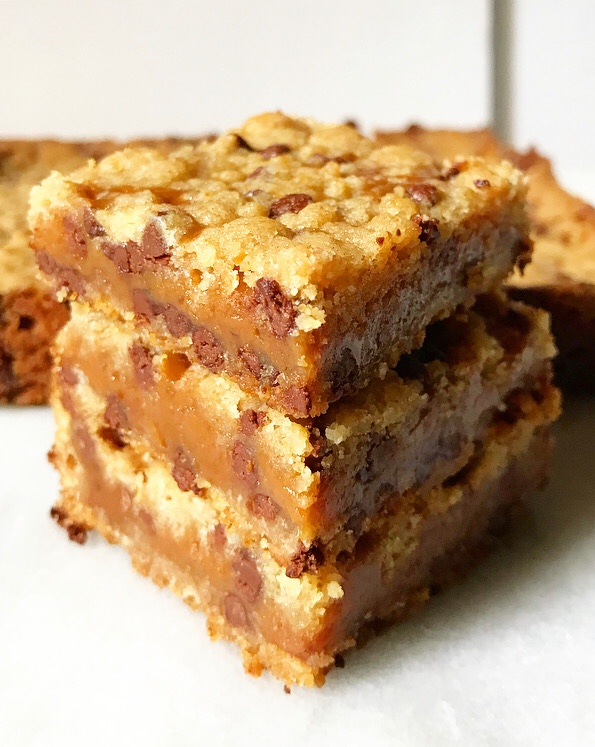 I logically know that dessert is not going to change the world, but I can’t seem to look at these and see anything but goodness. Salted Caramel Chocolate Chip Bars can’t solve my problems, but four bites of salty-sweet caramel sandwiched between layers of crisp cookie can certainly help soften the blow, am I right?!
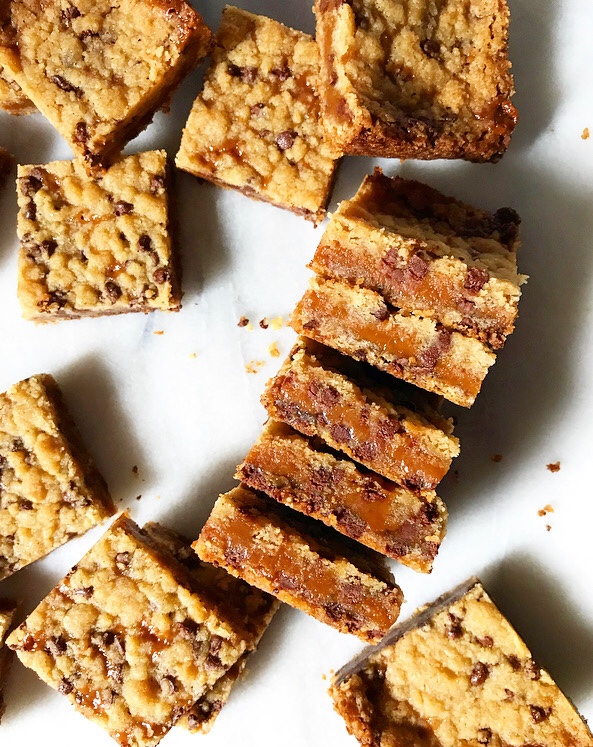
 Let me take this moment to express gratitude for the 1998 remake of
 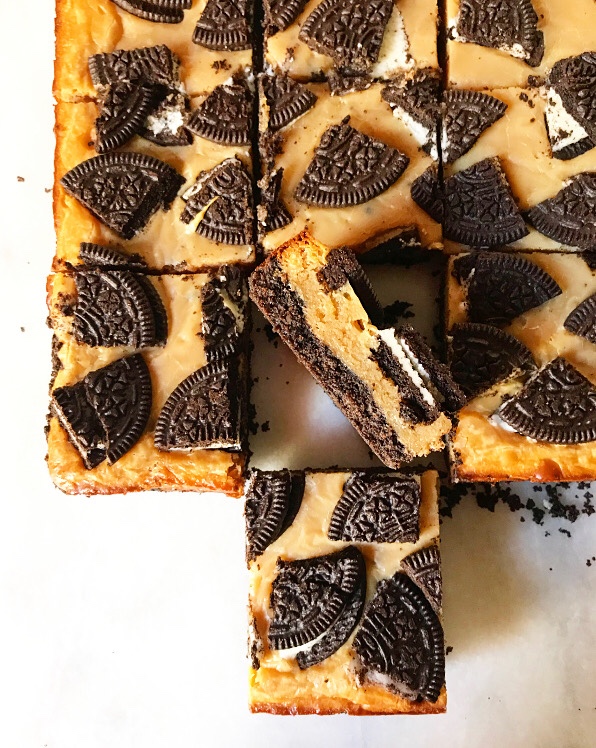 Besides the obvious dipping of Oreos directly into peanut butter, I’ve paired the two in
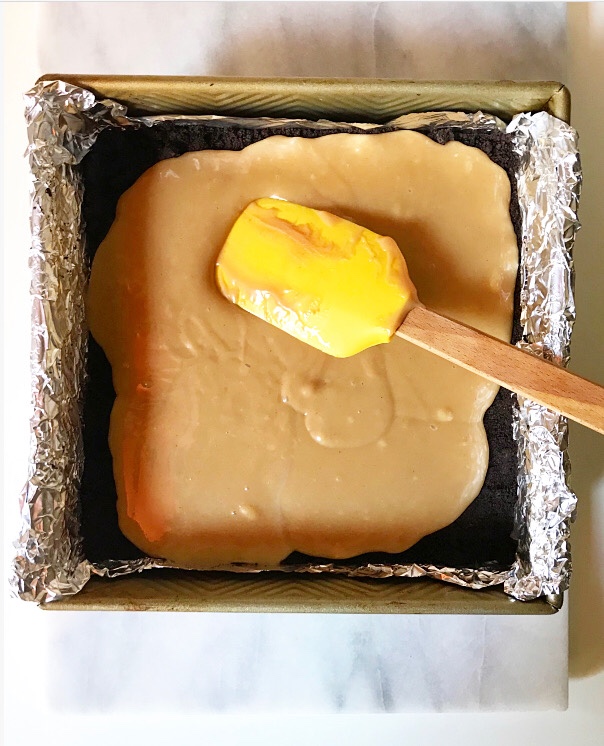

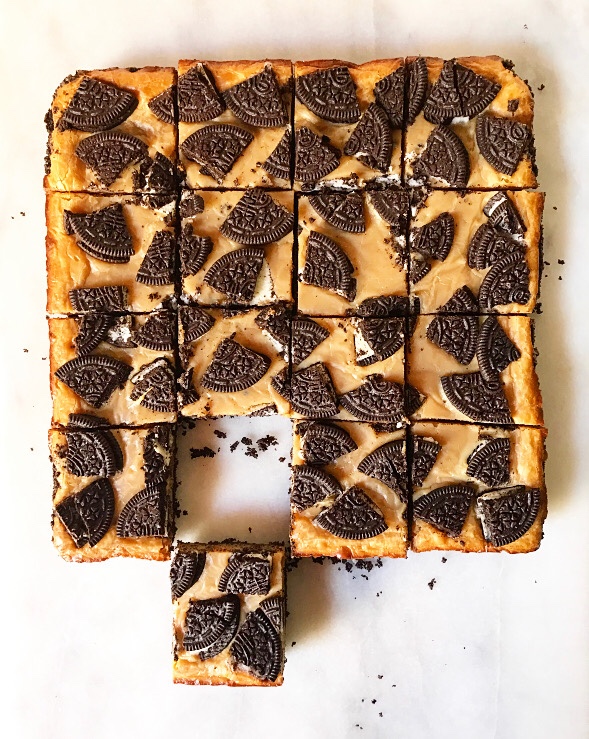
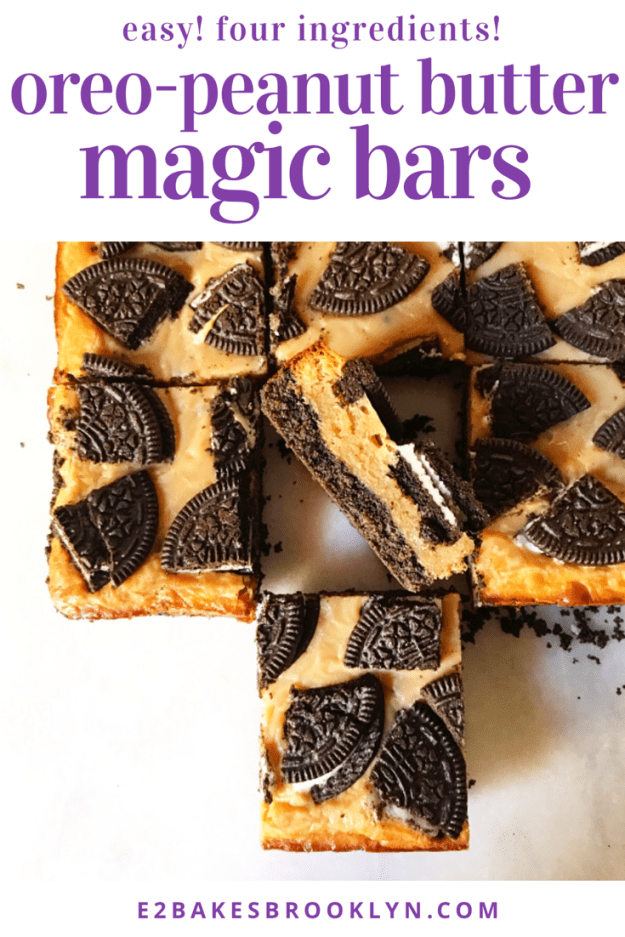
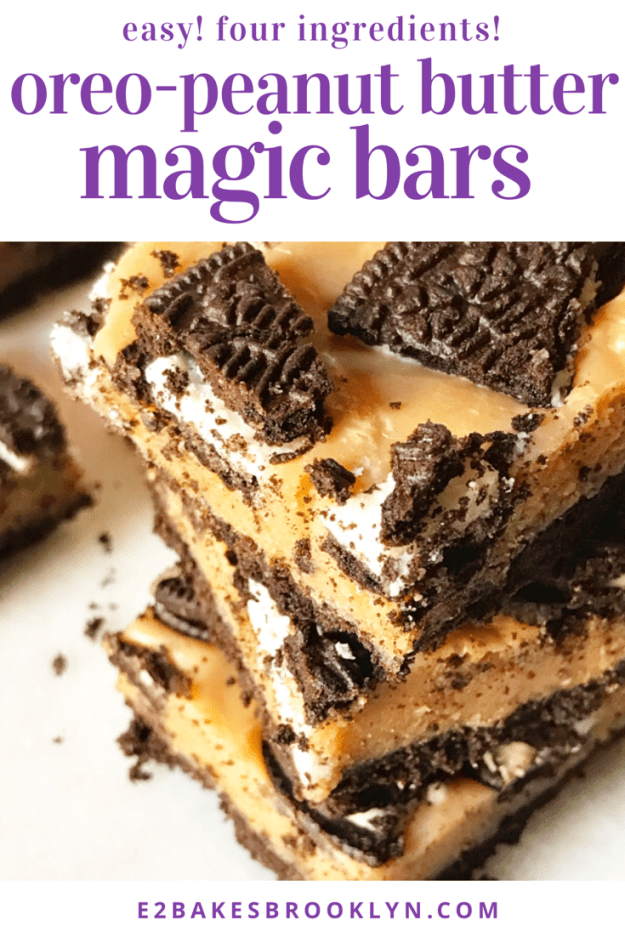
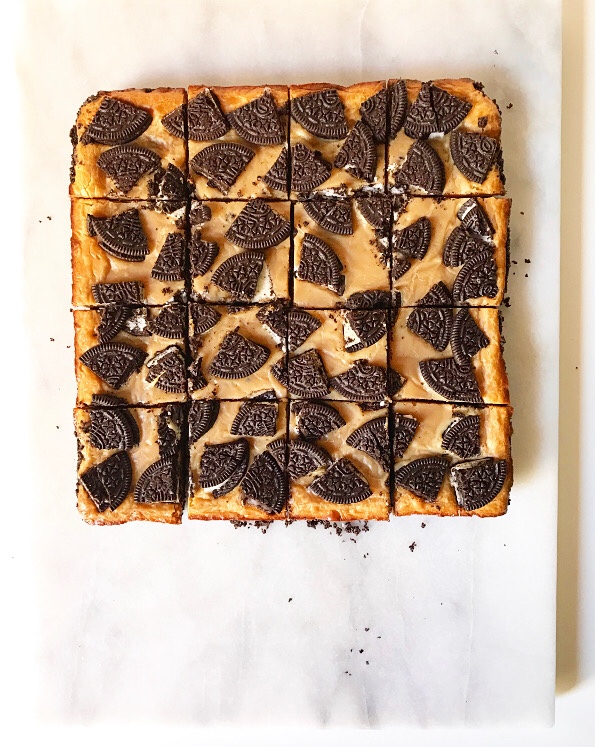 They have just four ingredients–Oreos, peanut butter, butter & sweetened condensed milk–and come together in less than 45 minutes. Oh, and they’re ridiculously easy and far more delicious than any baked good with four (!) ingredients should be.
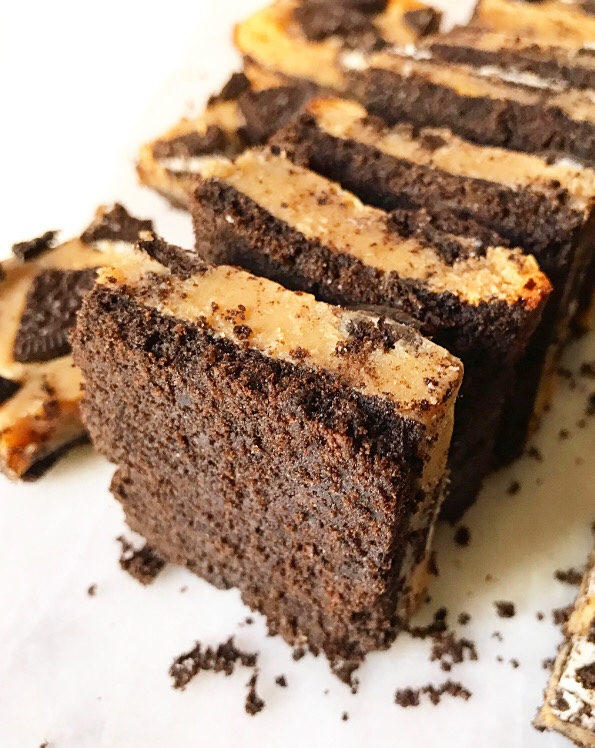 We’re talking soft, chewy peanut butter filling and buttery Oreo crust here, people!
 Those are two of my very favorite things. One of the great duos, if you will.
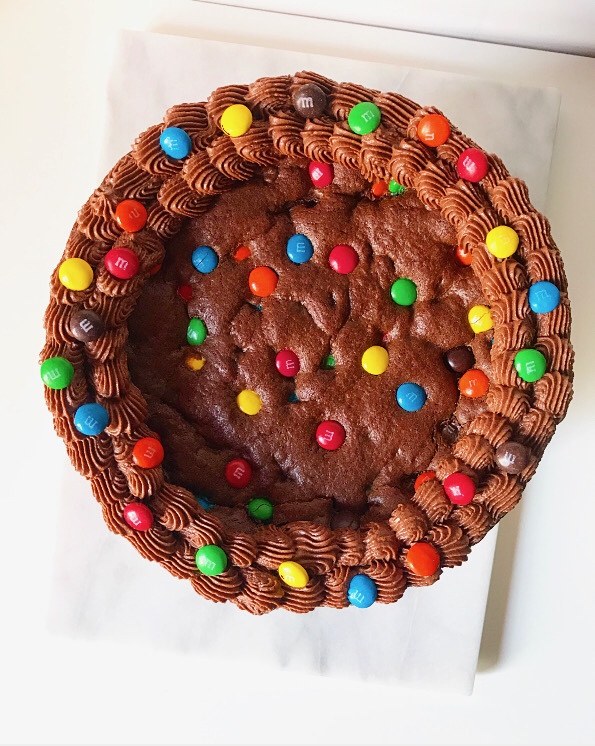
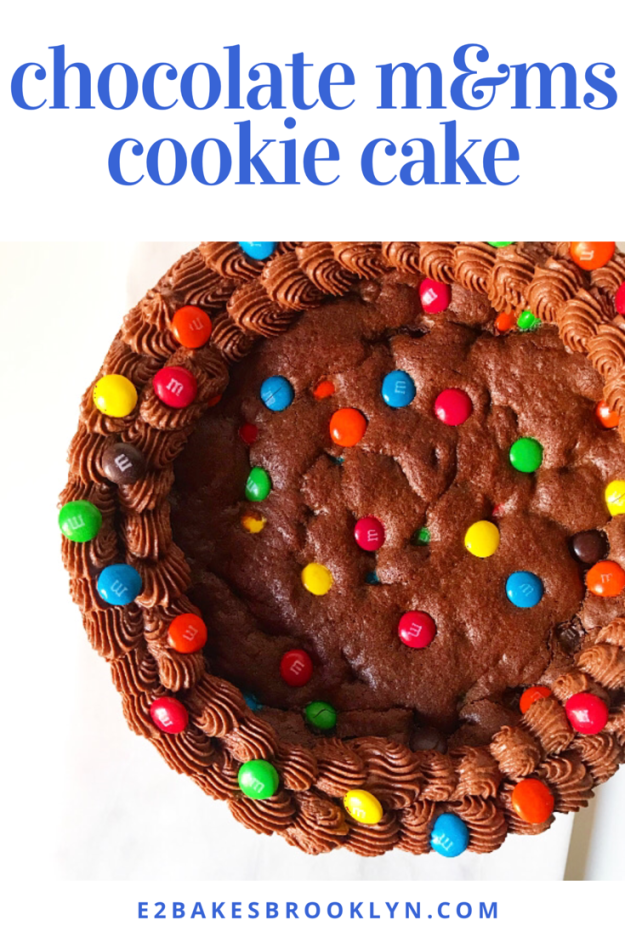
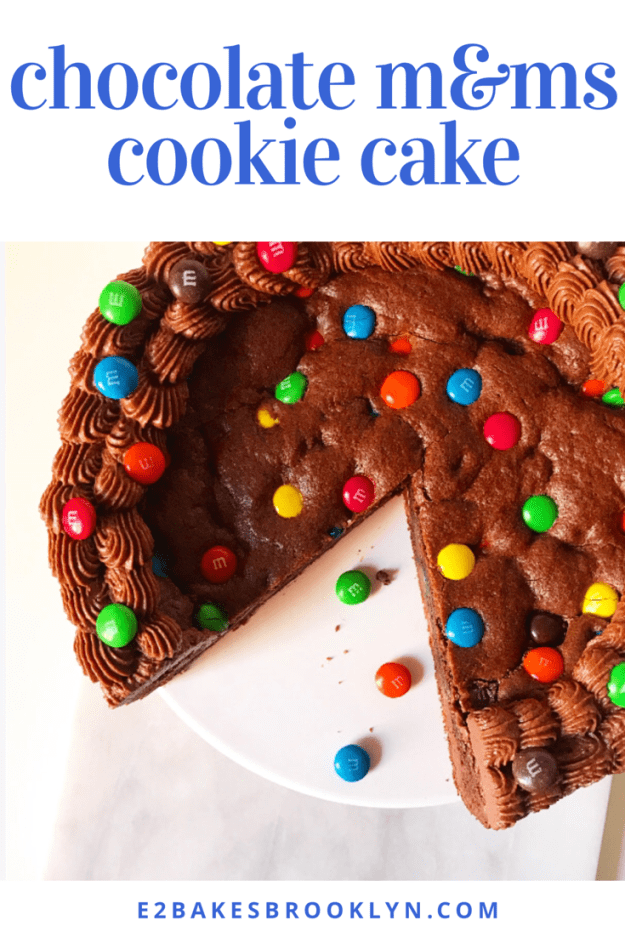
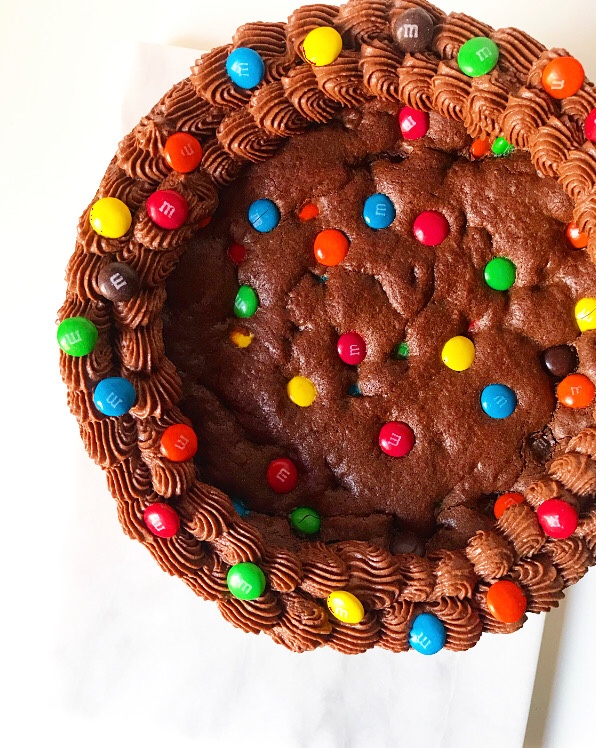 Back in November, I made this Chocolate M&Ms Cookie Cake for a friend’s birthday. I thought it was cute, so I posted a picture of it on my
 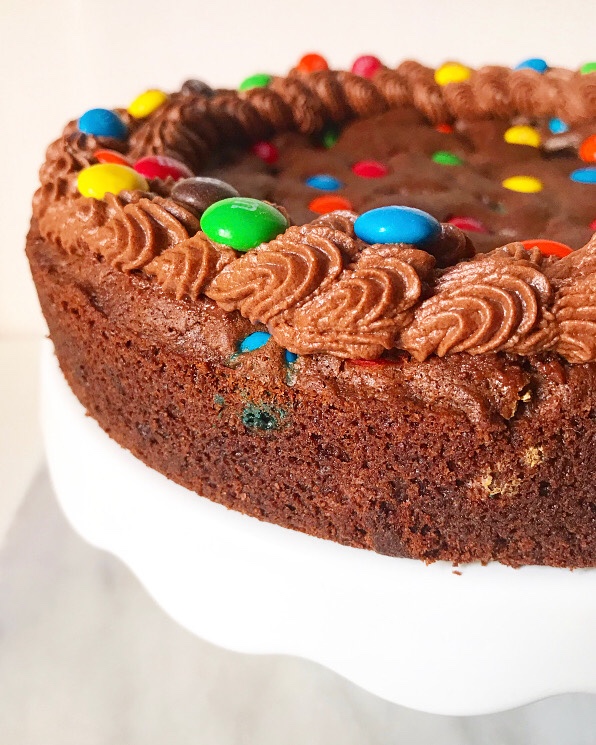 But I remembered now. Seven months later than anticipated, but I remembered. I promise you, Chocolate M&Ms Cookie Cake is worth the wait.
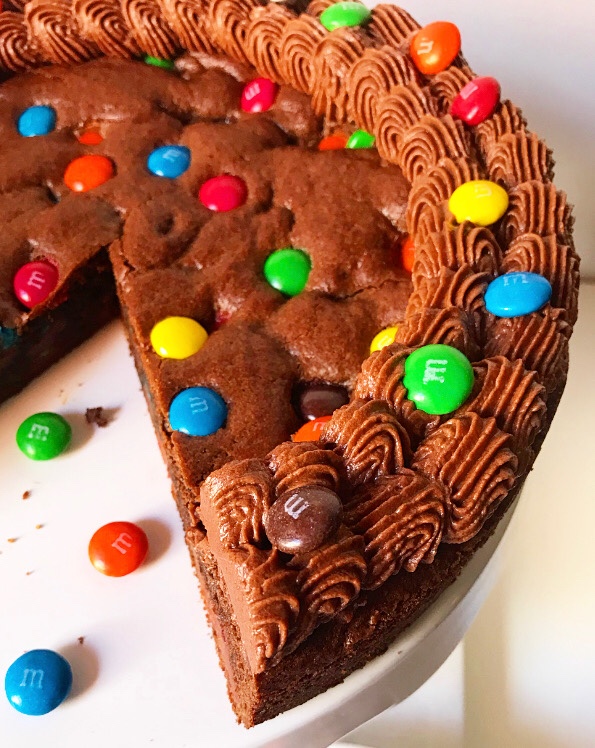 We’re talking about a rich, thick chocolate cookie studded with colorful candy and finished off with a flourish of chocolate buttercream. What’s not to love?!
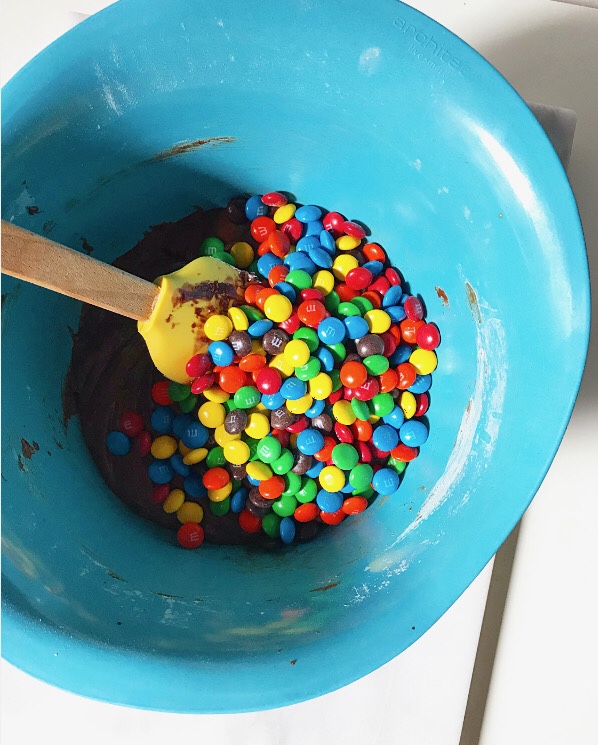
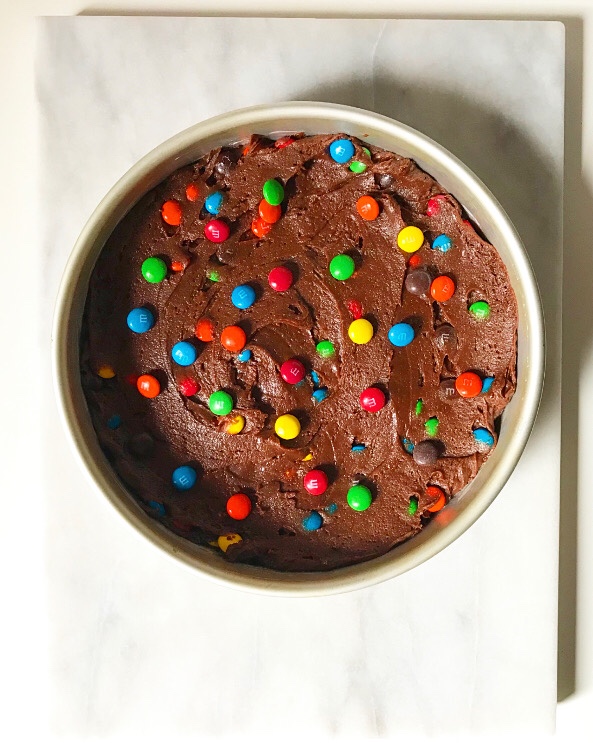 It’s easy too—it’s basically just a slightly smaller batch of my
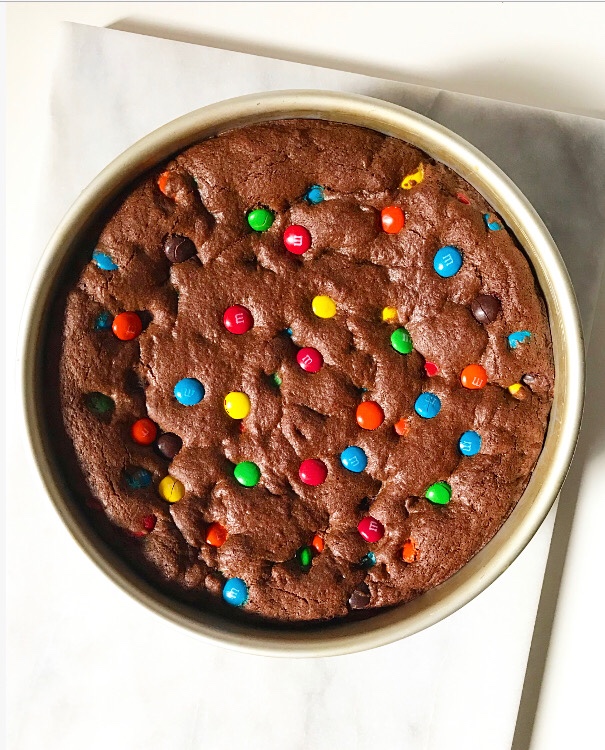
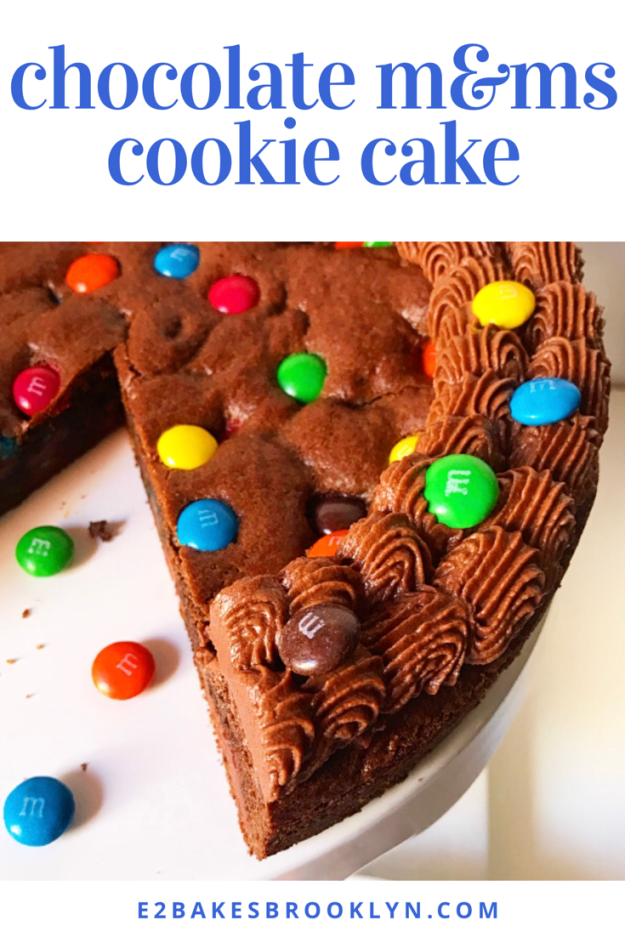
 Bake it up in a cake pan, let it cool, and pipe on a buttercream border. In my opinion, that last step is the thing that takes this recipe from “giant cookie” to “cookie cake.” Not that there’s a thing in the world wrong with a giant cookie, am I right?!
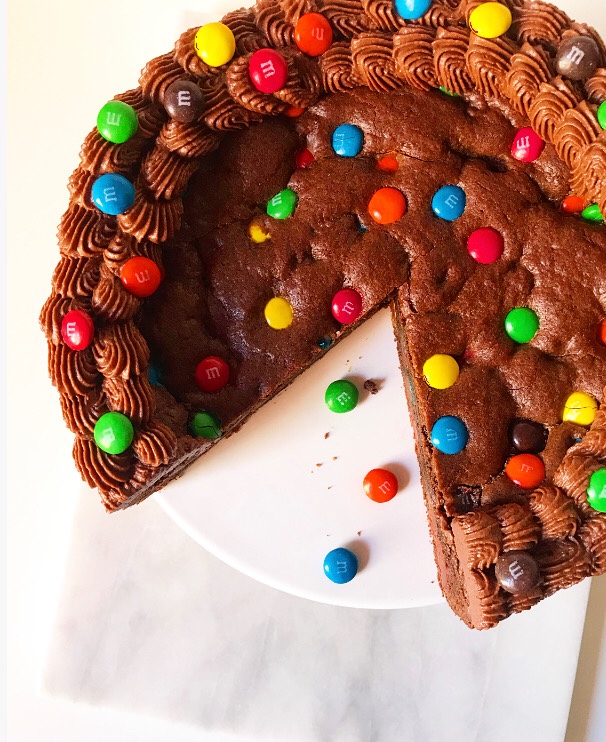 Slice it up and share with people you love this weekend or for the Fourth of July (with
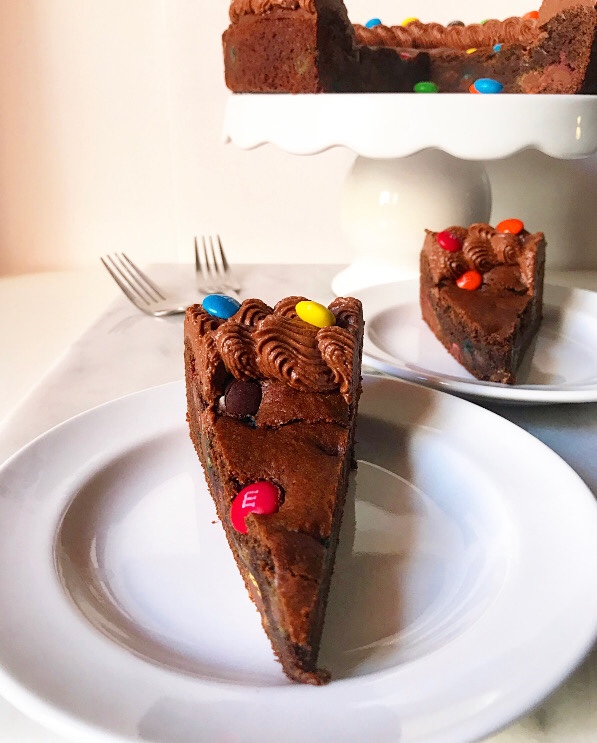
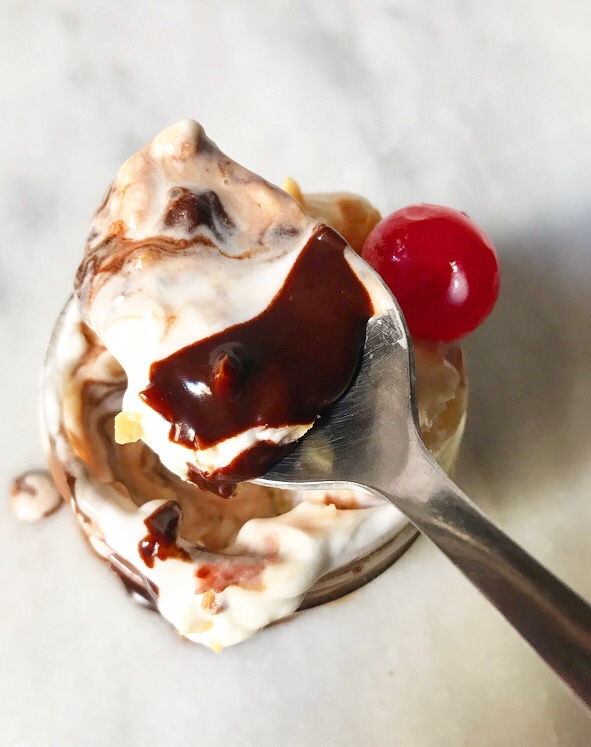
 As far as I’m concerned, hot fudge is a perfect food. It’s the thing that takes sundaes, banana splits,
 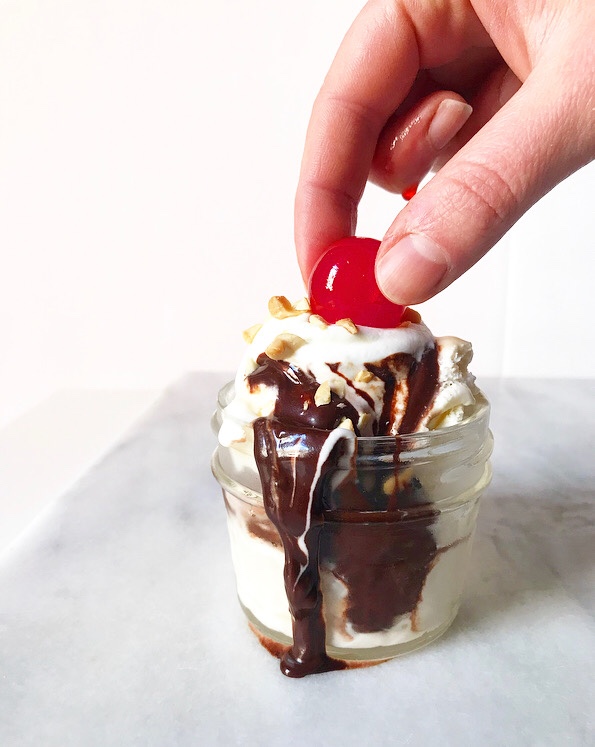 It might surprise you to learn that hot fudge is incredibly easy to make. I grew up thinking of it as a shop-only item, along with
  Hot fudge is a ten minute, one-pot operation, and requires just seven ingredients that you probably have on hand. I mean, how can you argue with smooth, sticky, shiny, sweet hot fudge where you know the amount and quality of every ingredient? It’ll take you less time, cash and energy to whip up a batch than it will to get to the store and back. I mean, that’s half the reason I do all this baking and cooking: because I can do it all from the comfort of my own kitchen in my most-mismatched pajamas.
 Also, because homemade almost always beats store-bought in terms of flavor, quality, and price. That goes double for this hot fudge, which gets its richness from both chopped dark chocolate and cocoa, has less sugar than anything you can purchase, and costs me a whopping $4 for 1 1/3 cups. And it’s delicious. And it doesn’t require putting on real pants or going outside. Yesssss.
 Most hot fudge recipes I’ve seen are sweetened with sugar in addition to light corn syrup and chocolate, but I couldn’t determine a flavor-related or structural reason that it needed to be there, so I nixed it and nothing terrible happened. In fact, the resulting sauce is as rich and fudgy as any I’ve ever had (and I’ve had a lot), and I don’t find it to be lacking sweetness at all. If you’d like a sweeter hot fudge, or maybe know something I don’t,* feel free to add a couple of tablespoons of sugar when you whisk together the light corn syrup and cocoa.
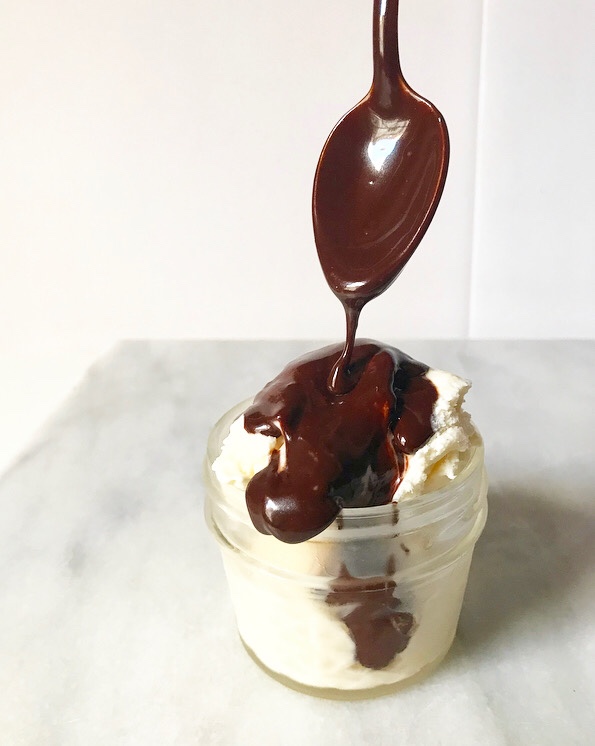
 This hot fudge pours and puddles and takes nicely to the sundae treatment. And just in case you think it can’t get much better than that, you should know that it stays good for weeks in the refrigerator and reheats like a dream, so you can have hot fudge sundaes any day of the week all summer long.
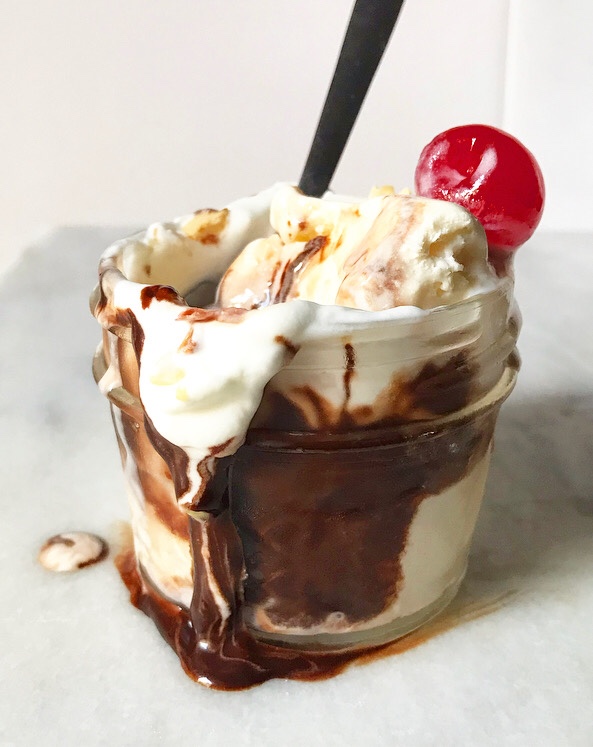 I recommend you start with today.