 Does anybody else have a fridge full of zucchini right now? I can barely close the my crisper drawer! Between summer sautés, stewed summer squash, and the long list of ways to bake with it, zucchini is one of my favorite bits of seasonal summer produce.
It adds moisture, structure, and a tiny bit of nutrition to cakes, cookies, quick breads, and anywhere else you can think to throw in a handful or two. I’m not saying adding zucchini to your bakes will absolve them of sugar and butter, but that sentiment has certainly worked as my excuse when reaching for a second Zucchini Coffee Cake Muffin. I mean, they have two cups of squash in them—they’re practically salad. Or something.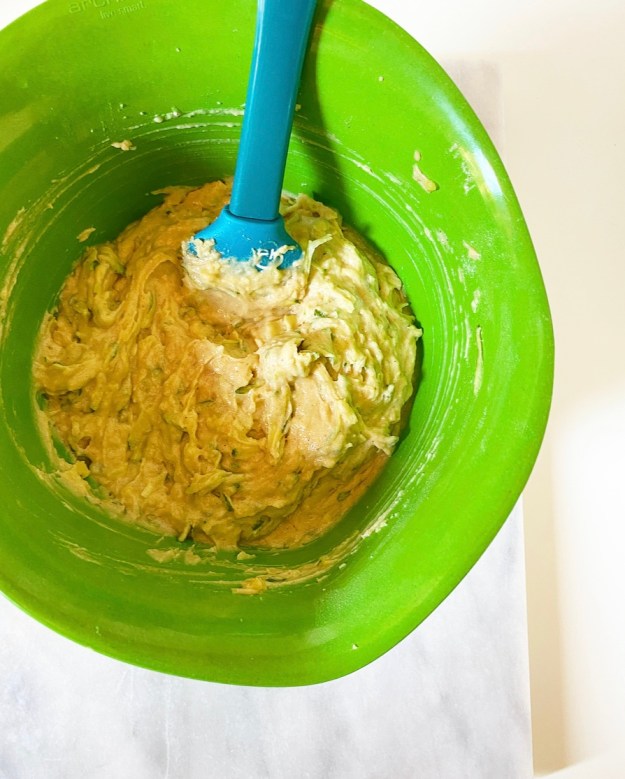
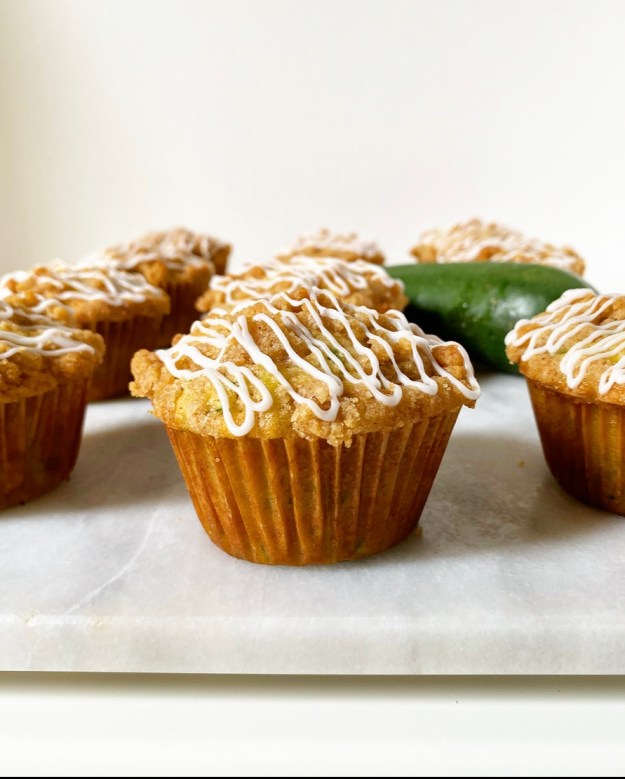
 Zucchini Coffee Cake Muffins are what happens when you take all the good things about zucchini bread and coffee cake, combine them in a batter, scoop it into a muffin tin, top it off with a cinnamon crumb, bake until golden, and drizzle a glaze on top. Health food, these are not, but you don’t come to this corner of the internet for health food. You come here because you are looking for more ways to get crispy cinnamon crumb topping into your diet.
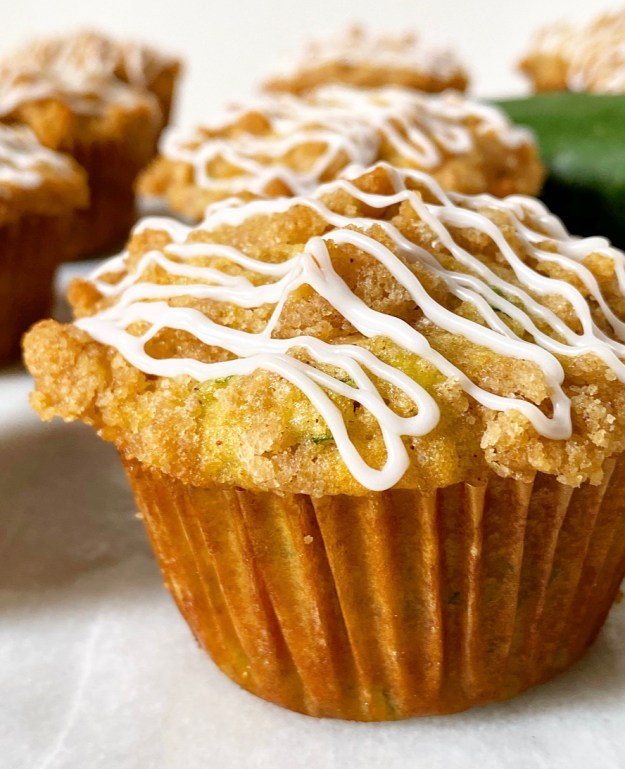 Here, zucchini serves as a replacement for the usual liquid ingredients in our batter, like milk and sour cream. While I usually suggest wringing the shredded squash in a towel to remove excess moisture, this is one of those rare zucchini recipes where you can bypass the wringing and throw it directly into the batter. You need all the moisture you it can offer—when you first add the squash to the batter, it’ll be super dry, but after sitting a few minutes, it’ll be thick, rich and ready for the oven!
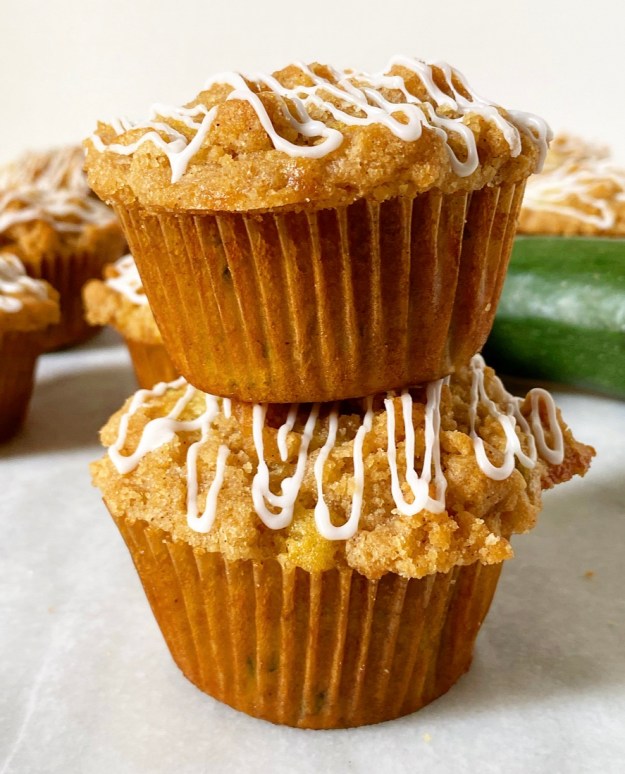 The rest of the recipe is standard muffin and coffee cake fare, all the way down to the crunchy crumb and glaze. That said, I won’t tell anybody if you eat one and call it a serving of vegetables.
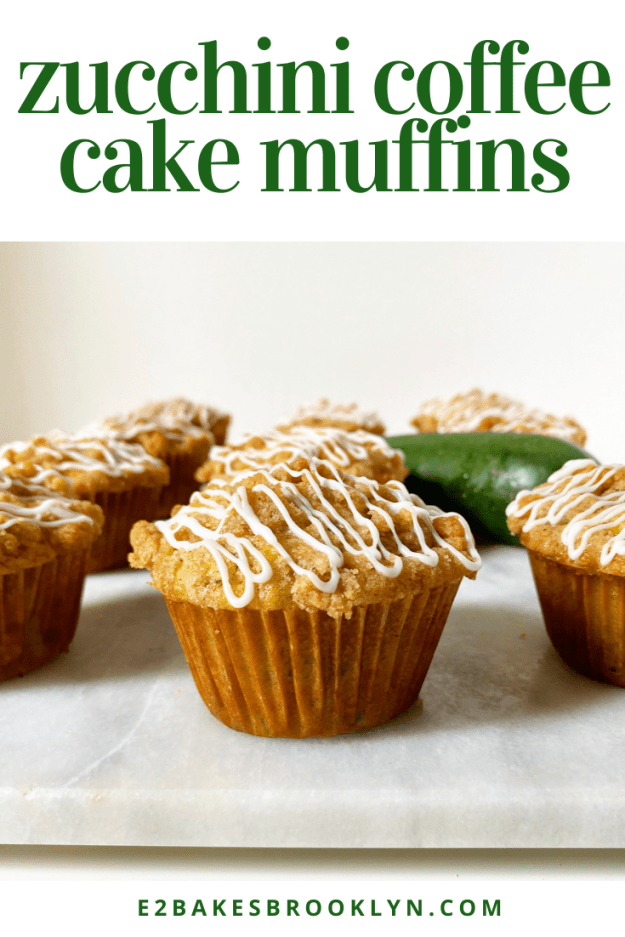
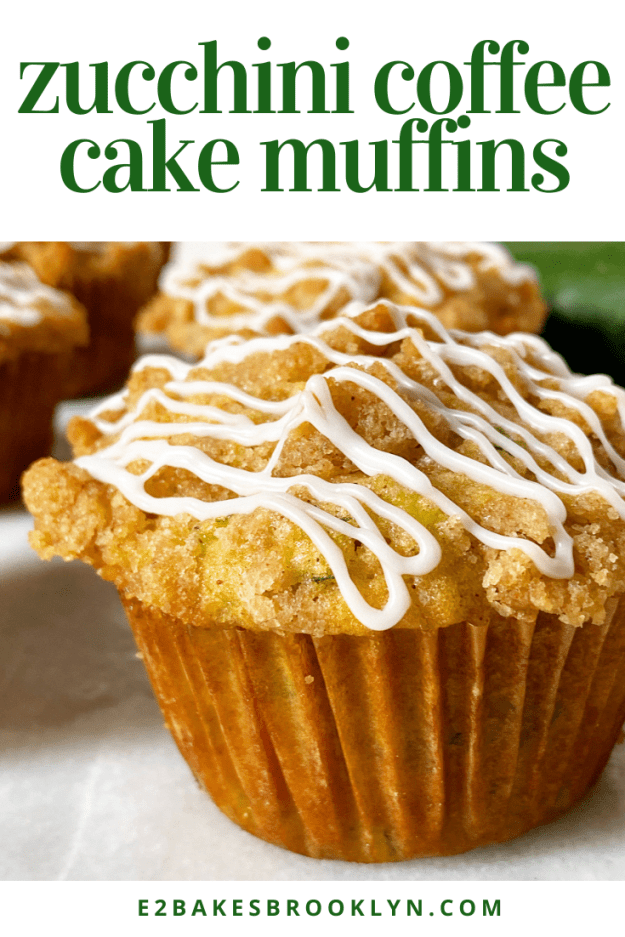
Zucchini Coffee Cake Muffins
makes 12 muffins
Crumb:
2/3 cup all-purpose flour
1/3 cup light brown sugar, packed
1/2 teaspoon ground cinnamon
pinch of Kosher or sea salt
1/4 cup unsalted butter, melted
Muffin Batter:
1 3/4 cups all-purpose flour
1/2 cup granulated sugar
1/4 cup light brown sugar, packed
1/2 teaspoon ground cinnamon
1 teaspoon baking powder
1/2 teaspoon baking soda
1/2 teaspoon Kosher or sea salt
1/2 cup unsalted butter, softened to room temperature
2 large eggs, room temperature
2 cups zucchini grated on the large side of a box grater, not drained (about 1-1 1/2 medium zucchini)
2 teaspoons pure vanilla extract
Glaze:
1/2 cup confectioner’s sugar
2-3 teaspoons milk of choice
Make the crumb. In a small mixing bowl, use a fork to whisk together flour, light brown sugar, cinnamon, and salt. Add melted butter and stir together until everything is moistened and clumps form. Set aside.
Preheat oven to 400F. Line a 12-cup standard muffin pan with cupcake liners. Set aside.
Make muffin batter. In a medium mixing bowl, whisk together flour, granulated sugar, light brown sugar, cinnamon, baking powder, baking soda, and salt. Set aside.
In a large mixing bowl, use an electric mixer to beat butter until fluffy. Mix in egg and vanilla; mixture may be a bit lumpy. Mix in the dry ingredients—mixture will be dry and crumbly. Use a silicone spatula or wooden spoon to fold in grated zucchini. Let sit 10 minutes and stir again; batter should be thick and no longer dry.
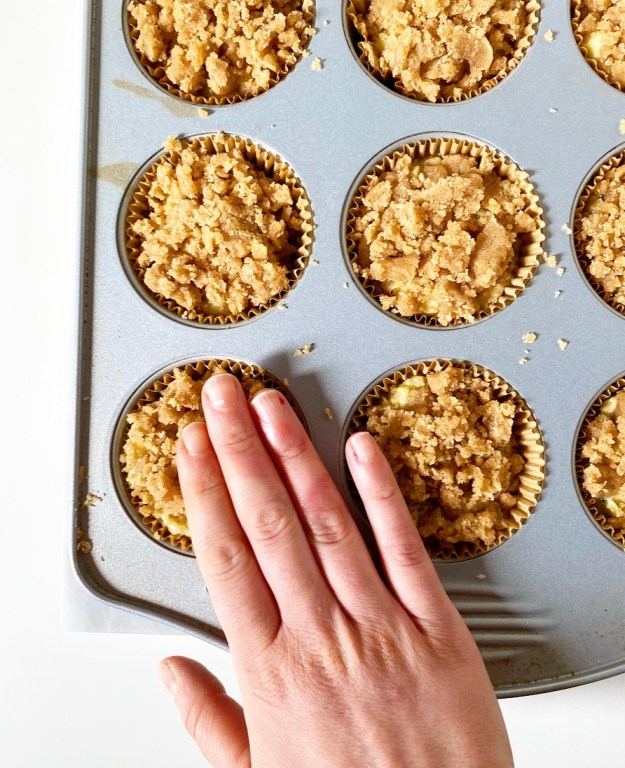
Divide batter among muffin cups—they will be full. Top with crumb and lightly press with your fingers to adhere. Carefully tap the pan on the counter five times to release any large air bubbles. Bake for 5 minutes, then turn the oven temperature down to 350F and bake for an additional 14-15 minutes.
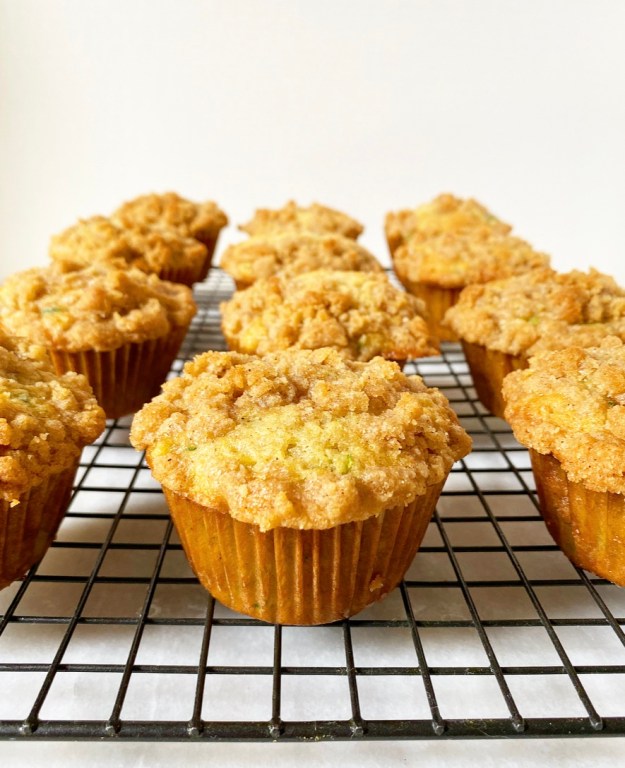
Remove muffins from the oven and let cool in the pan for at least five minutes before removing to a rack to cool completely.
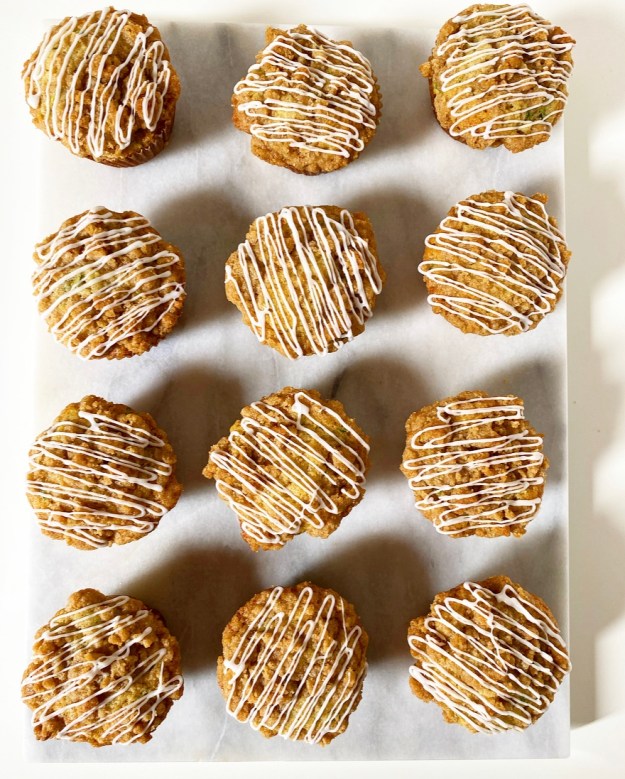
Make glaze. In a small bowl, use a fork to whisk together confectioners sugar and milk until thick, but pourable. Drizzle over muffins. Let sit 5-10 minutes before serving. Glaze will set completely after several hours.
Leftovers will keep covered at room temperature for up to two days or in the refrigerator for up to four.


 Just like clockwork, every August I crave old back-to-school lunchbox favorites. Yes, I know I am a childless adult who is more than a decade away from her last first day of school, but I guess it’s pavlovian. In years past, it’s been
 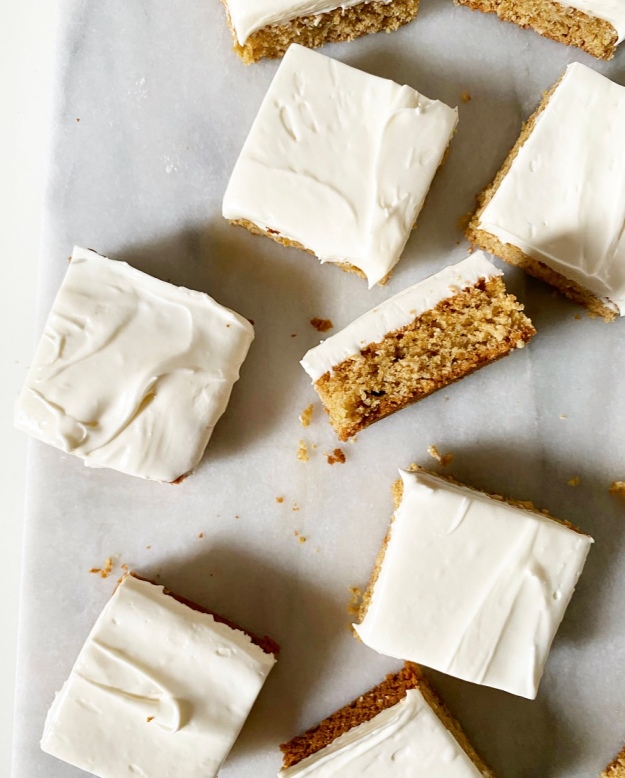 Now, I already have a recipe for a homemade version of
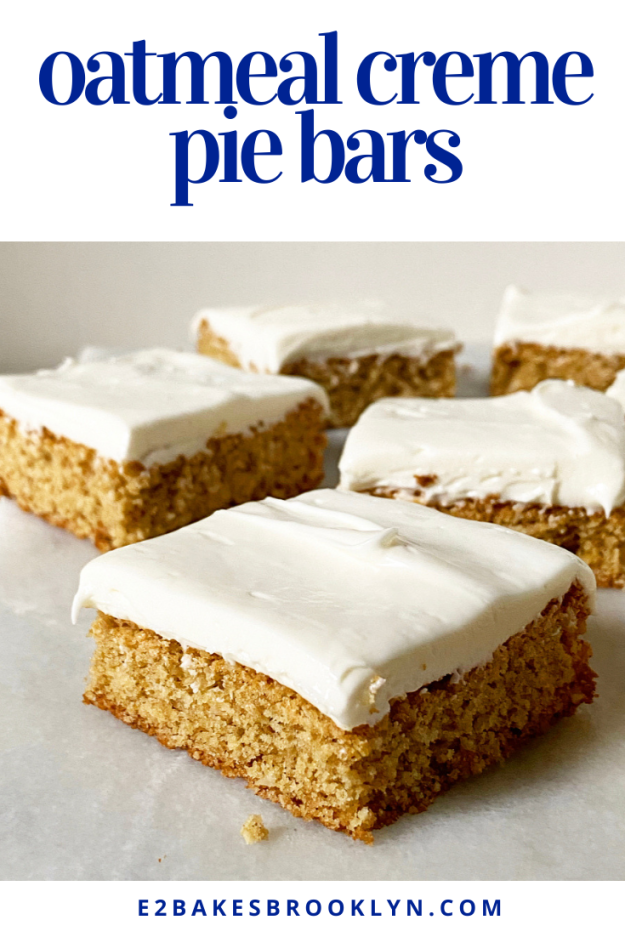
  Oatmeal Creme Pie Bars, y’all! These sweet squares are a cross between a thick cookie and a
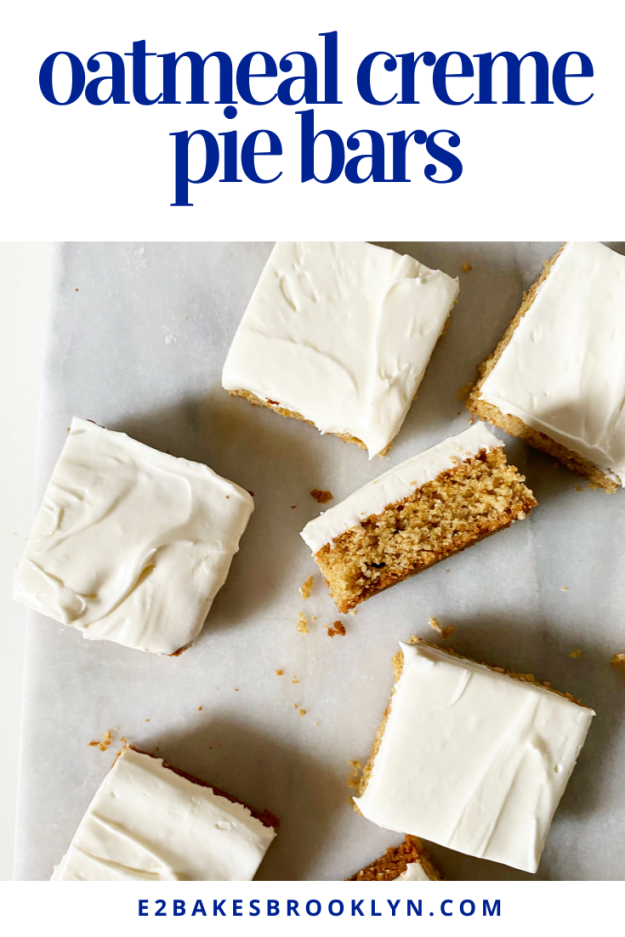
 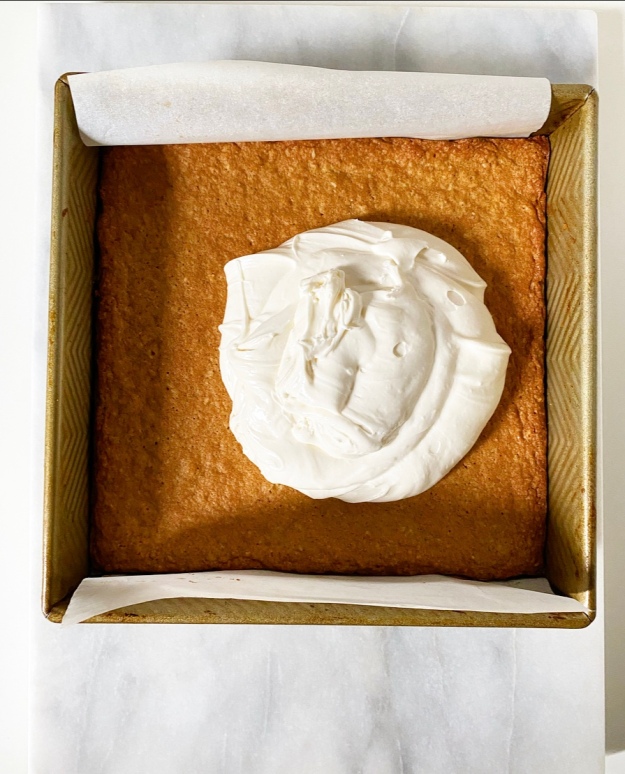 The cookie layer is a streamlined version of my usual Oatmeal Creme Pie dough, made with quick oats (homemade or store bought) and a hint of cinnamon. The only “major” change is the addition of a tiny spoonful of baking powder for a little extra lift. The batter comes together in minutes before being spooned into a pan, then baked until golden at the edges and nearly cakey in the middle, the way all good Oatmeal Creme Pies are.
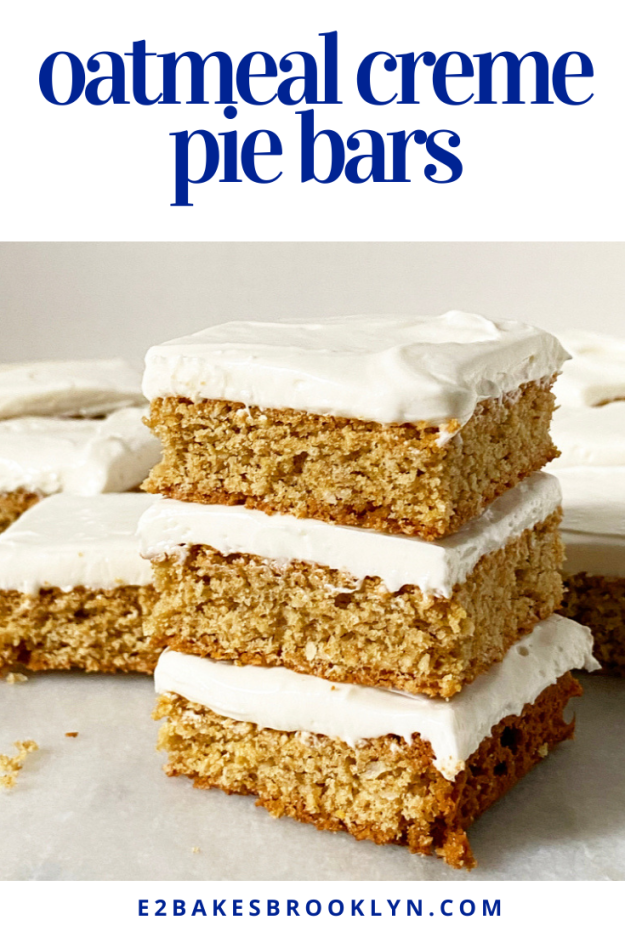
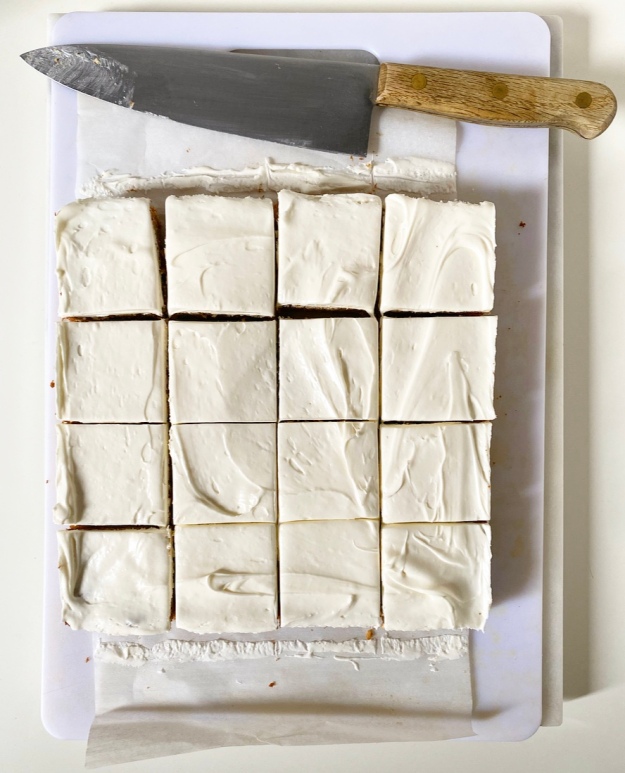 The marshmallow frosting is a take on my usual Oatmeal Creme Pie filling. It’s super smooth and a bit glossy in the best possible way. In the past, I’ve used shortening in my Oatmeal Creme Pie filling for maximum nostalgia, but swapped it for butter here with good results.
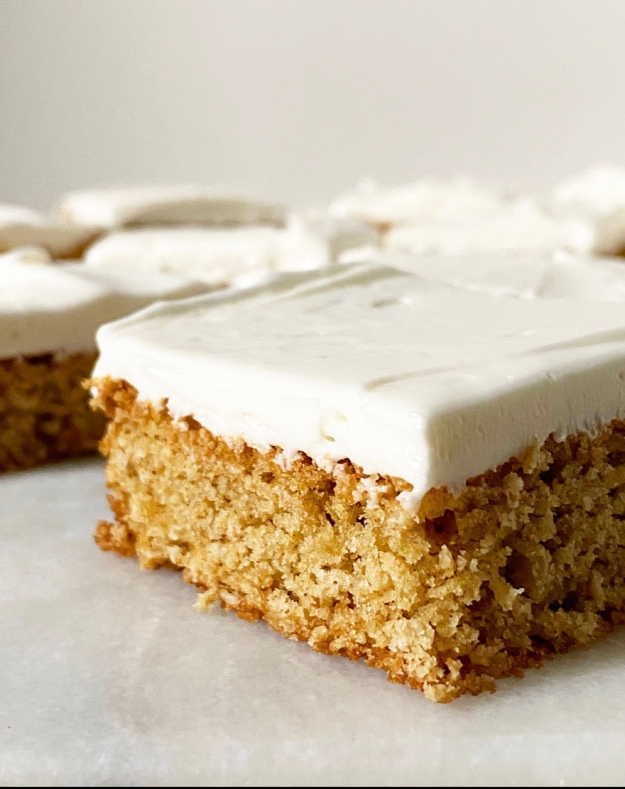 This batch of Oatmeal Creme Pie Bars came together in a relative flash—less than two hours top to tail, including cooling—meaning you might have time to whip some up soon, regardless of the fact that lunchboxes may not be a part of your life right now, whether it be because school is virtual or because you’re a 35 year old childless adult with a snack cake habit.
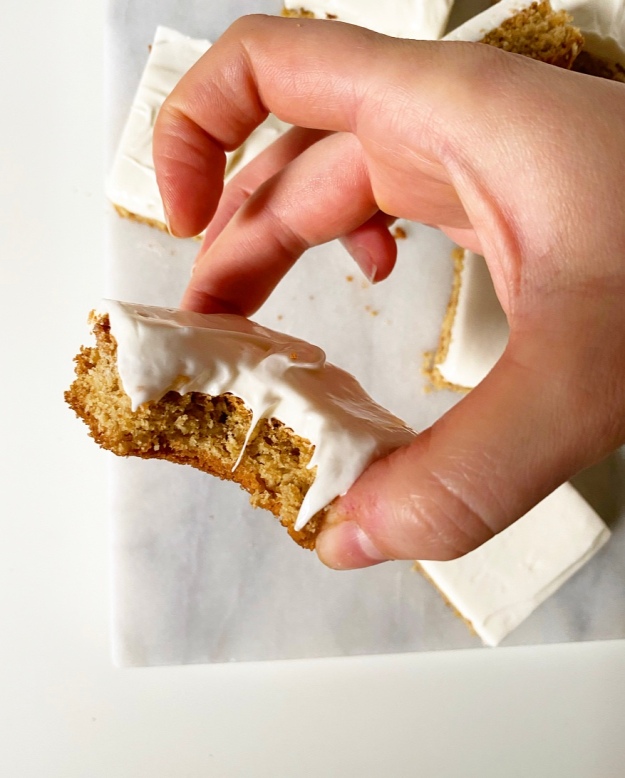
 Full disclosure, I am tired. Like in-my-bones tired. It’s been a long week and I haven’t been sleeping well and I just can’t seem to get my brain to concentrate on this blog post. I would say I’m trying my best, but I am actually trying as much as I absolutely have to and not the tiniest bit more. It’s that sort of day.
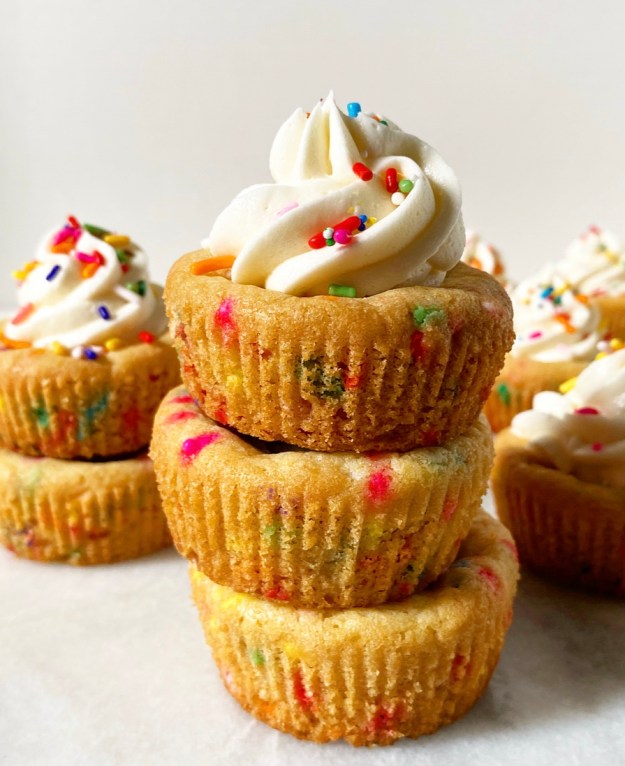
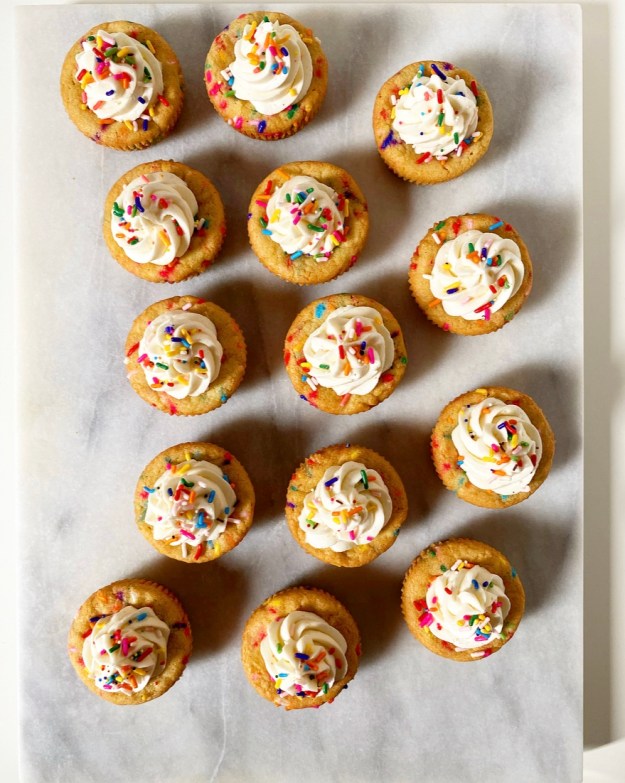
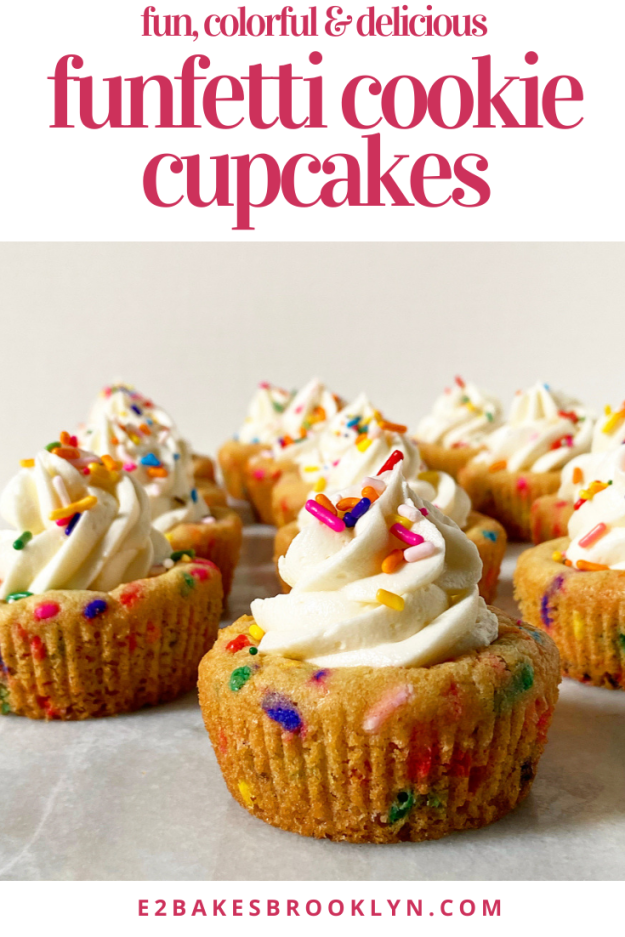
 I usually take pride in writing a “real” blog post, but was tempted today to just leave it at “Um, hi. I took cookie cake and threw sprinkles in there and made it smaller. Oh, and there’s a plume of vanilla buttercream on each one. Funfetti Cookie Cupcakes, y’all!” …and leave it at that. I mean, that about sums it up, right?
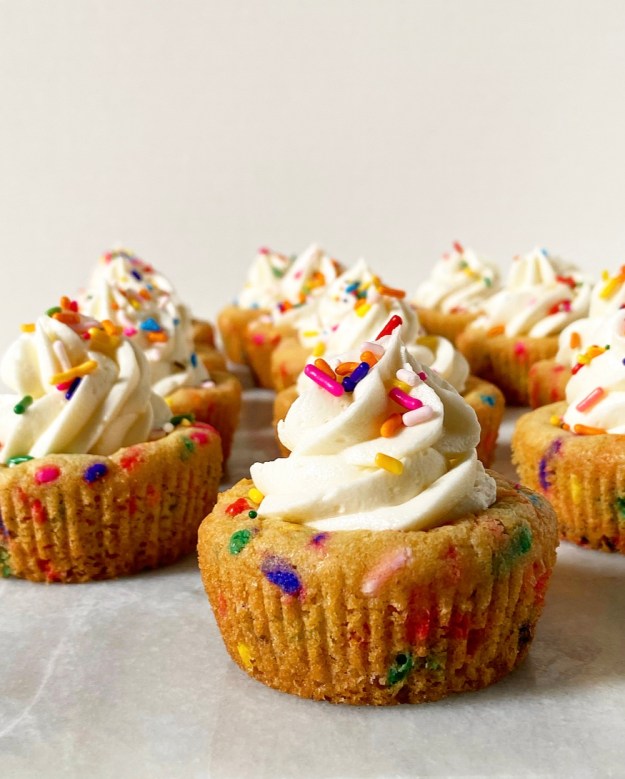 Well, almost. It doesn’t tell you that these Funfetti Cookie Cupcakes were born because I deeply miss baking for groups. I really wanted to make a cookie cake for weeks, but resisted because who would I share it with?
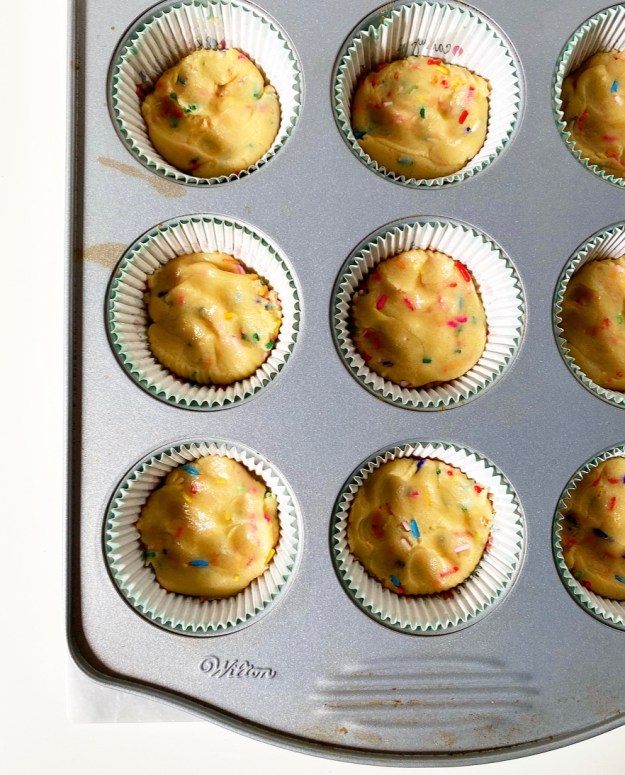
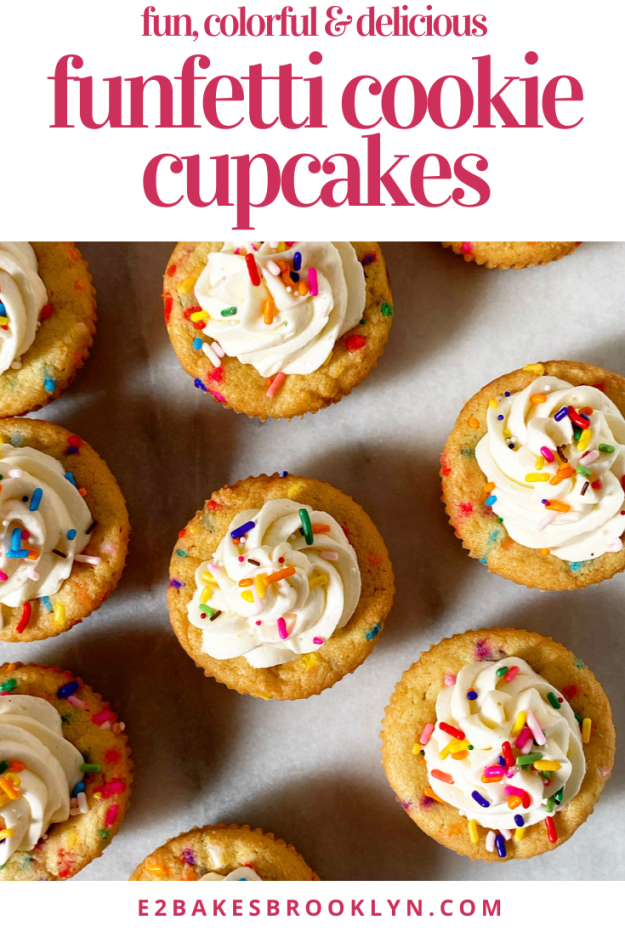
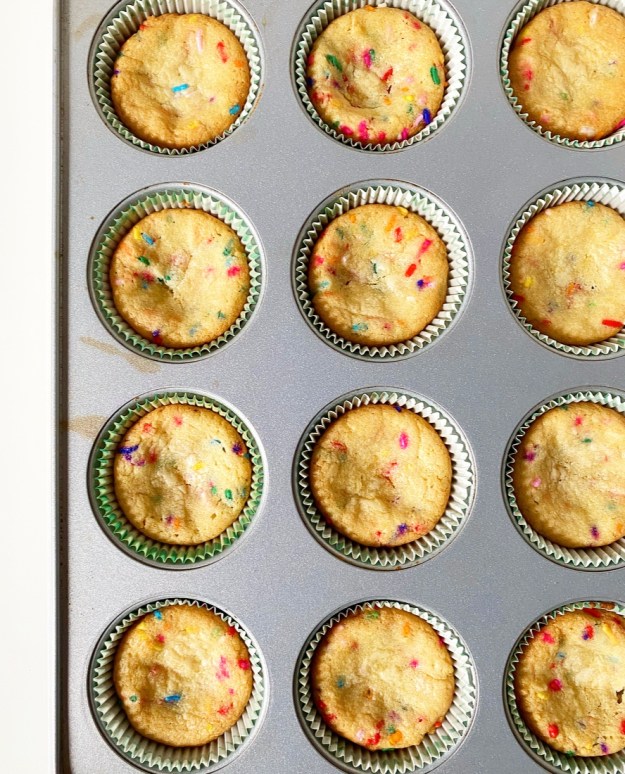 That rambling, incoherent, grammatically incorrect blurb says nothing of how the exteriors of these little cookie cakes crackle ever-so-slightly against your teeth when you first bite in, or how the centers are a tad underbaked and chewy like
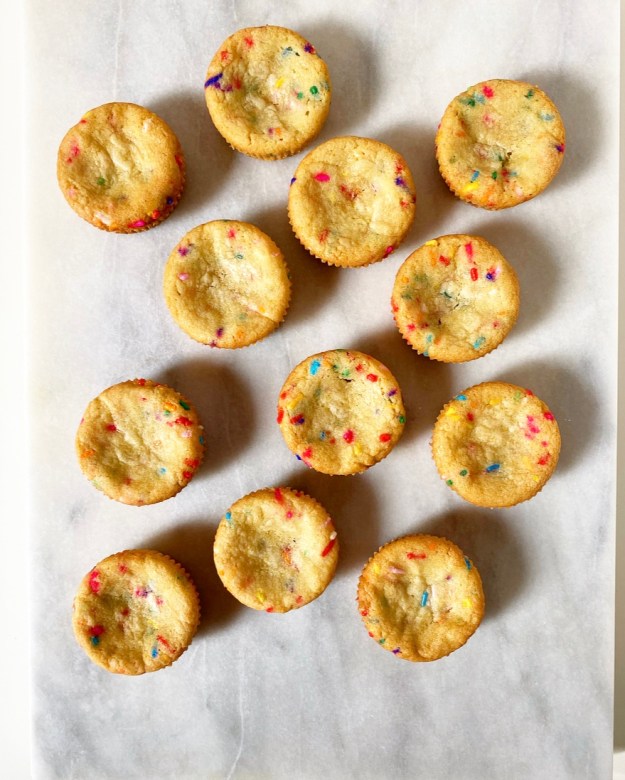
 There’s no mention of how much I absolutely love
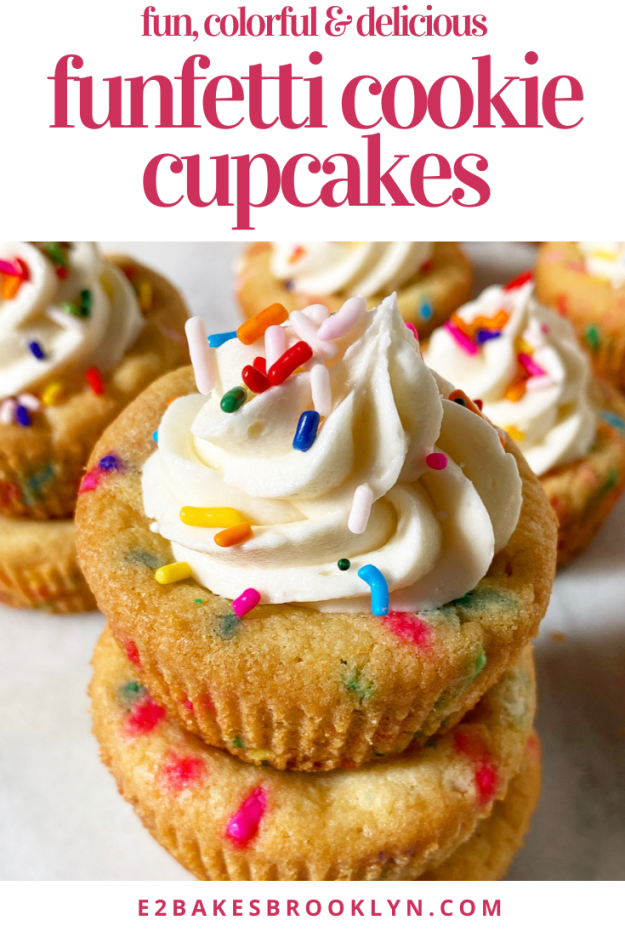
 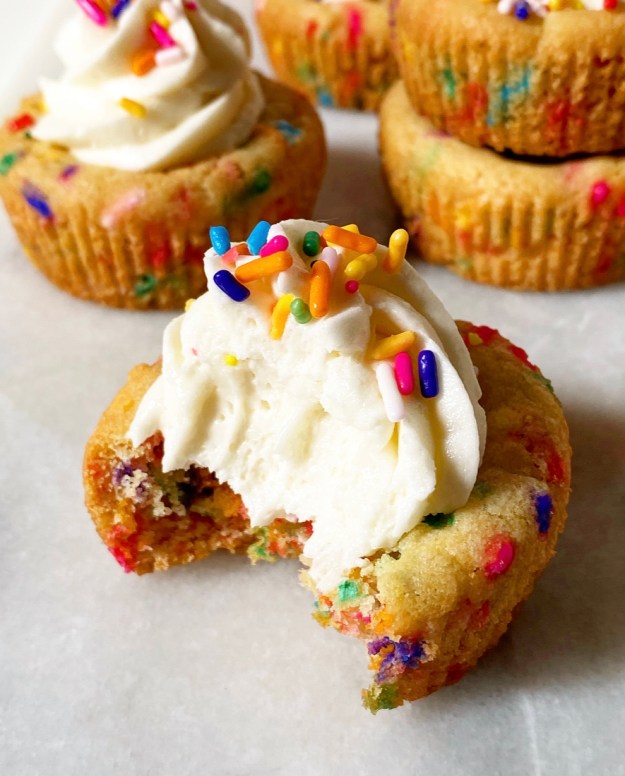 And speaking of single servings, that half-assed blog “post” I wanted to write has one more gross oversight. These are perfect for socially-distanced celebrating or for delivering to someone you love and can’t really see right now. It doesn’t tell you that even though you bake all the time, even when you are tired and feel uninspired, making these will feel nothing like work and completely like joy. And how even when you’re a completely depleted puddle of a human who needs a weekend so badly it’s ridiculous, you’ll find a way to find the words to say it all.
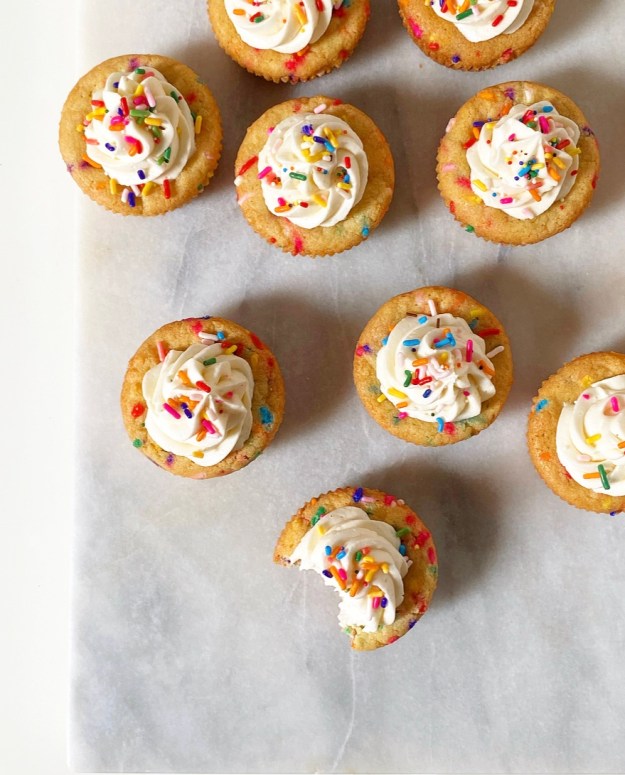
 Homemade Chocolate Shell has appeared on here a few times over the years, but always as a part of another recipe. I’ve used it to finish an
 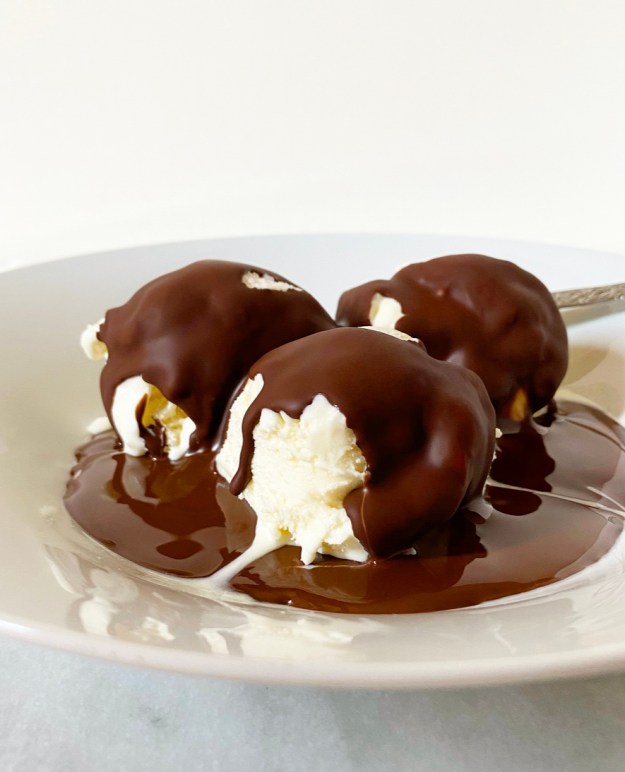 Chocolate shell is both entertainment and dessert. It goes on ice cream (or anything cold) like
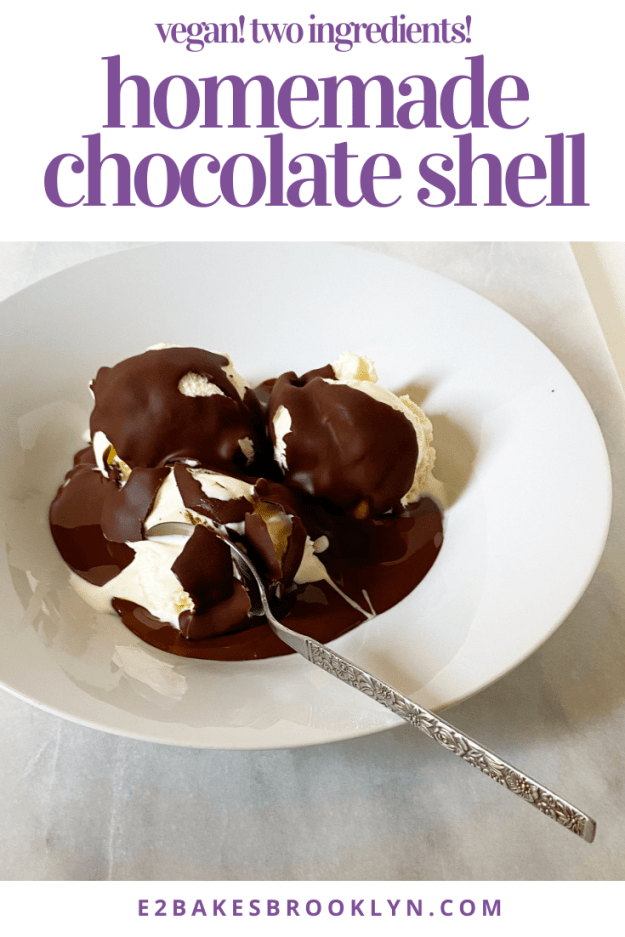
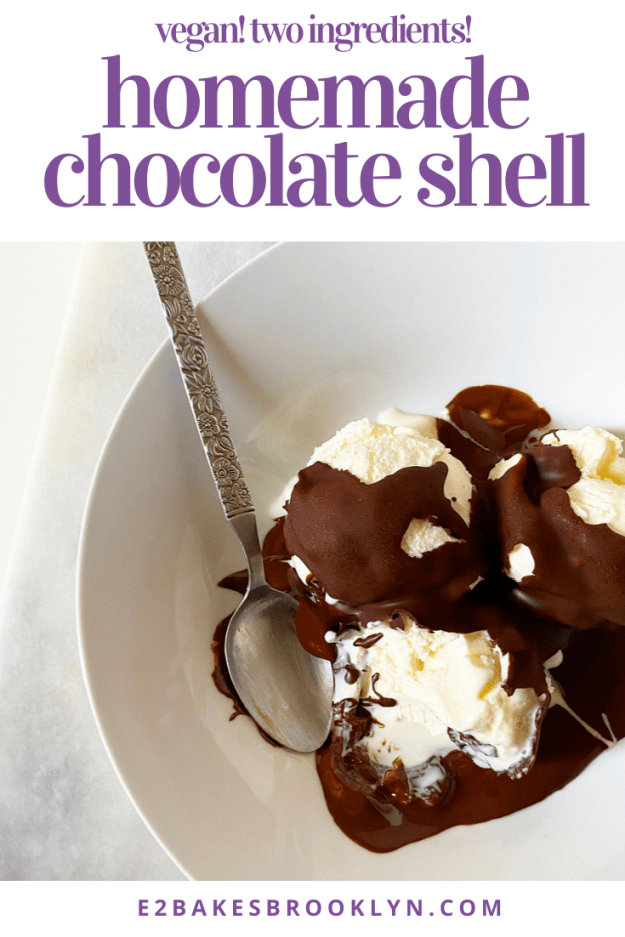
 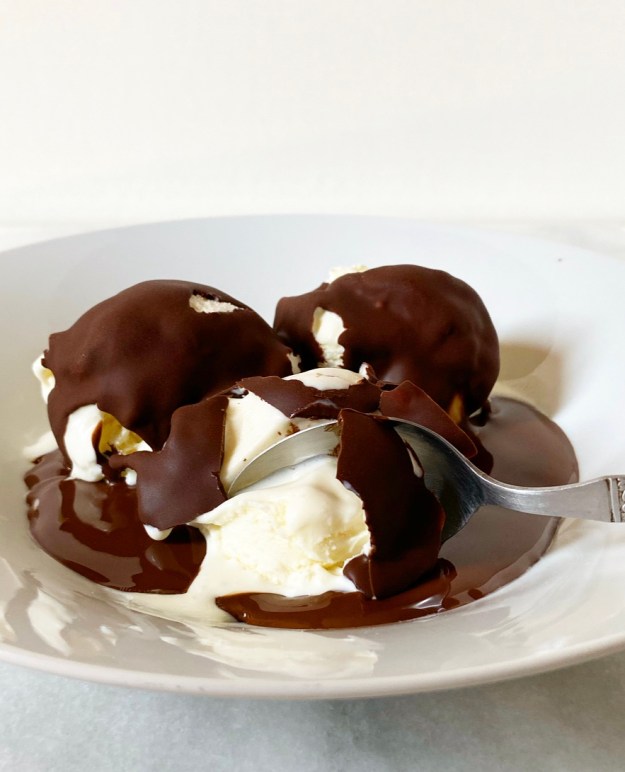 The “magic” of chocolate shell was a mystery to me for years—how did they do that?! Turns out, mostly with ingredients and preservatives that I’d rather not ingest whenever I get a hankering for a bowl of ice cream with a snappy chocolate topping. Imagine my utter delight when I discovered Homemade Chocolate Shell could be made with just two easy-to-find, vegan ingredients!
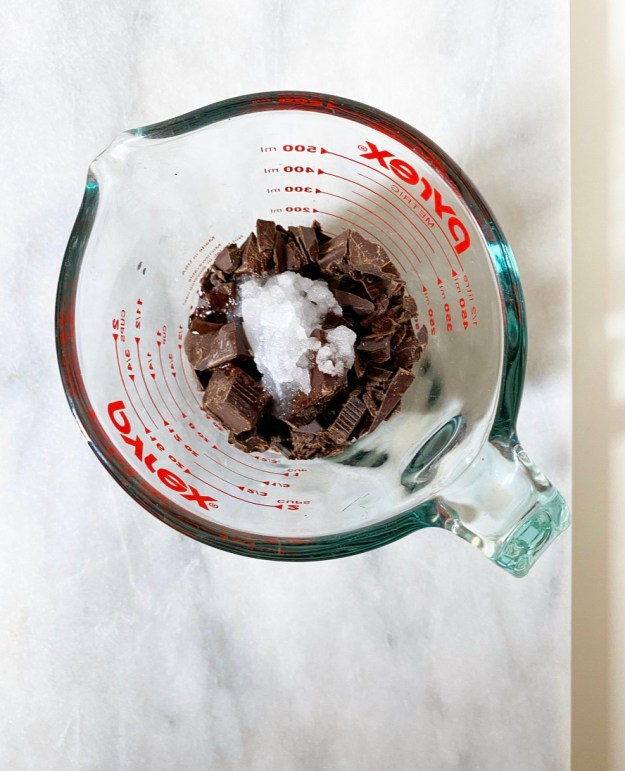
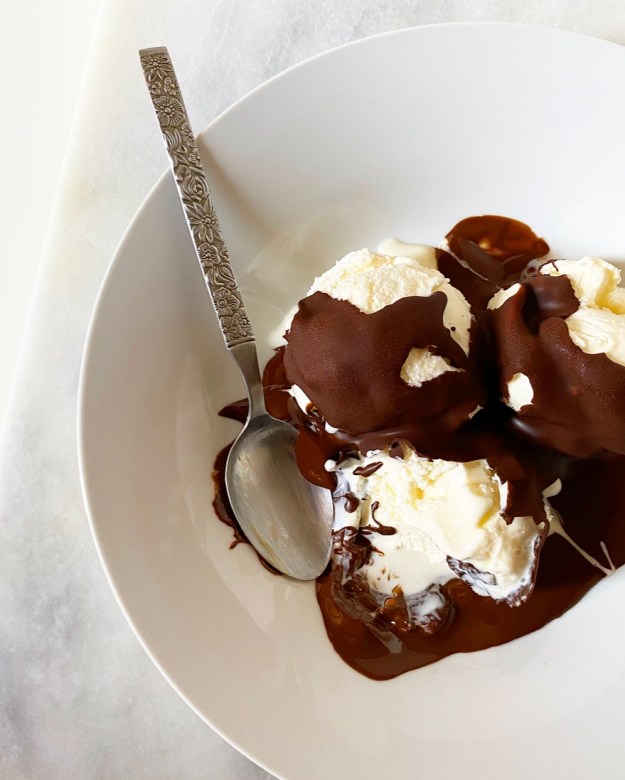
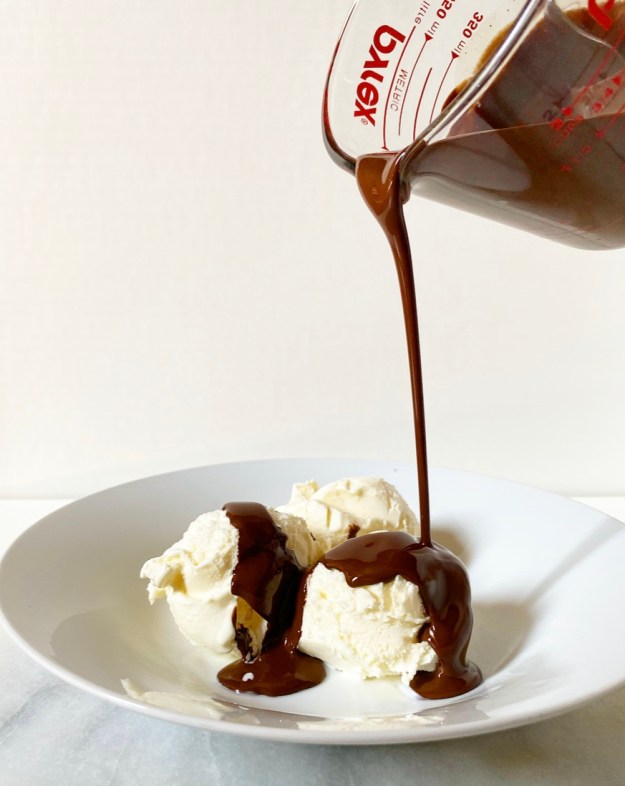 Yes, all you need to make Homemade Chocolate Shell are four ounces of bittersweet chocolate and two tablespoons of coconut oil. Melt them together, stir until smooth, and then drizzle—or let’s be real, pour—it over a scoop (or three) of ice cream. Then watch as the glossy sauce magically turns into a matte shell in a matter of seconds! It works because coconut oil solidifies at 76F, but that’s way less fun than calling it magic.
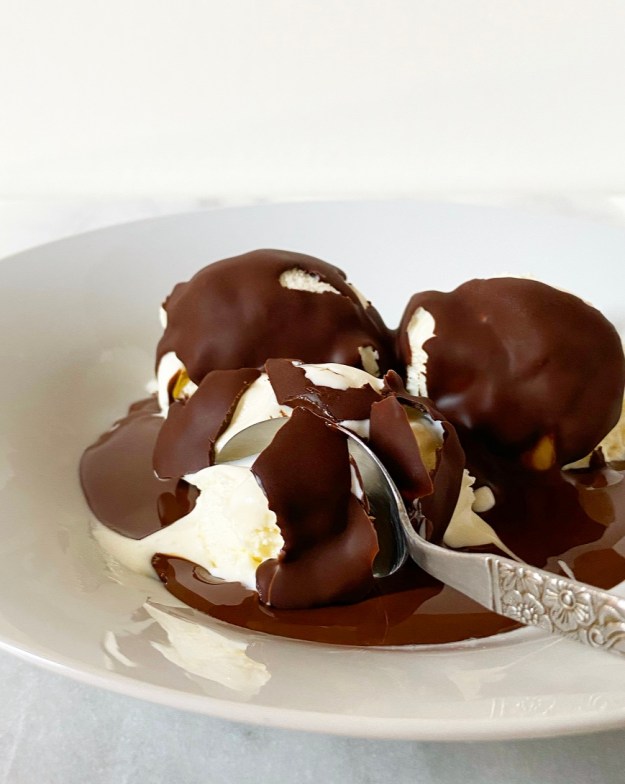 Not only is Homemade Chocolate Shell made of less-terrifying ingredients than the store bought stuff, it’s more delicious, too. You control the quality of ingredients here, and that goes double since there are only two of them. This batch was made with Trader Joe’s Pound Plus Dark Chocolate and refined coconut oil because those are things that I like and keep on hand.
 Hands down, my second favorite part of eating Homemade Chocolate Shell is thwacking through it with the side of a spoon. There’s nothing quite like that satisfying snap and the shards of cold chocolate that melt in your mouth.