 Is there any food that celebrates summer quite like a s’more? I don’t think so. I mean, it’s pretty difficult to argue with the near-perfect combination of graham cracker, melty toasted marshmallow, and chocolate on a searing hot day…
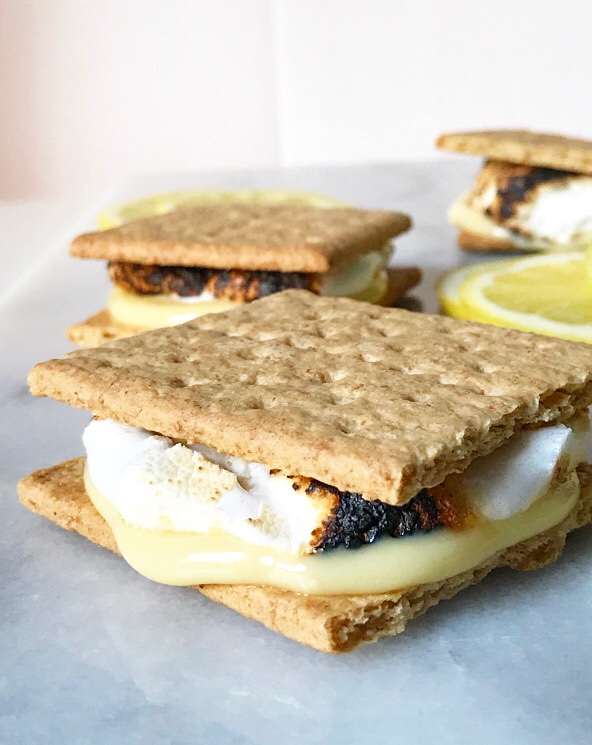 …but I’m going to anyway because of course I am. I like to occasionally dabble in the contrarian arts, and nothing on this blog screams “I do what I want!” louder than today’s Lemon Meringue S’mores!
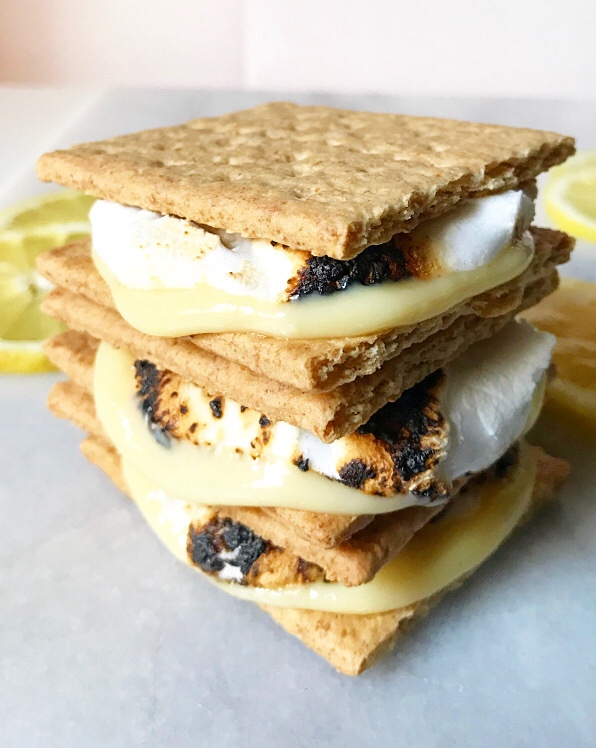
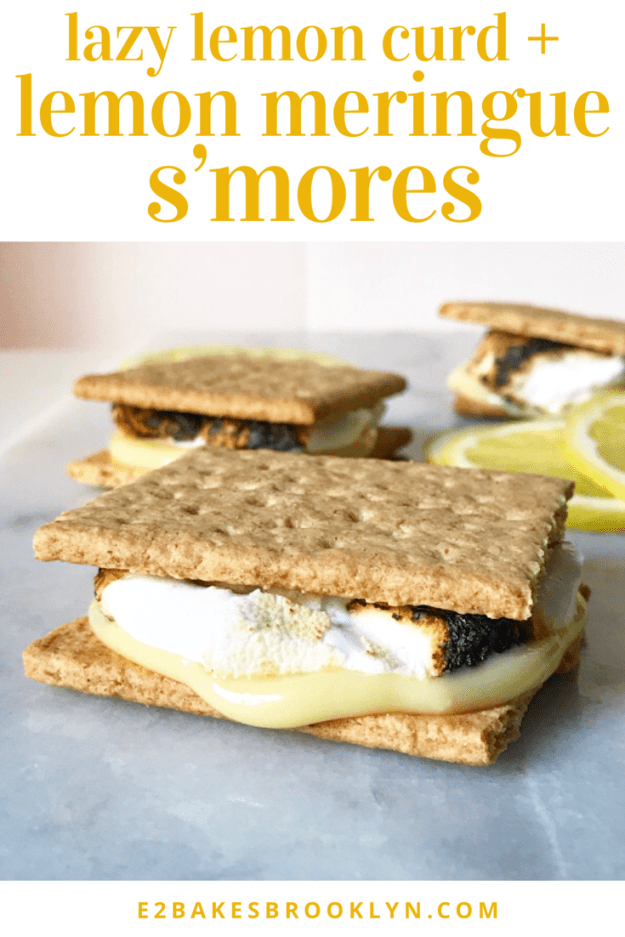
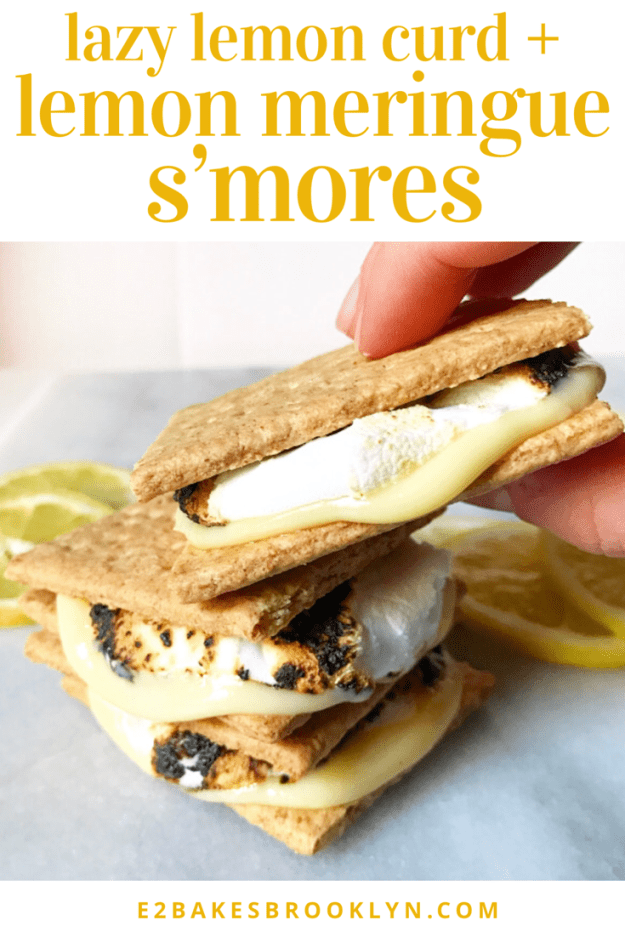
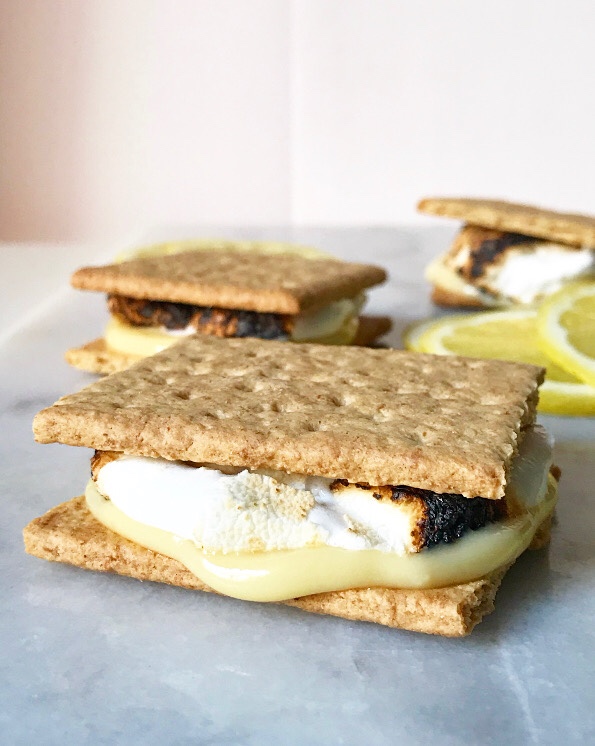 Yes, Lemon Meringue S’mores. As in, graham crackers, toasted marshmallow, and lemon curd. As in, a six—er, four—bite summertime treat that tastes just like Lemon Meringue Pie, but is about 1% of the work, permitting that you’ve already made the lemon curd. If you haven’t made it, that number goes up to a whopping 3%.
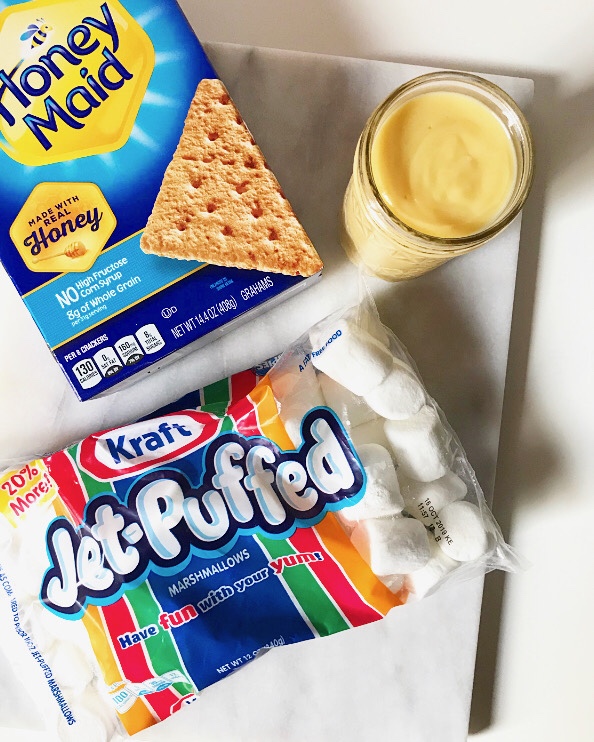
 You see, the lemon curd I use for Lemon Meringue S’mores isn’t just any lemon curd, y’all. It’s Lazy Lemon Curd. I mean, you’ll be hard-presses to find a citrus curd recipe that is particularly challenging, but this is one for the days when you reeeeeally don’t want to whisk something continuously or add butter bit-by-bit or strain anything.*
*I hate straining things. Hate. It. Not as much as I hate cleaning muffin pans, but almost. So, if I tell you to strain something, it means it really needs to be done. 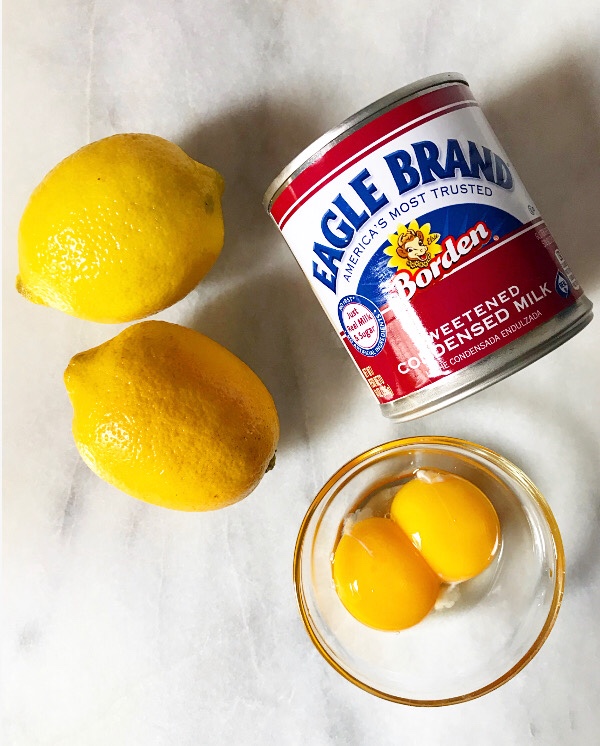
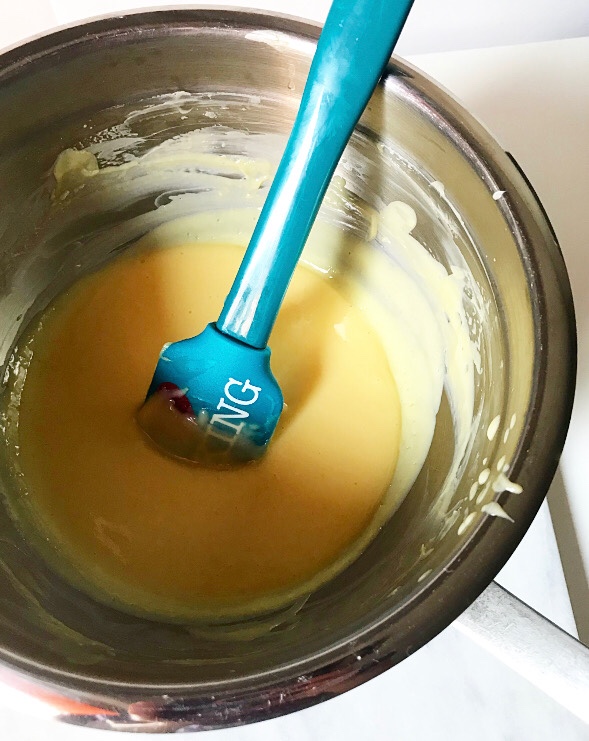
 This is an easy three-ingredient, two-step recipe. Whisk together some fresh lemon juice, two egg yolks and a can of sweetened condensed milk. Heat that mixture over a double boiler, stirring if/when you think about it, until it thickens slightly, which takes fifteen minutes. That’s literally it.
 If this recipe looks familiar, that’s because it is. Lazy Lemon Curd is just a sunny lemon spin on the filling for my Key Lime Linzer Cookies, and that is just a stovetop version of Key Lime Pie filling. It’s also the combination I use in my easy Pink Lemonade Bars. Sweetened condensed milk, y’all—it’s the unsung hero of my kitchen.
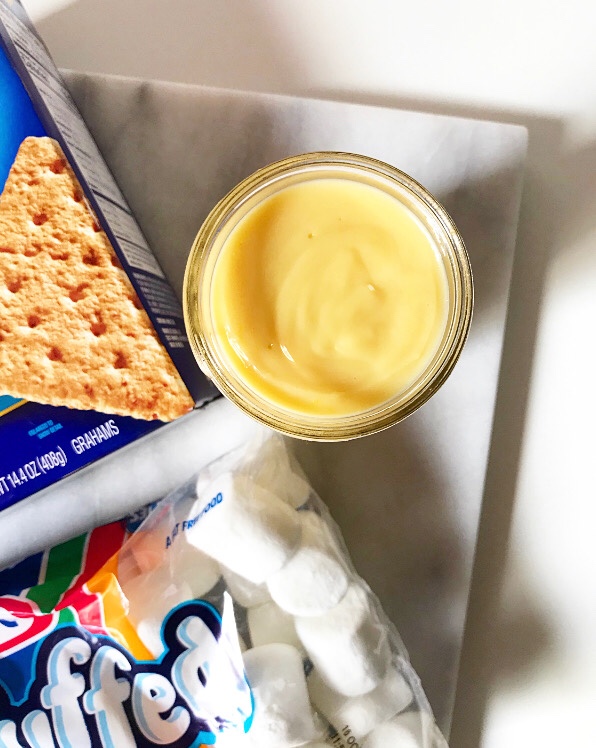
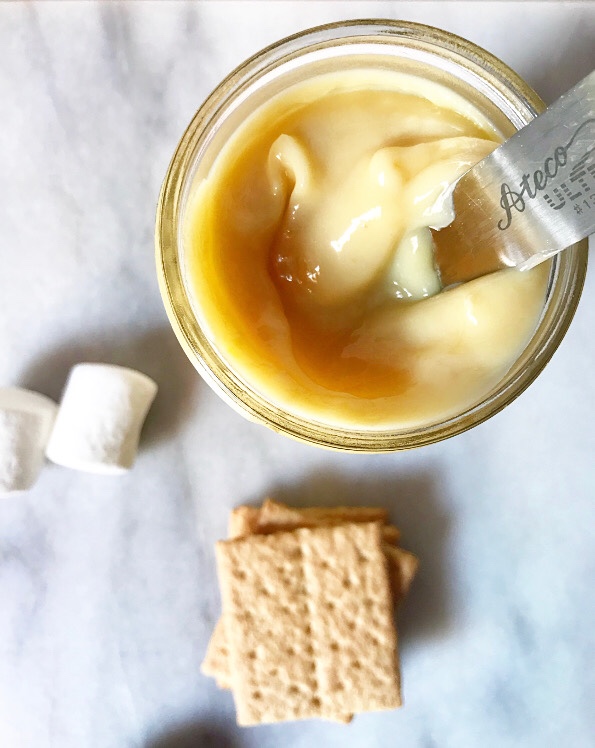
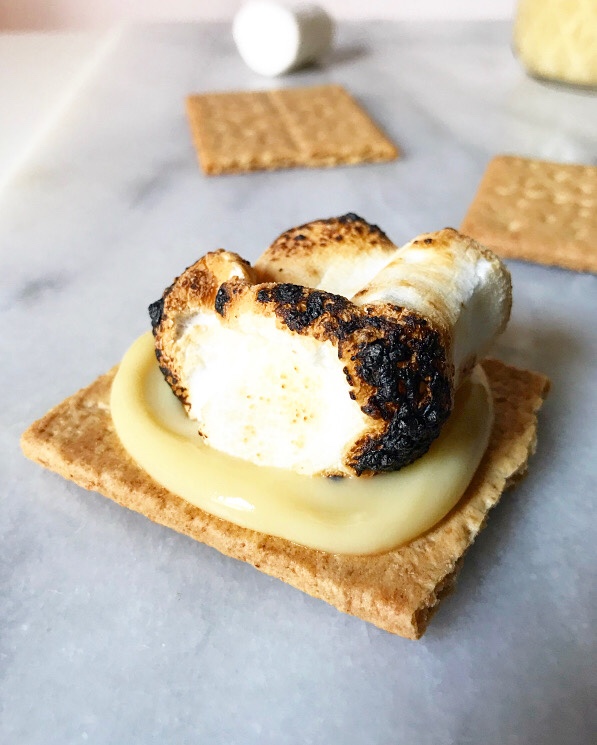
 Once your Lazy Lemon Curd has cooled a bit, make yourself some s’mores! Slather a little of the curd on a graham cracker, top it with a toasted marshmallow and sandwich it all with another graham cracker. And then repeat that process because you’re going to want two of these toasty, gooey, lemony treats. And because this stuff keeps well in the fridge, you can make Lemon Meringue S’mores all summer long. That’s something worth celebrating.
Lazy Lemon Curd
makes about 1 1/2 cups
2/3 cup fresh lemon juice (from about 3-4 lemons)
1 14 ounce can sweetened condensed milk
2 large egg yolks, room temperature
Make the filling. Fill a small pot with 1-2 inches of water. Set a heatproof bowl over the top, ensuring that the water does not touch the bottom of the bowl. Remove bowl and bring water to a simmer.
In the heatproof bowl, whisk together lemon juice, sweetened condensed milk, and egg yolks. Place bowl over simmering water, creating a double boiler. Let cook, stirring frequently, until slightly thickened (about 15 minutes). Remove from heat and transfer filling to a heatproof container. Press a piece of plastic wrap to the surface. Let cool completely at room temperature before storing in the refrigerator.
Lemon Meringue S’mores
makes 4 s’mores
4 whole sheets honey graham crackers
2 tablespoons Lazy Lemon Curd
4 large marshmallows
Carefully break each graham cracker sheet in half to produce 2 squares (8 squares total). Place bottom-side-up on a surface.
Top 4 of the graham squares with 1/2 tablespoon (1 1/2 teaspoons) each of the Lazy Lemon Curd.
Toast the marshmallows. Place each marshmallow on a skewer. Turn a gas stove flame (or other heat source) to medium-low. Carefully toast marshmallow over the top before transferring it onto lemon curd. Repeat with other marshmallows. Turn off stove. If you’d like to toast your marshmallows with another at-home method, see here.
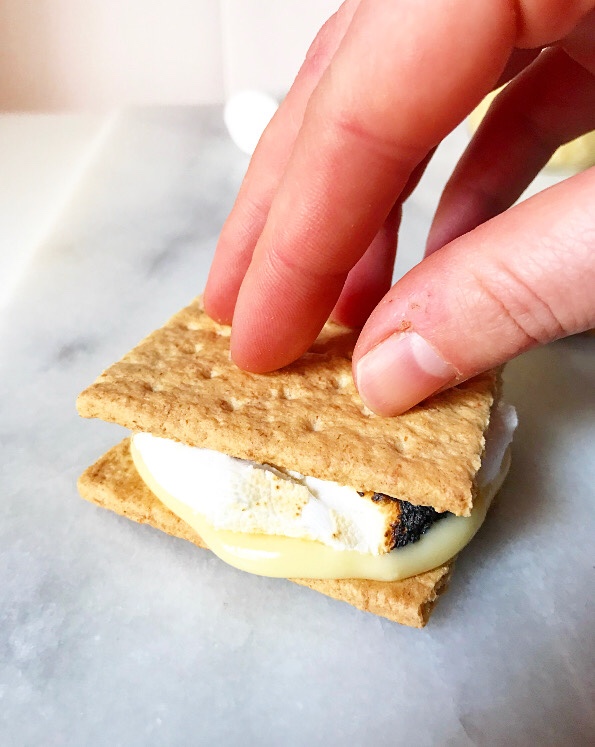
Top marshmallows with the remaining graham squares, top-side-up. Serve immediately.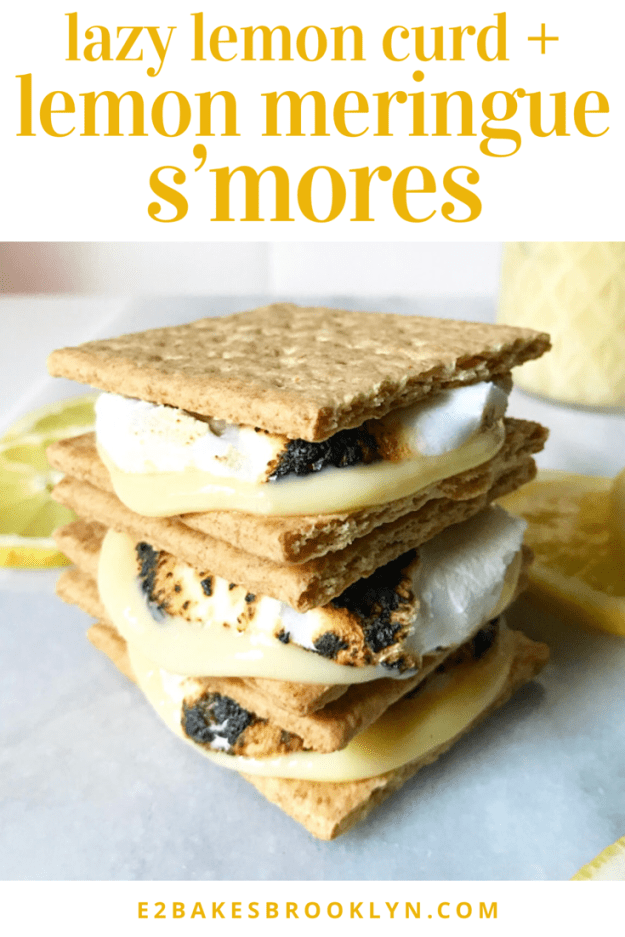
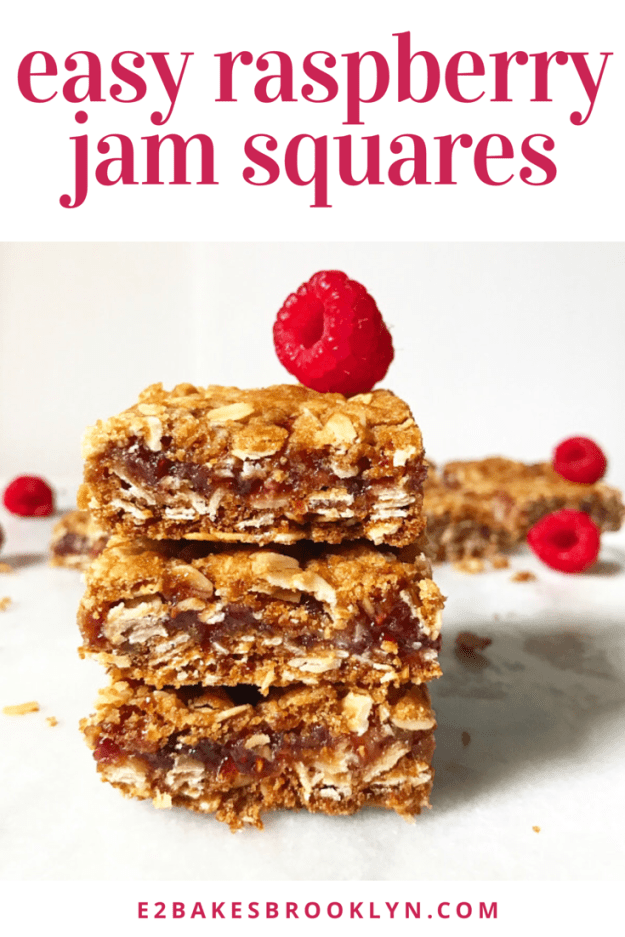
 Y’all. Y’ALL. Why did I wait so long to make jam squares?
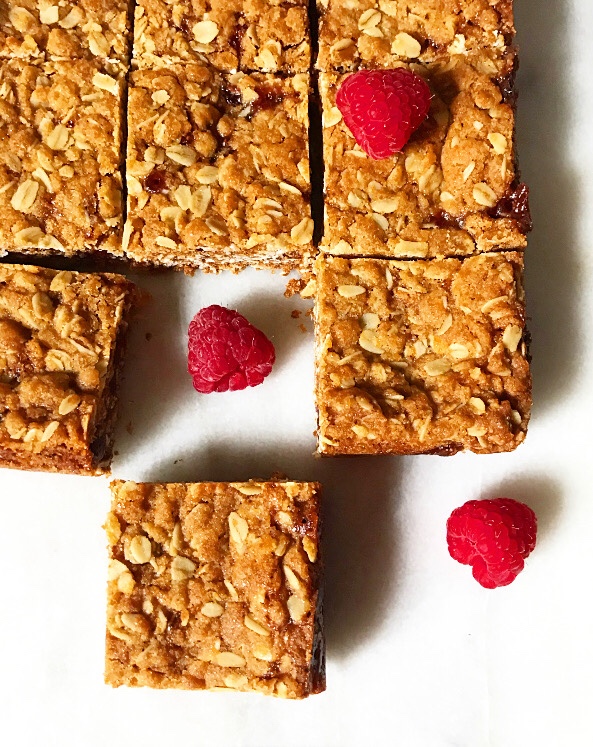 I mean, they’re so…easy. Seven ingredients, one bowl, no mixer—my favorite sort of recipe.
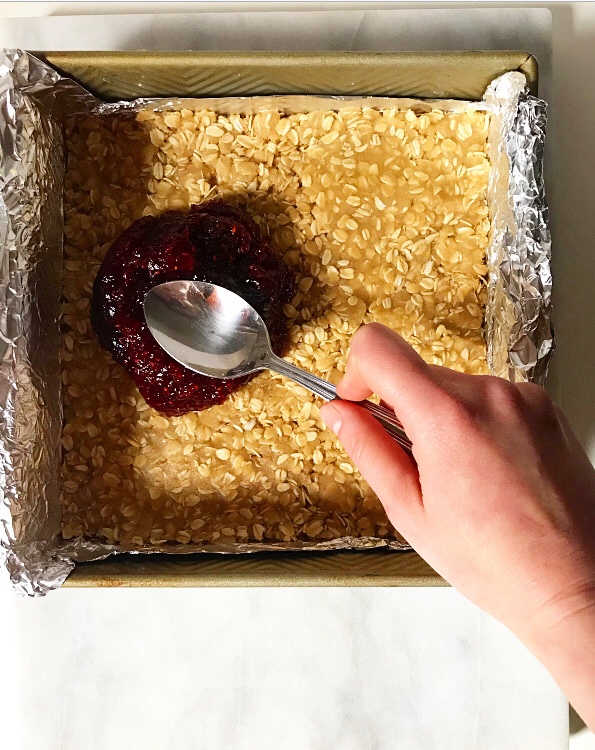

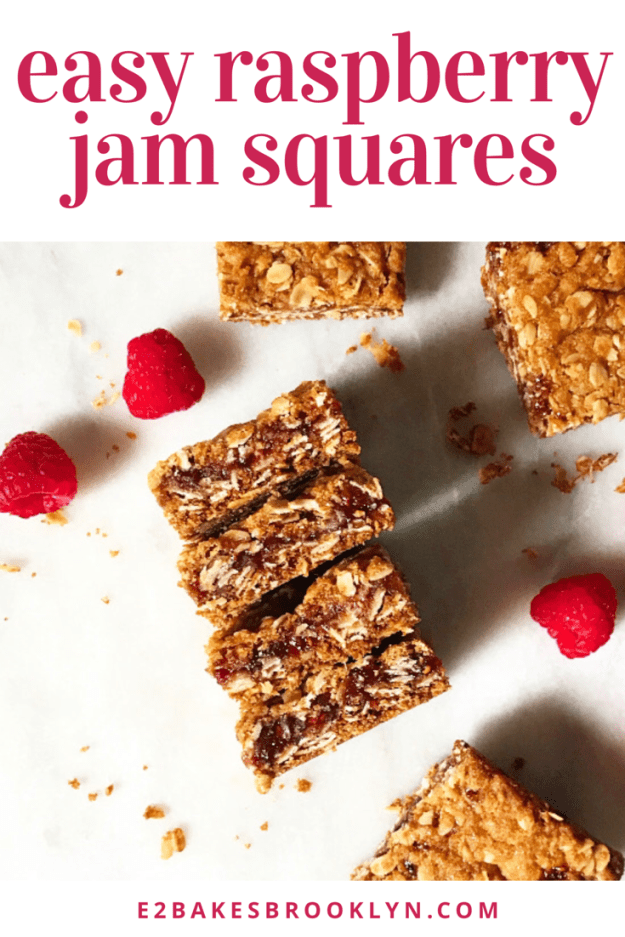
 Five minutes for mixing, five more for assembly. Just shy of thirty for them to bake up.
 Once they’re cool, they slice like a dream.
 You’ll like the crisp cookie layers, chewy oats, and sweet-tart jam centers on day one, but some magic flavor-melding happens in that first 24 hours and they are eyes-rolling-back-in-your-head good on day two. And they just get better from there.
 Easy Raspberry Jam Squares are far more than the sum of their parts. I went into testing thinking these might need cinnamon or nuts, but I was wrong—simplicity is key for optimal jam flavor.
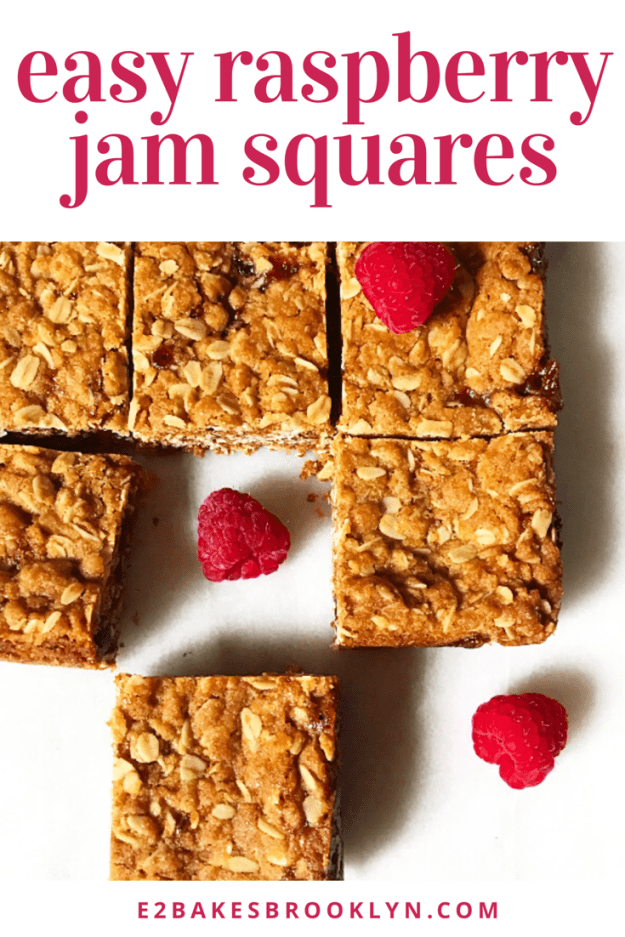
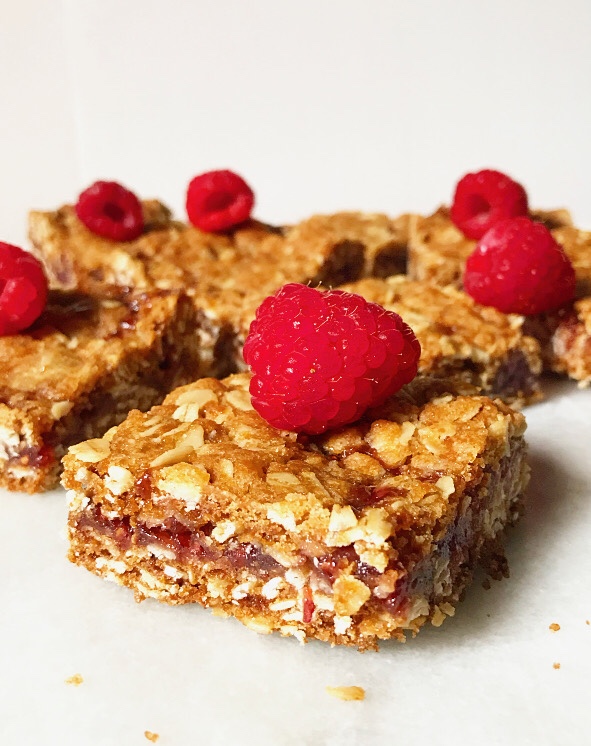 And speaking of jam, I went with raspberry because that’s what I like, but feel free to use any preserves you like. I think blueberry sounds particularly good right now, but that may only be because we just booked our
  Like I said, my favorite sort of recipe.
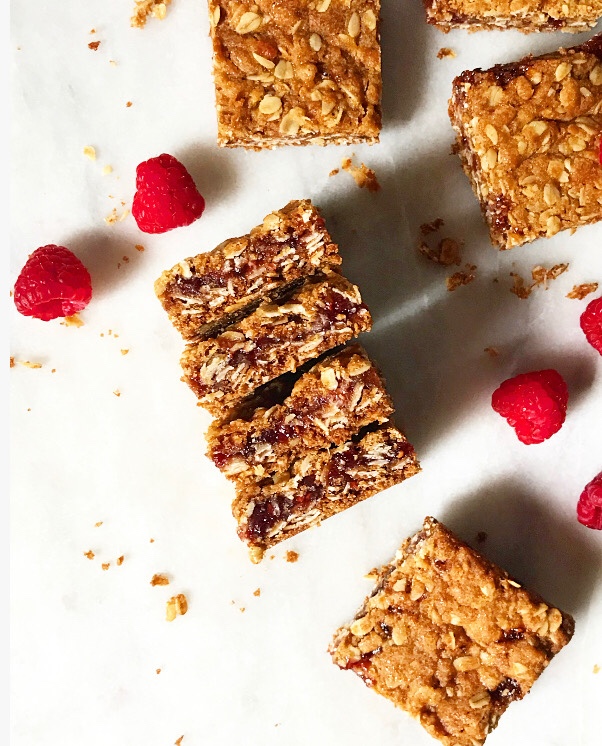
 As far as I’m concerned, hot fudge is a perfect food. It’s the thing that takes sundaes, banana splits,
 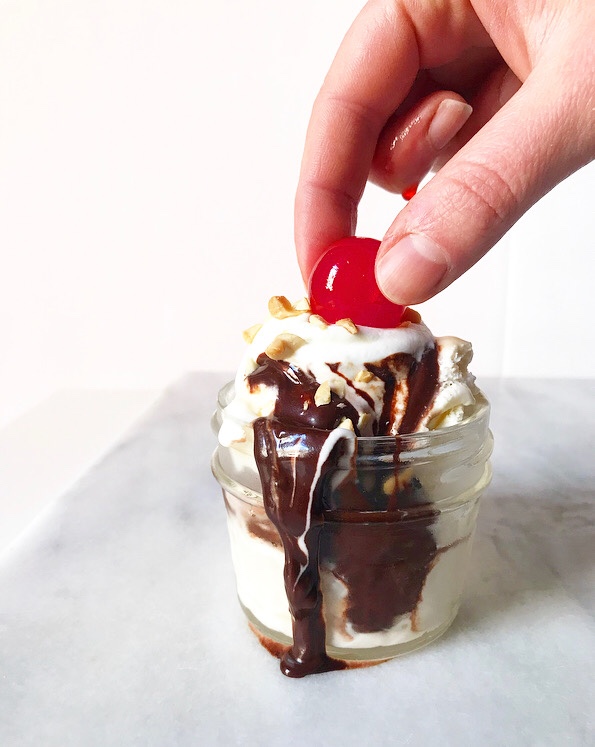 It might surprise you to learn that hot fudge is incredibly easy to make. I grew up thinking of it as a shop-only item, along with
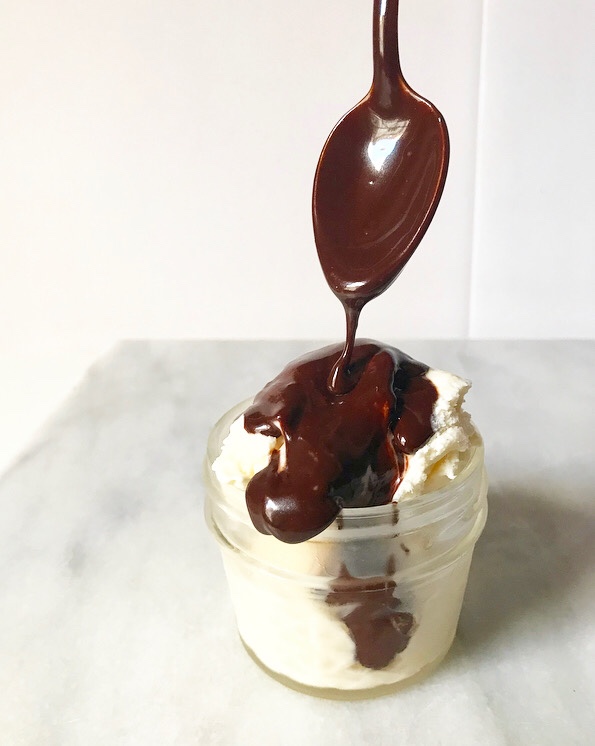
  Hot fudge is a ten minute, one-pot operation, and requires just seven ingredients that you probably have on hand. I mean, how can you argue with smooth, sticky, shiny, sweet hot fudge where you know the amount and quality of every ingredient? It’ll take you less time, cash and energy to whip up a batch than it will to get to the store and back. I mean, that’s half the reason I do all this baking and cooking: because I can do it all from the comfort of my own kitchen in my most-mismatched pajamas.
 Also, because homemade almost always beats store-bought in terms of flavor, quality, and price. That goes double for this hot fudge, which gets its richness from both chopped dark chocolate and cocoa, has less sugar than anything you can purchase, and costs me a whopping $4 for 1 1/3 cups. And it’s delicious. And it doesn’t require putting on real pants or going outside. Yesssss.
 Most hot fudge recipes I’ve seen are sweetened with sugar in addition to light corn syrup and chocolate, but I couldn’t determine a flavor-related or structural reason that it needed to be there, so I nixed it and nothing terrible happened. In fact, the resulting sauce is as rich and fudgy as any I’ve ever had (and I’ve had a lot), and I don’t find it to be lacking sweetness at all. If you’d like a sweeter hot fudge, or maybe know something I don’t,* feel free to add a couple of tablespoons of sugar when you whisk together the light corn syrup and cocoa.
 This hot fudge pours and puddles and takes nicely to the sundae treatment. And just in case you think it can’t get much better than that, you should know that it stays good for weeks in the refrigerator and reheats like a dream, so you can have hot fudge sundaes any day of the week all summer long.
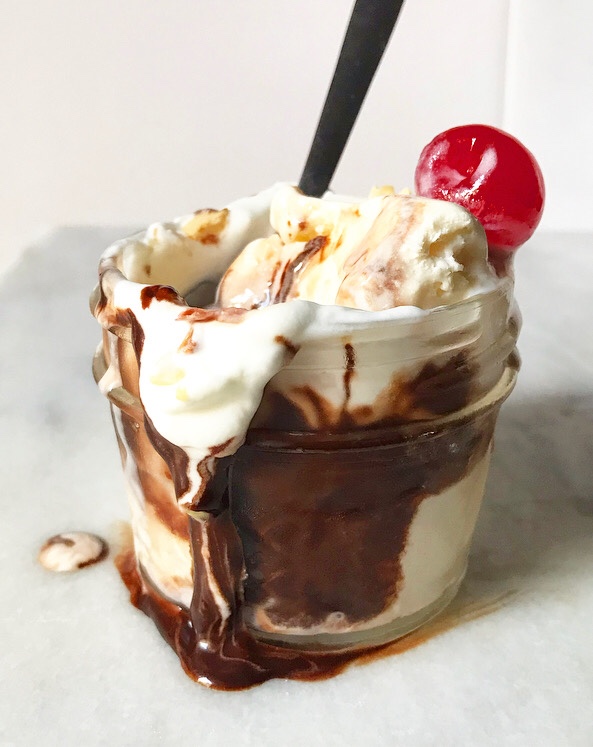 I recommend you start with today.
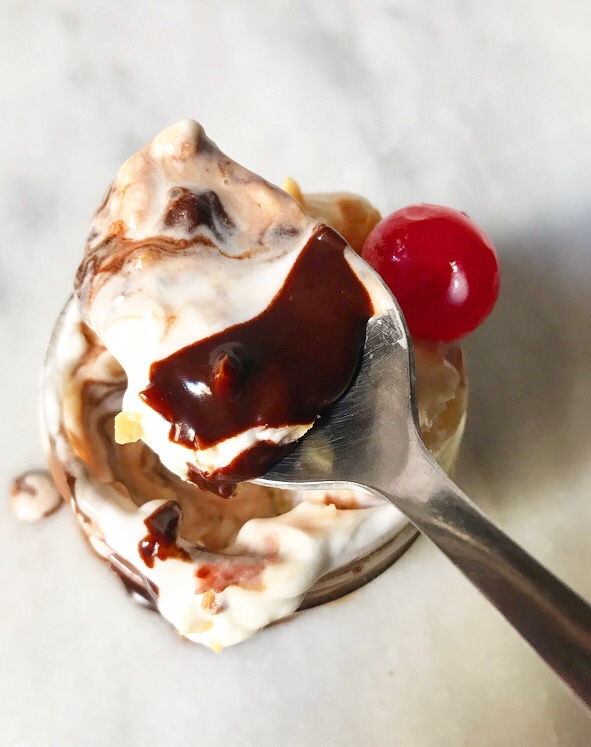


 A few weeks ago, there was a
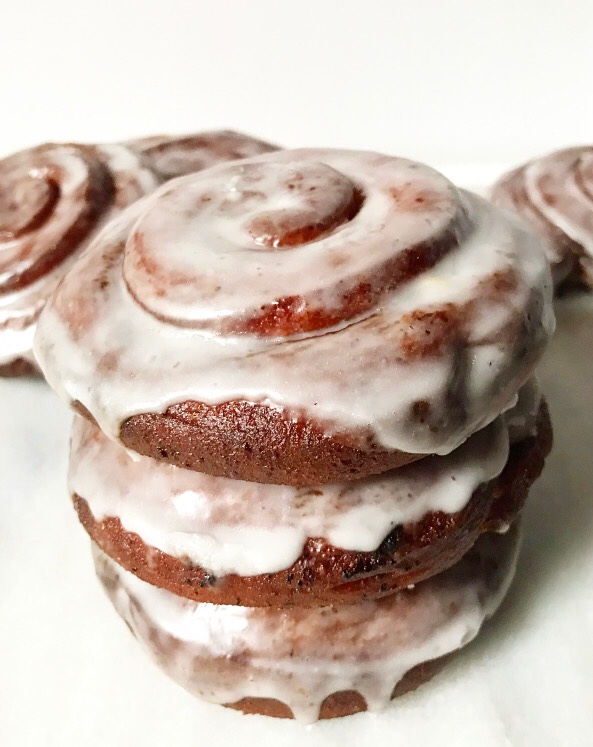
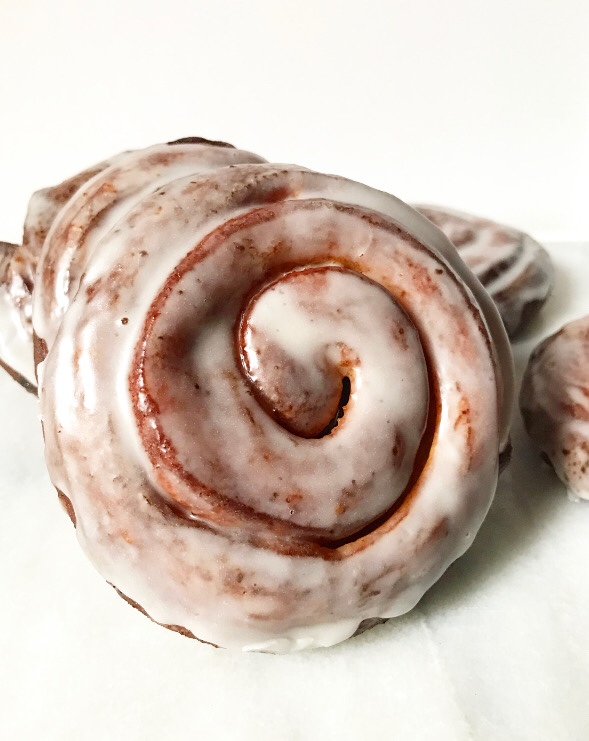
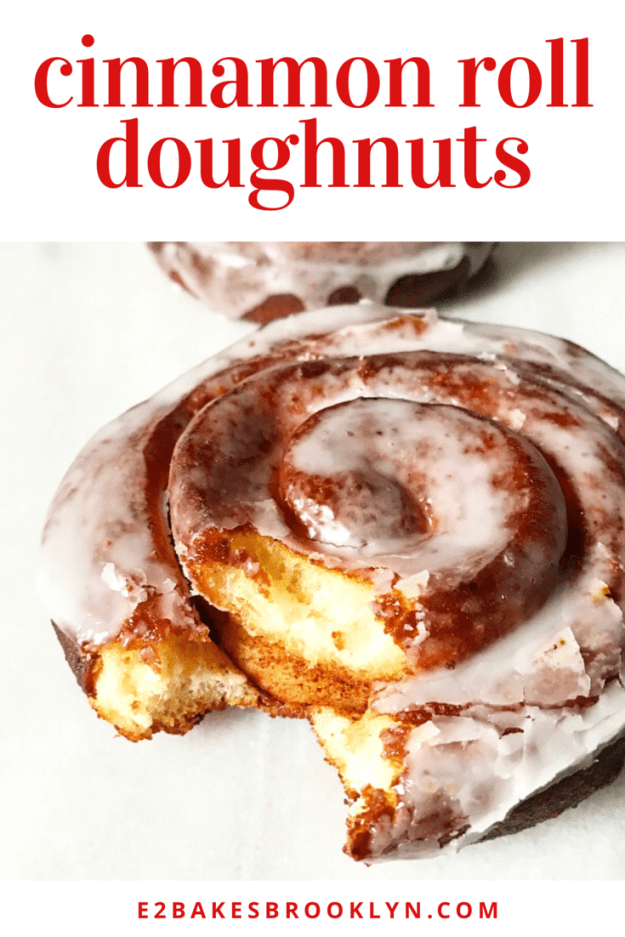
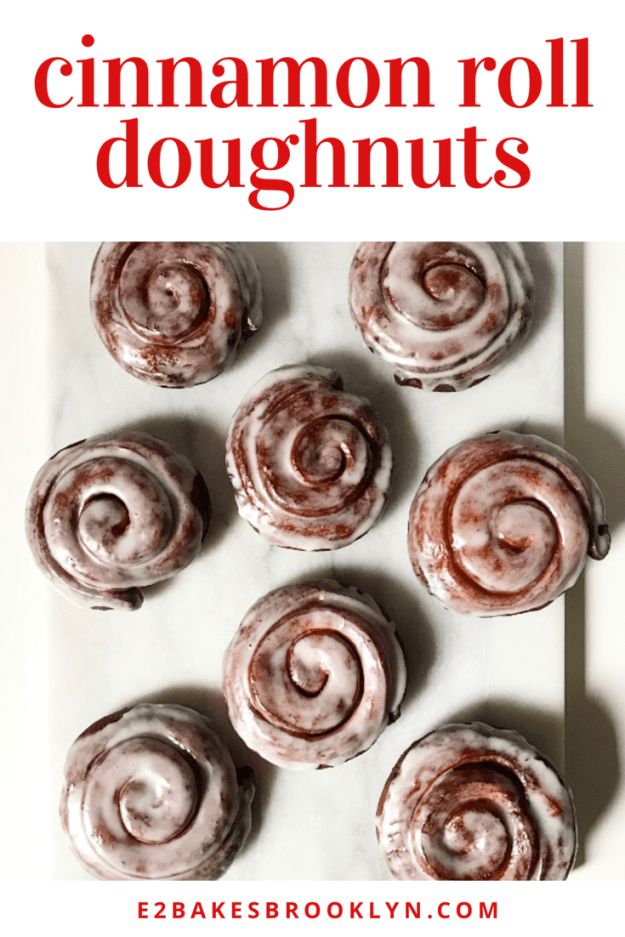
 Of course, there are exceptions to every rule and, oh, do I love finding an exception. Today’s recipe, Cinnamon Roll Doughnuts, are exactly what they sound like: fluffy, brown sugary cinnamon rolls made from doughnut dough, fried ‘til golden and dunked in a classic sugar glaze. They are both cinnamon roll and a doughnut and they are exactly as delicious as they sound.
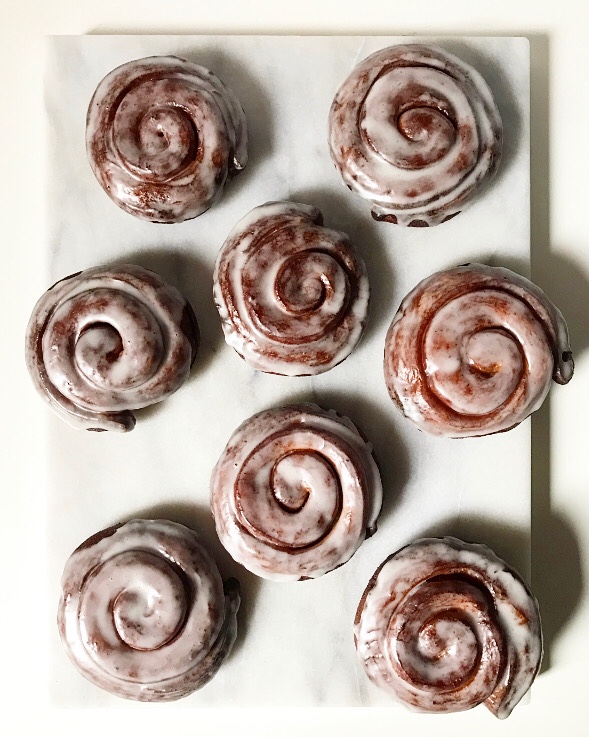 The inspiration for these comes from my childhood doughnut shop, Dale’s Donuts #9.* They made (and I assume that they still make) a version of these, and since I didn’t grow up with much home baking, I just assumed that all cinnamon rolls were doughnuts. As has been established, they are not, but I didn’t know at the time and I don’t think I would have cared…unless there wasn’t one left for me after a Sunday doughnut run.
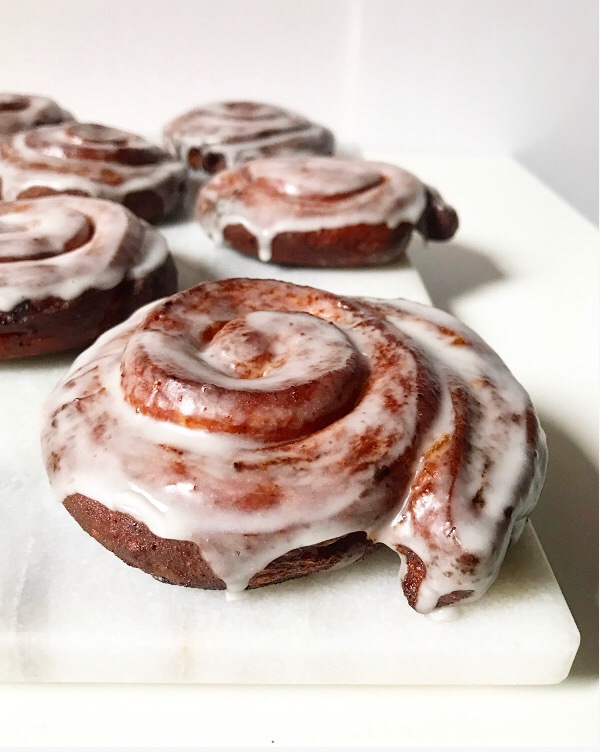 Anyway…I’ve since learned to make great cinnamon rolls and doughnuts, but the cinnamon roll doughnuts of my youth have eluded me. I’ve looked for something comparable in every doughnut shop I’ve encountered over the years (which has been a lot), but have come up empty-handed…so I figured it out myself.
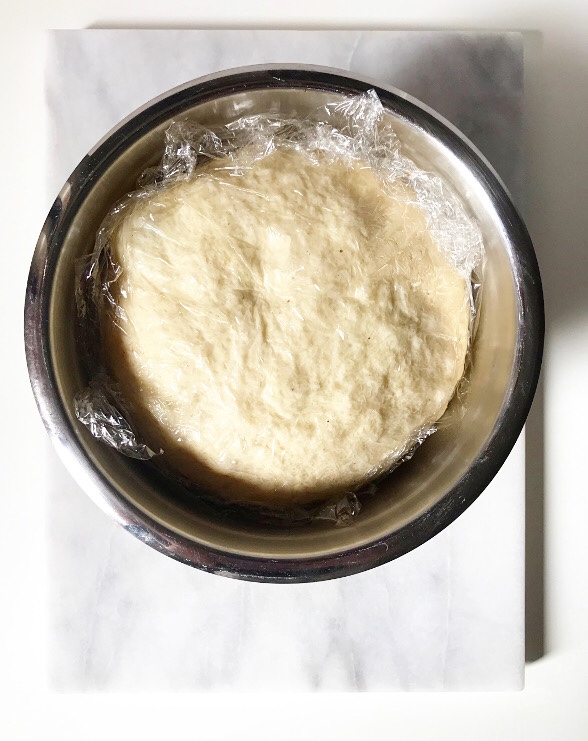
 Cinnamon Roll Doughnuts are as simple to make as any of my other yeasted doughnuts. They begin like many sweet rolls and doughnuts do: by making a dough and letting it rise slowly in the refrigerator overnight. This makes for prime gluten development (critical for softness and chew) and nuanced flavor, and it means you don’t have to get up at 5am to make doughnuts in time for breakfast.
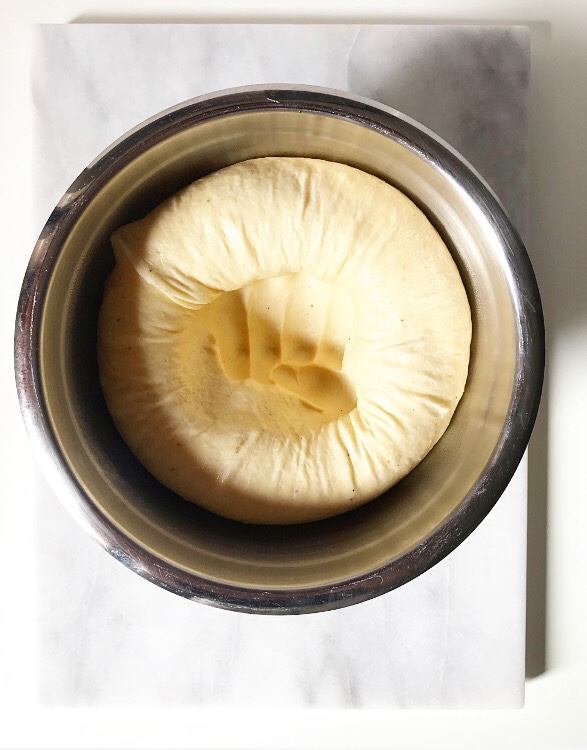
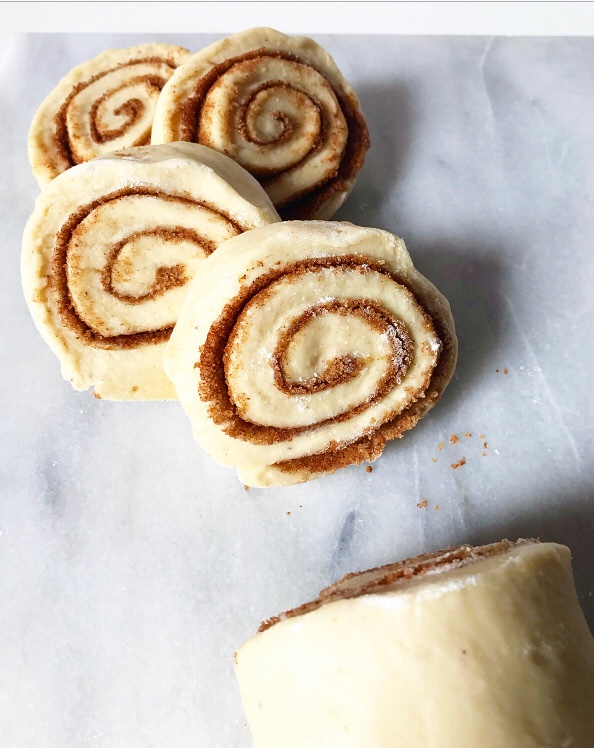 The next day, the dough is punched down, rolled into a rectangle, filled with cinnamon & brown sugar, rolled back up, and sliced.
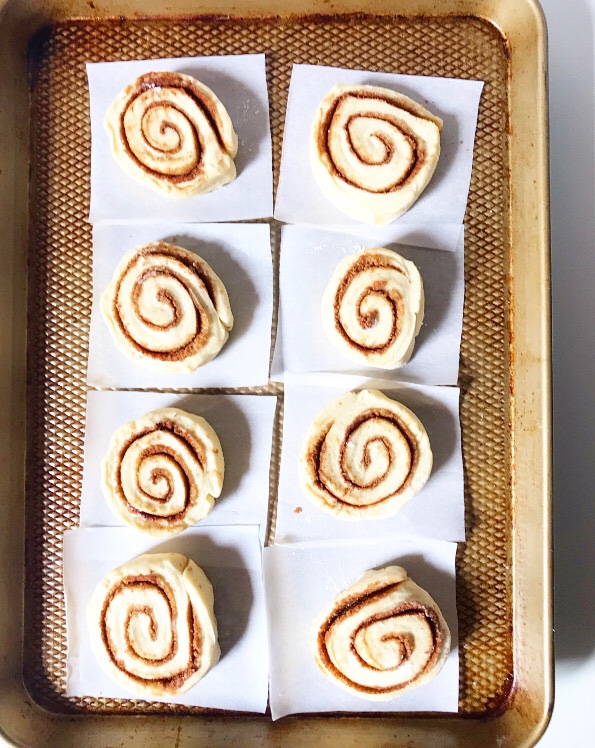

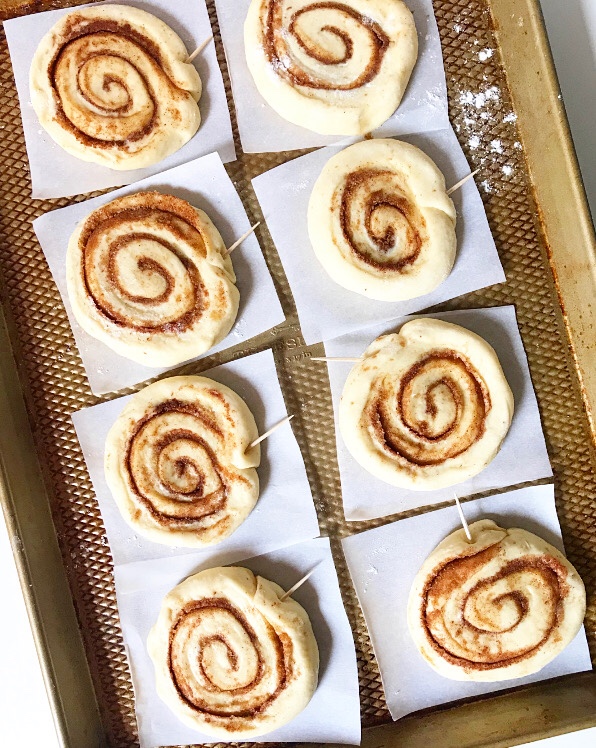 Then the rolls are then pressed down with the heel of your hand and the ends are secured with toothpicks before a short second rise. These steps will keep them unraveling while rising and frying.
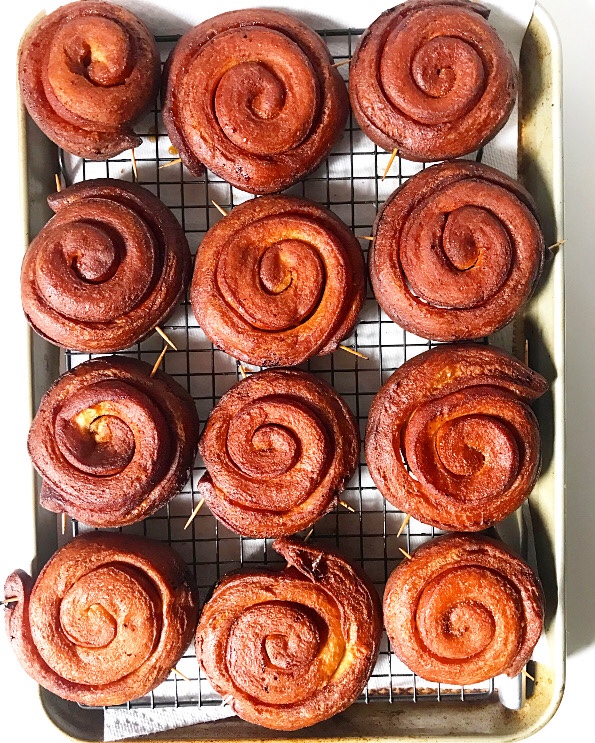 And speaking of frying, this is when these rolls take a decidedly doughnut-esque turn. Each one is fried in hot oil until golden and fully cooked in the middle. Some filling will escape during frying—that’s the nature of the beast—but trust me when I say your doughnuts will still be plenty cinnamony.
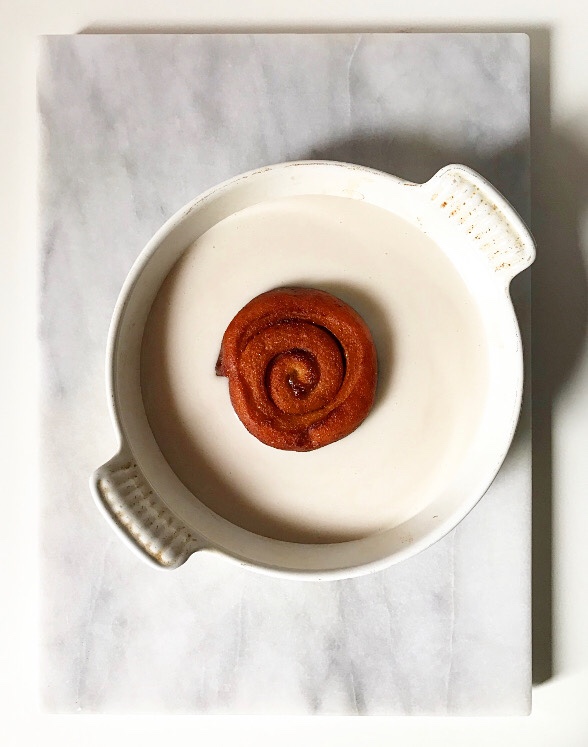
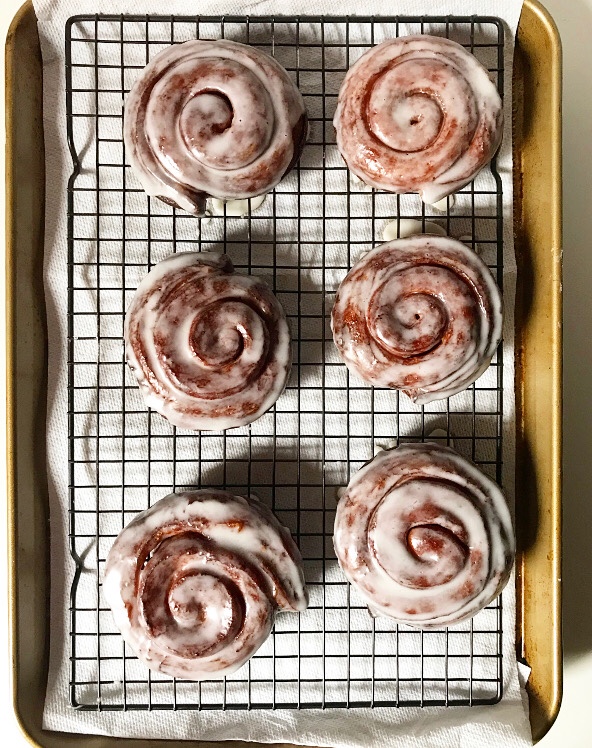
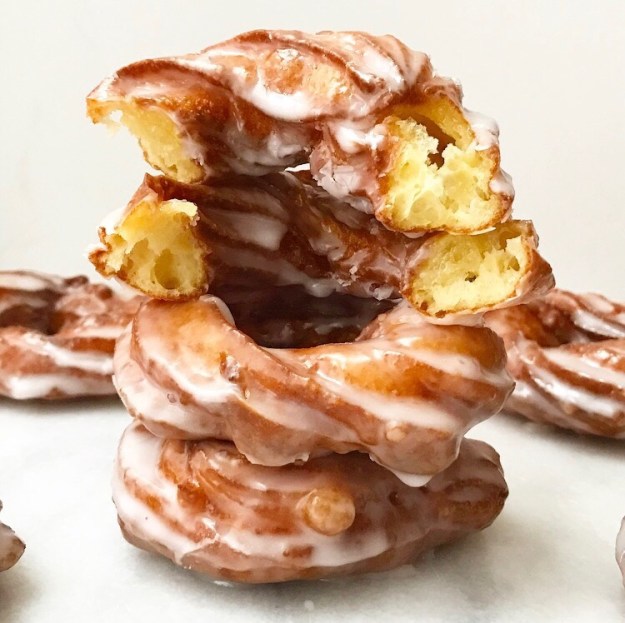
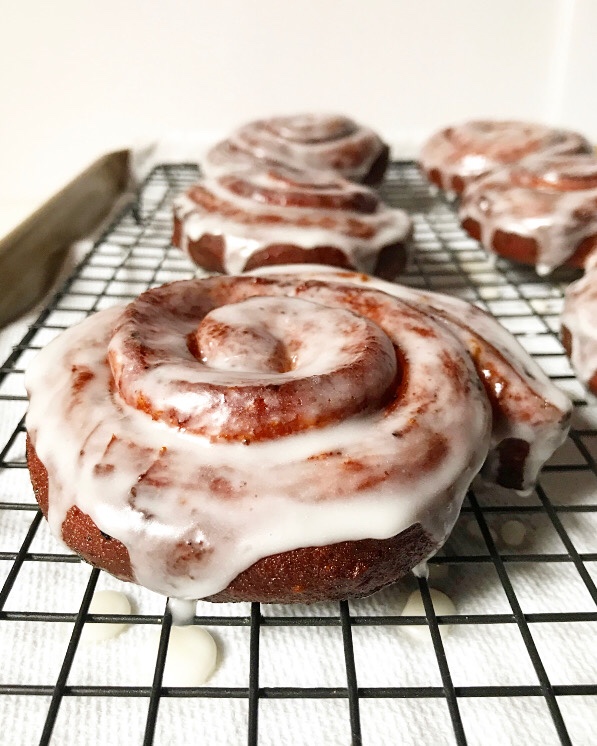 Once they’re all fried and golden, the Cinnamon Roll Doughnuts get a dip in a sugar
 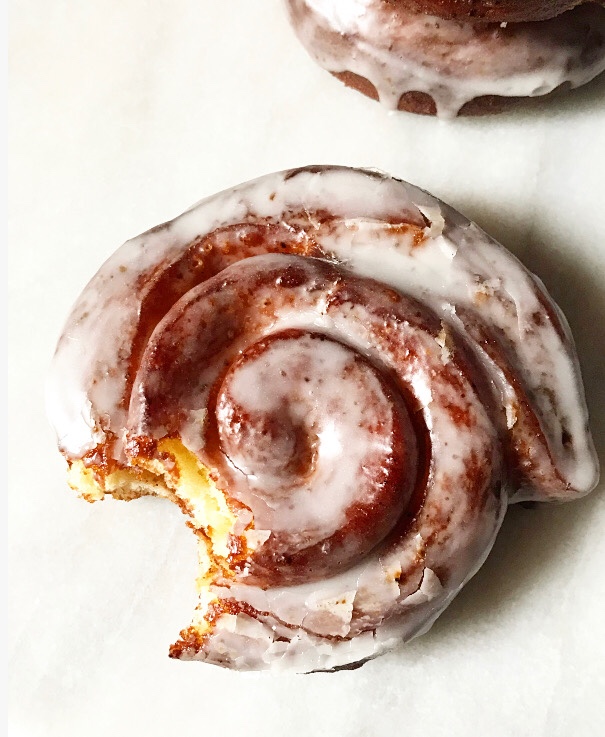 It tastes like childhood and doughnut victory and a very delicious exception to the rules. The best.
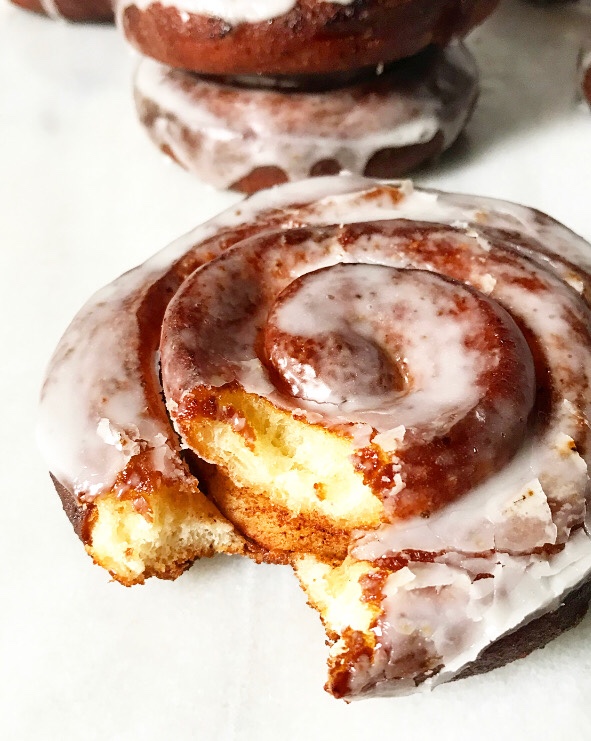
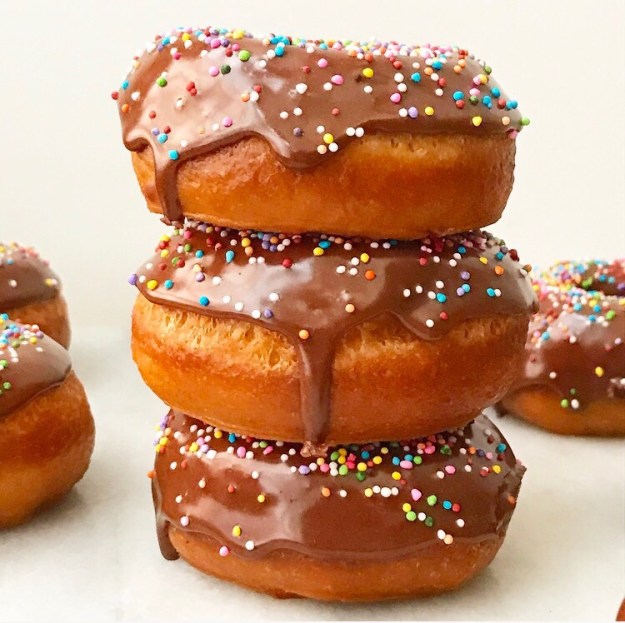
 Have you made these or any of my other doughnuts? Let me know in the comments or on